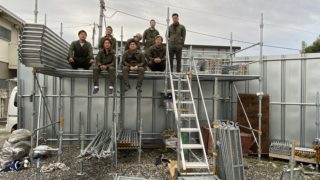
Should You Only Rely on Scaffolding for DIY Roof and Exterior Painting? Supporting Affordable and Safe DIY! | Limited to Kanagawa Prefecture and Tokyo
DIY Plan for Roof and Exterior Painting!!
We are Kakeru Koumuten Co., Ltd., a specialist in exterior renovations located in Aoba-ku, Yokohama!
“I want to try exterior painting myself, but can I just have the scaffolding set up for me?”
“How much will it cost to just have the scaffolding set up?”
“I’m a DIY beginner, so I’d like some guidance on painting materials.”
Due to frequent inquiries from our customers,
we have prepared a plan to support DIY roof and exterior painting!
On this page, we will explain the details of the DIY roof and exterior painting plan and the DIY construction steps for roof and exterior painting!
If you want just the scaffolding set up, or if you are considering DIY roof and exterior painting but want to do it safely, we hope you will refer to this article!
We aim to resolve any anxieties or questions you may have about DIY!

Contents of the DIY Plan!!
The cost of the DIY plan is scaffolding installation fee + support details = total amount!
Requests for just the installation and rental of scaffolding are also welcome!
Essential for exterior work! Scaffolding installation!


Basic Details of Scaffolding Installation
① Scaffolding Installation (Basic installation period: 30 days)
We will install scaffolding suitable for the construction content after conducting a site survey.
② Installation of Fall Prevention Mesh Sheet
During roof and exterior painting, we will attach a protective mesh sheet to the scaffolding to prevent paint and water from splashing during high-pressure washing!
③ Installation of the Access Ladder (Stairway)
This is the access ladder for going up and down the scaffolding.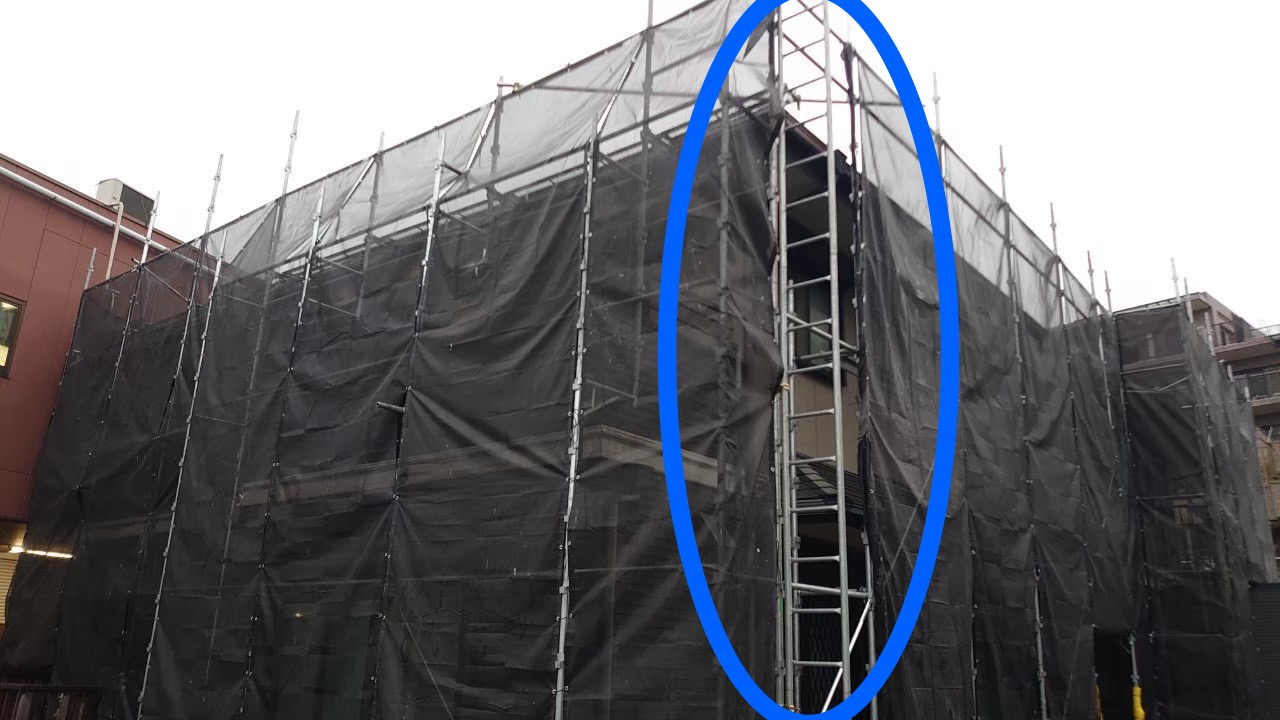
※ The blue circle indicates the ladder.
Costs Associated with Scaffolding Work!

| Basic Temporary Scaffold Installation (Temporary Scaffold, Mesh Sheet, Staircase) |
150,000 yen~ *Varies depending on the size and shape of the building. *Additional costs will apply in case of damage or loss of scaffold materials. |
|---|---|
| Staircase Installation (See photo below) |
18,000 yen~ *Varies depending on the number of staircases installed. |
| Fence and Carport Panel Detachment and Attachment (See photo below) |
10,000 yen~ *Varies depending on the number of panels and fences detached or attached. |
| Extension Fee (For periods exceeding 30 days) |
1 week/10,000 yen~ |
| Horizontal Transportation Fee | Applies when transportation from stairs or construction vehicles is required. |
About Staircase Installation
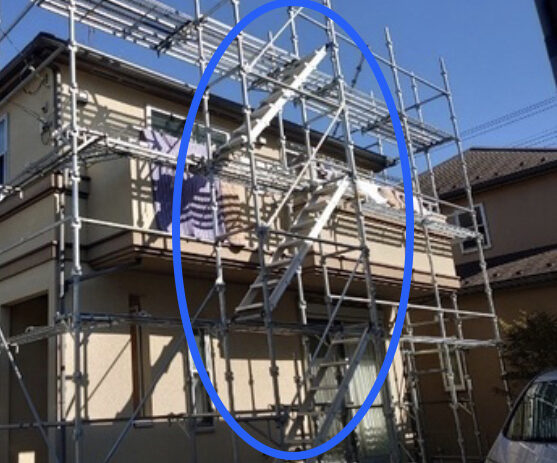
*The blue circle in the photo is an example of staircase installation!
*Installation may not be possible depending on the size of the site!
About Fence and Carport Panel Detachment and Attachment
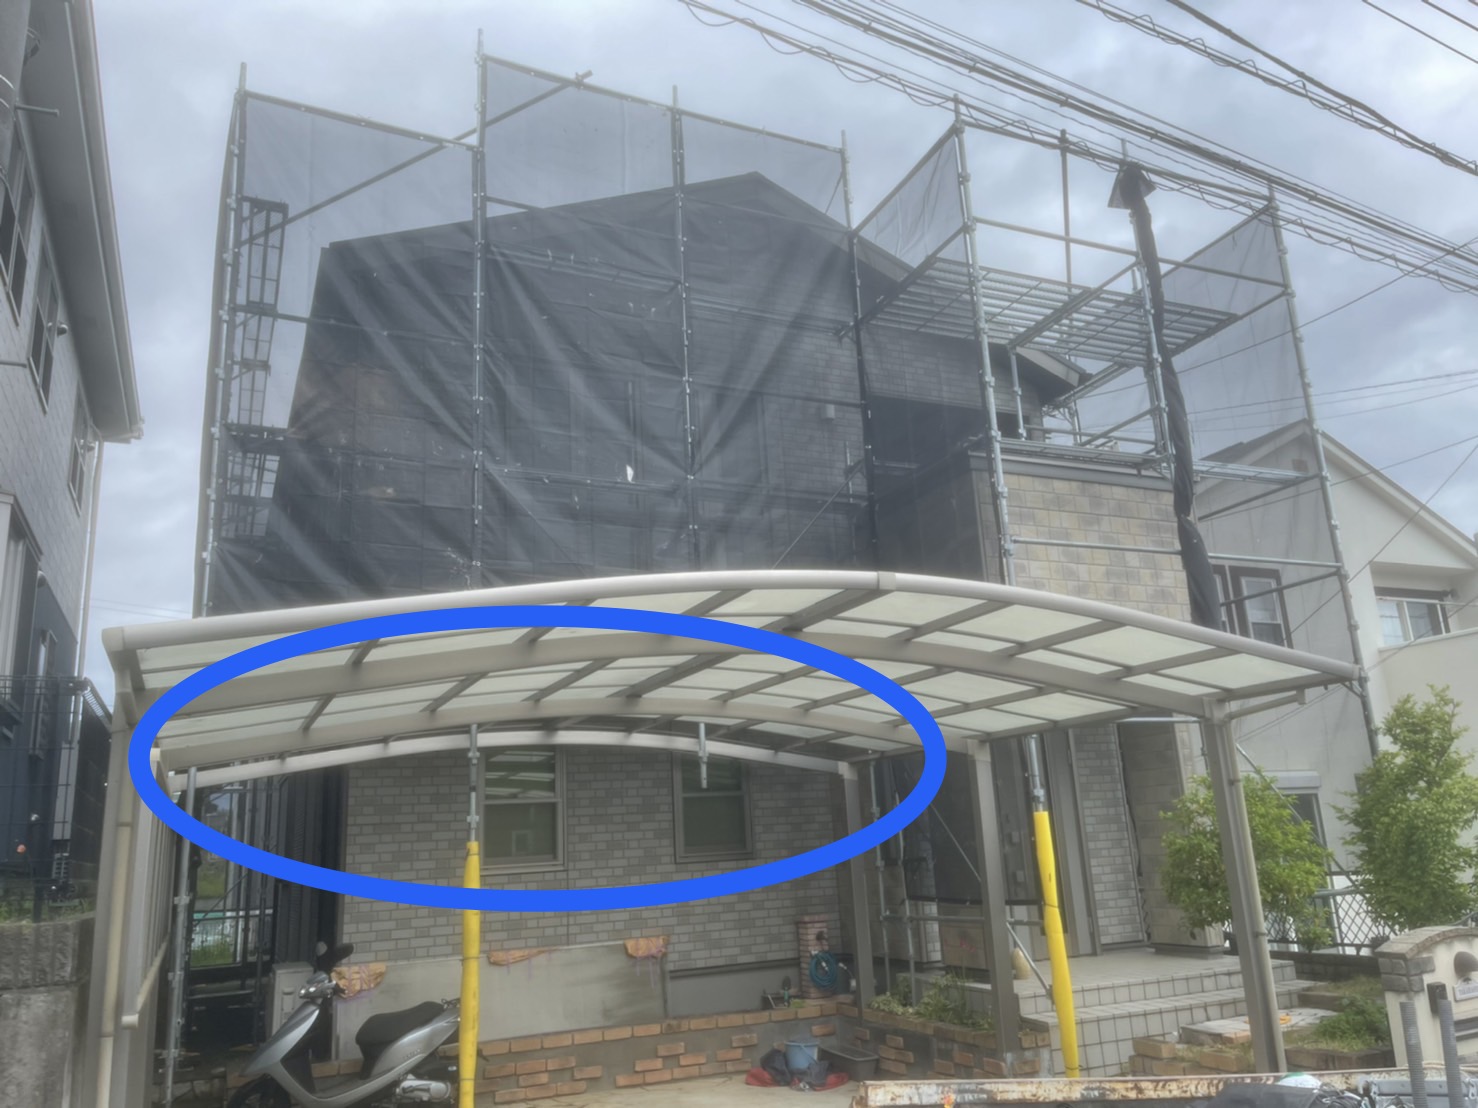
DIY Roof and Exterior Painting Support
When undertaking DIY roof and exterior painting, you may have various concerns and questions.
We will resolve those worries with support from Kakeru Koumuten Co., Ltd.!
During the on-site survey, we will diagnose your building and materials to pick up the necessary supplies!!
Even if costs arise from the point you start the work, you can leave everything to us!
We can also handle the collection of leftover paint and other waste materials!
We will provide support via LINE consultations!
We will arrange tools such as paint and protective materials.
Basic Content of DIY Support
① Picking Up Paint Suitable for Roofing and Exterior Materials!
We will diagnose the materials and deterioration of the roof and exterior during the on-site survey and propose the necessary work and materials!
② Creation of Construction Procedures and Manuals!
We will create an original manual for each building, detailing precautions and construction methods.
We will also specify the necessary tools for painting and the types of rollers suitable for each painting area!
③ Greetings to Neighbors Regarding Construction!
During construction, we inevitably cause inconvenience to neighbors with noise and odors. We will greet them to avoid any troubles!
④ LINE Consultation
We will answer any questions you have during construction with photos and more!
DIY Support Price List!
| Basic Support Plan | This is the basic content of the above DIY support. | 30,000 yen |
| High-pressure Washing | We will only perform high-pressure washing. ※ We do not rent out washing machines. |
200 yen/㎡ |
| Waste Material Collection | We will collect all waste materials, including paint and removed joint materials. | 10,000 yen |
| Paint Arrangement | We will arrange for paint and necessary materials (rollers, protective materials, etc.). | Estimate required |
| Floor and Opening Protection Only | We will only handle the protection of floors and windows. | Estimate required |
| Roof Painting Only | We will handle only roof painting. | Estimate required |
| Painting of ancillary parts only | We will handle only the painting of ancillary parts such as gutters, eaves, and fascia. | Estimate required |
| Joint sealing only | We will handle only the sealing around sashes and joints. | Estimate required |
We are flexible in our responses, so please feel free to consult with us!
DIY Roof Painting Procedure
We will introduce the procedure and attire for roof painting.
First, let’s explain the suitable clothing for the job!
Roof painting requires less preparation compared to exterior wall painting, making it recommended even for beginners!
What is Suitable Attire for Painting Work??
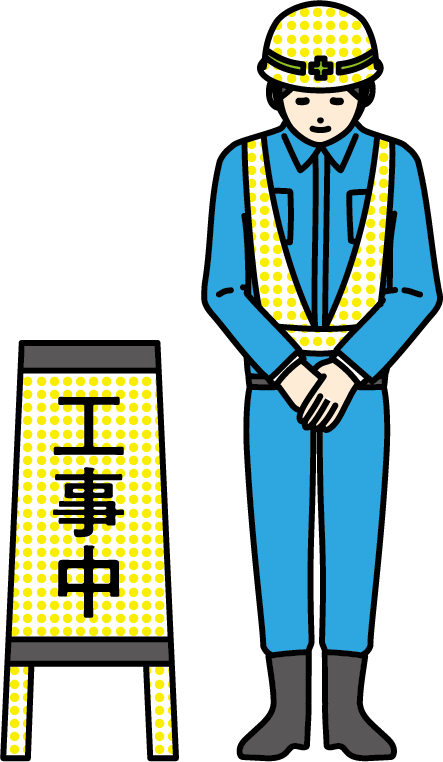
We will introduce suitable attire for roof and wall painting!
1. Helmet
You can find work helmets at home centers or workwear shops!
Before purchasing, try it on to ensure it fits comfortably and does not slip off!
Our company uses helmets that have good breathability and come with pads that absorb sweat on the forehead! They fit well and are comfortable to wear!
However, if it’s not something you use frequently, it might be okay to prioritize cost!
2. Work Clothes
Please wear long-sleeved shirts and long pants that you don’t mind getting dirty!
It’s also fine to get them from workwear shops or home centers!
You might want to ask the staff for help!
3. Work Gloves
I think gloves with rubber grips would be good.
If you use cotton gloves, there is a possibility that paint cans or tools may slip out of your hands!
4. Shoes
Non-slip shoes are recommended!
The work shoes we often wear at our company are Hyper V, which are non-slip even on rooftops!
During the peak of summer, roofs can get extremely hot, and your feet may get burned, so it’s necessary to take precautions with hot-soled shoes, insoles, or socks!
Honestly, I wouldn’t recommend summer roof work for those who are not used to it…
Short-sleeved shirts and shorts
There is a risk of injury. Additionally, paint may splatter directly onto your skin, which can lead to skin irritation!
Baggy clothing
There is a danger of your clothes getting caught on scaffolding, leading to injury. If you wear pants like knickers, your feet may get tangled, increasing the risk of falling!
Let us introduce the steps for roof painting!
We will introduce the steps for roof painting! There are various types of roofs, and each has different materials and construction methods!
Painting Corrugated and Metal Roofs
1. High-Pressure Washing
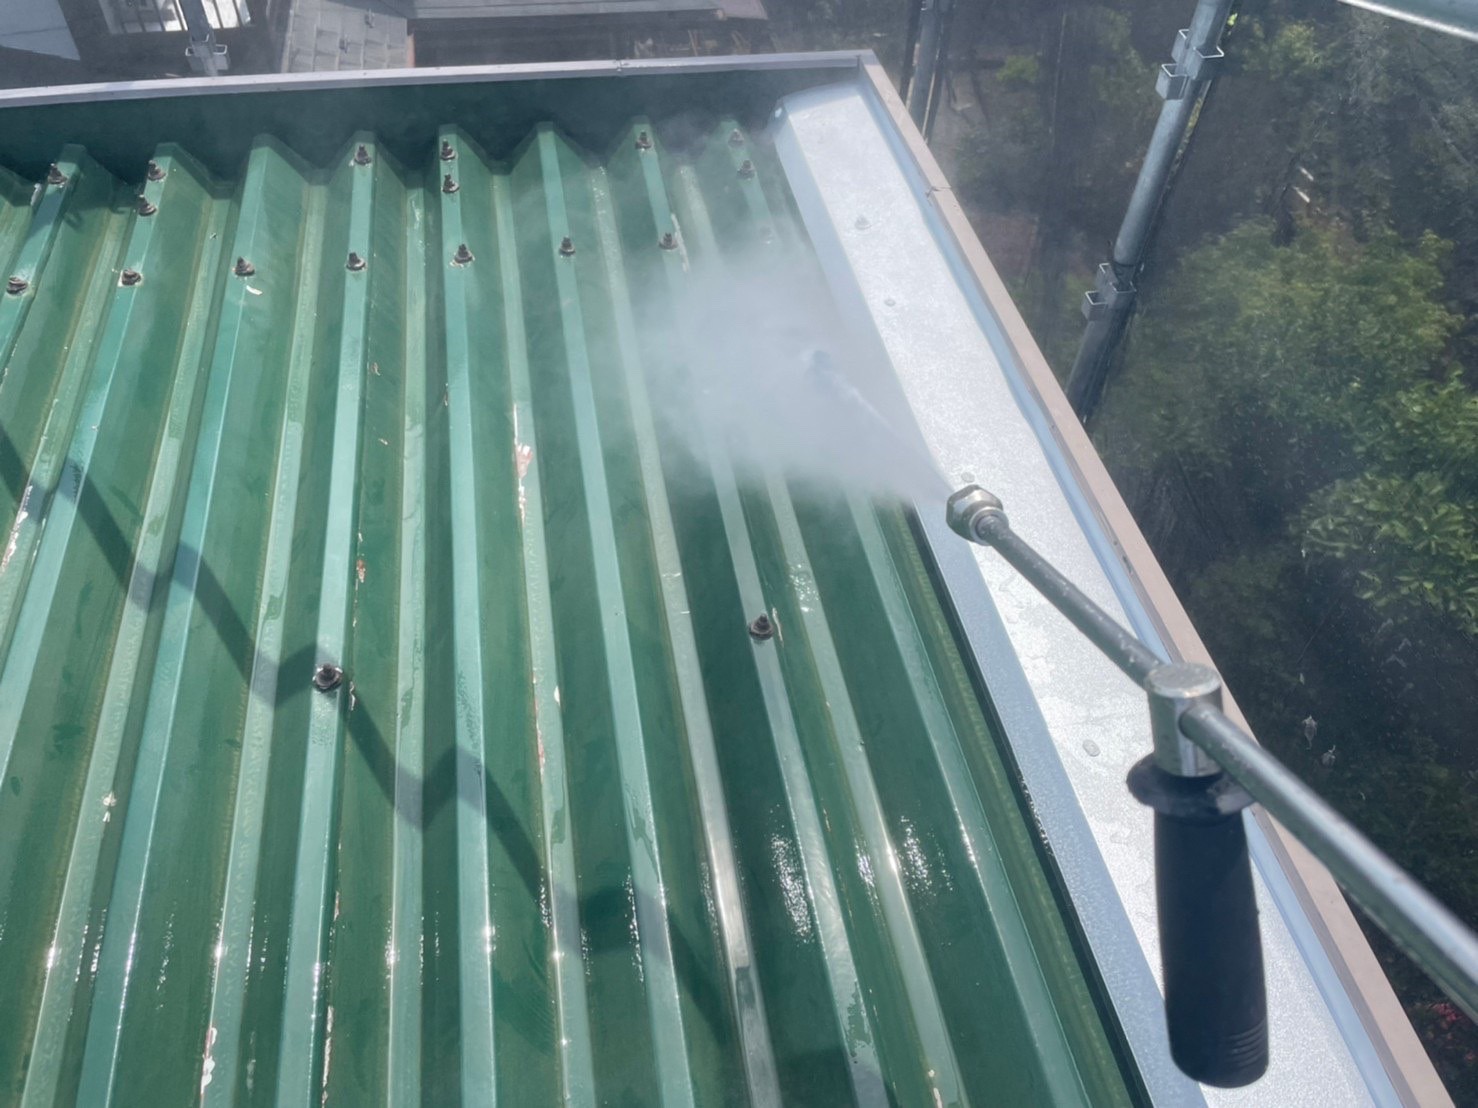
Please wash away all moss, dirt, and dust from the entire roof!
When washing the ridge (the top of the roof), be careful not to spray from below, as this may cause leaks into the attic; try to wash from top to bottom as much as possible!
It is also necessary to check for any holes due to deterioration before washing!
If there are holes, repairs or replacements will be necessary, so please consult a professional!
2. Surface Preparation (Rust Removal and Scraping)
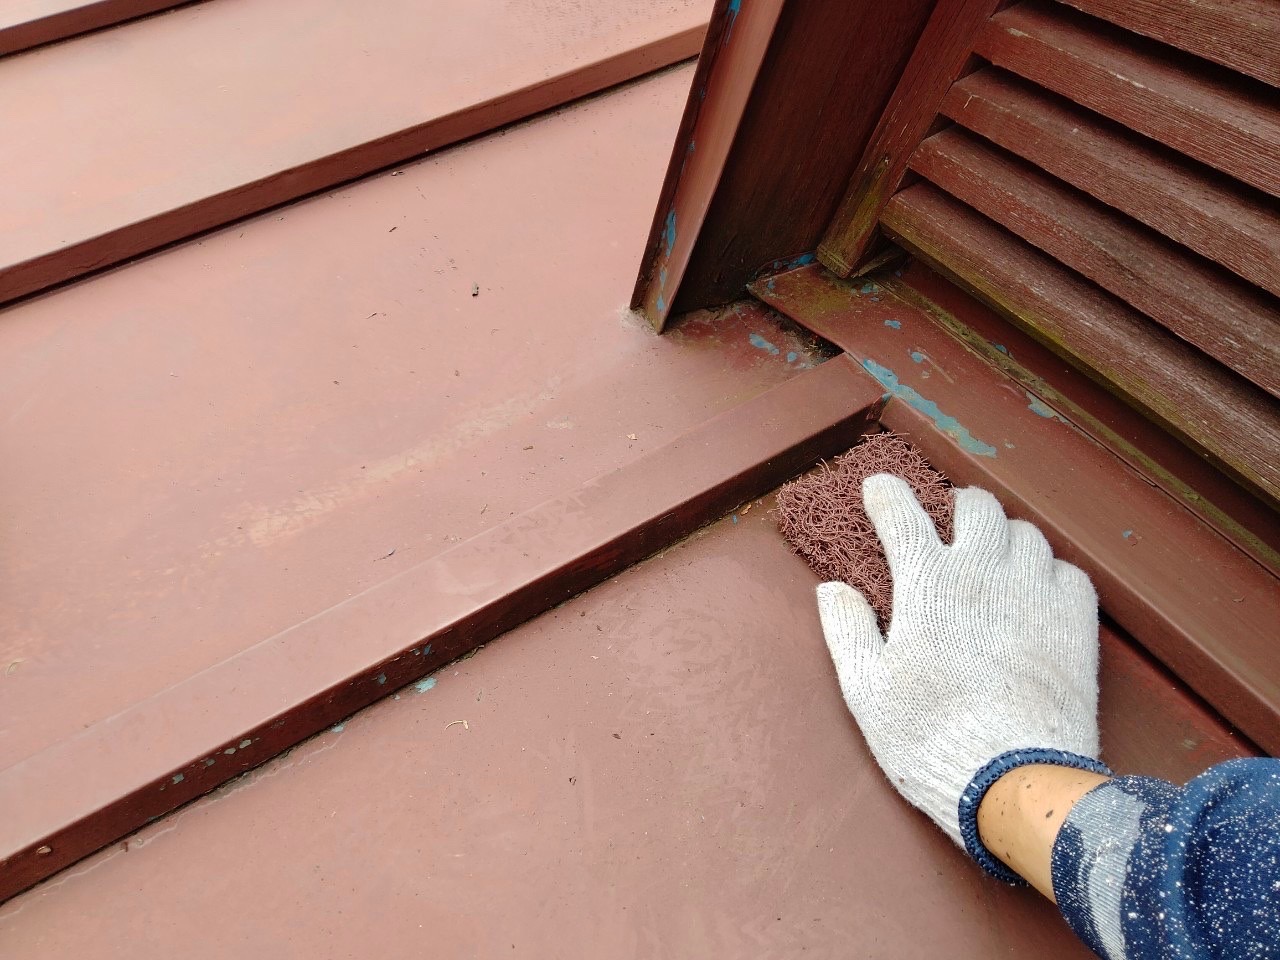
We will remove any dirt and rust that could not be washed away!
Using metal scrubbing pads, wire brushes, and scrapers, we will remove rust, dirt, and old paint!
Please ensure to scrape the entire area, not just the parts with rust or dirt!
This is a necessary process to improve adhesion with the paint!
You can almost always find scraping tools in the painting section of your local home improvement store!
3. Cleaning
We will clean up the dust and debris generated during the surface preparation!
You can either sweep it up or blow it away with a blower!
If debris accumulates in the rain gutter, it can cause blockages, so please clean it out!
4. Masking
We will mask to prevent paint from splattering or sticking to the rain gutters and walls!
For the rain gutters, we will use a masking material called Polymask, which has tape attached to a plastic sheet!
For walls near the lower roof, we will use masking tape and Polymask!
Make sure to apply the masking tape straight to define the areas to be painted and those that will not be painted!
This is a crucial step that greatly affects the final result!
5. Primer
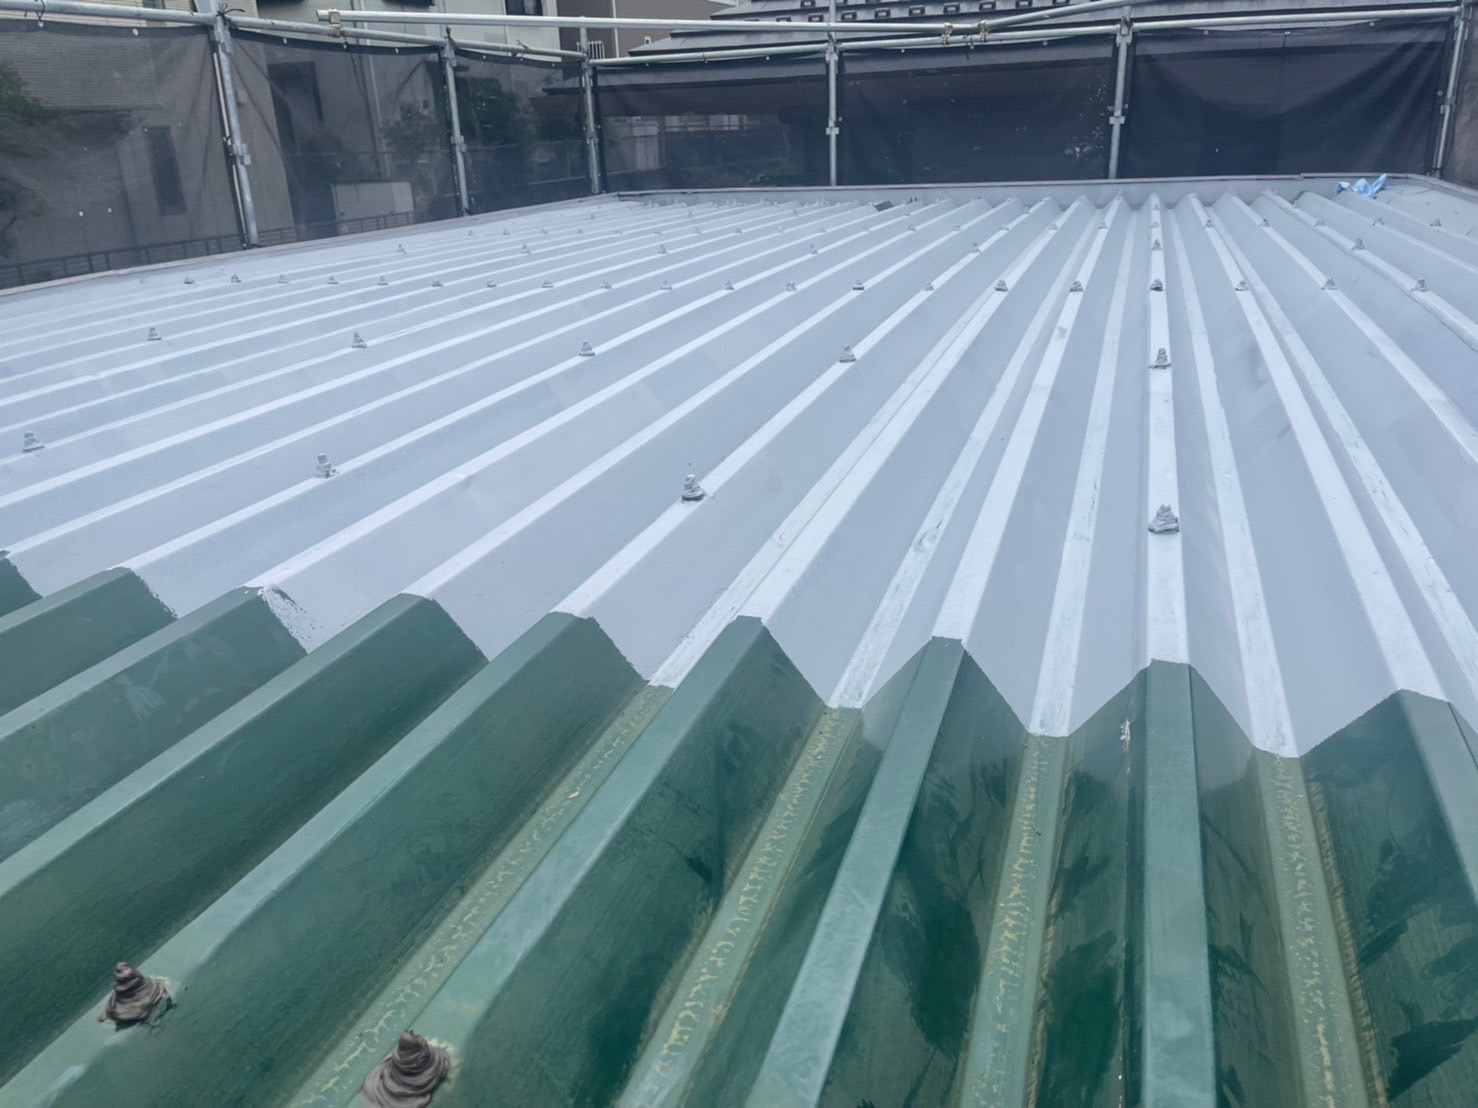 ※The above photo shows gray rust prevention paint!
For the primer on metal roofs, we will use rust prevention paint!
Depending on the material, rust prevention paint comes in white, red, black, and gray! It is safest to choose a color close to the topcoat.
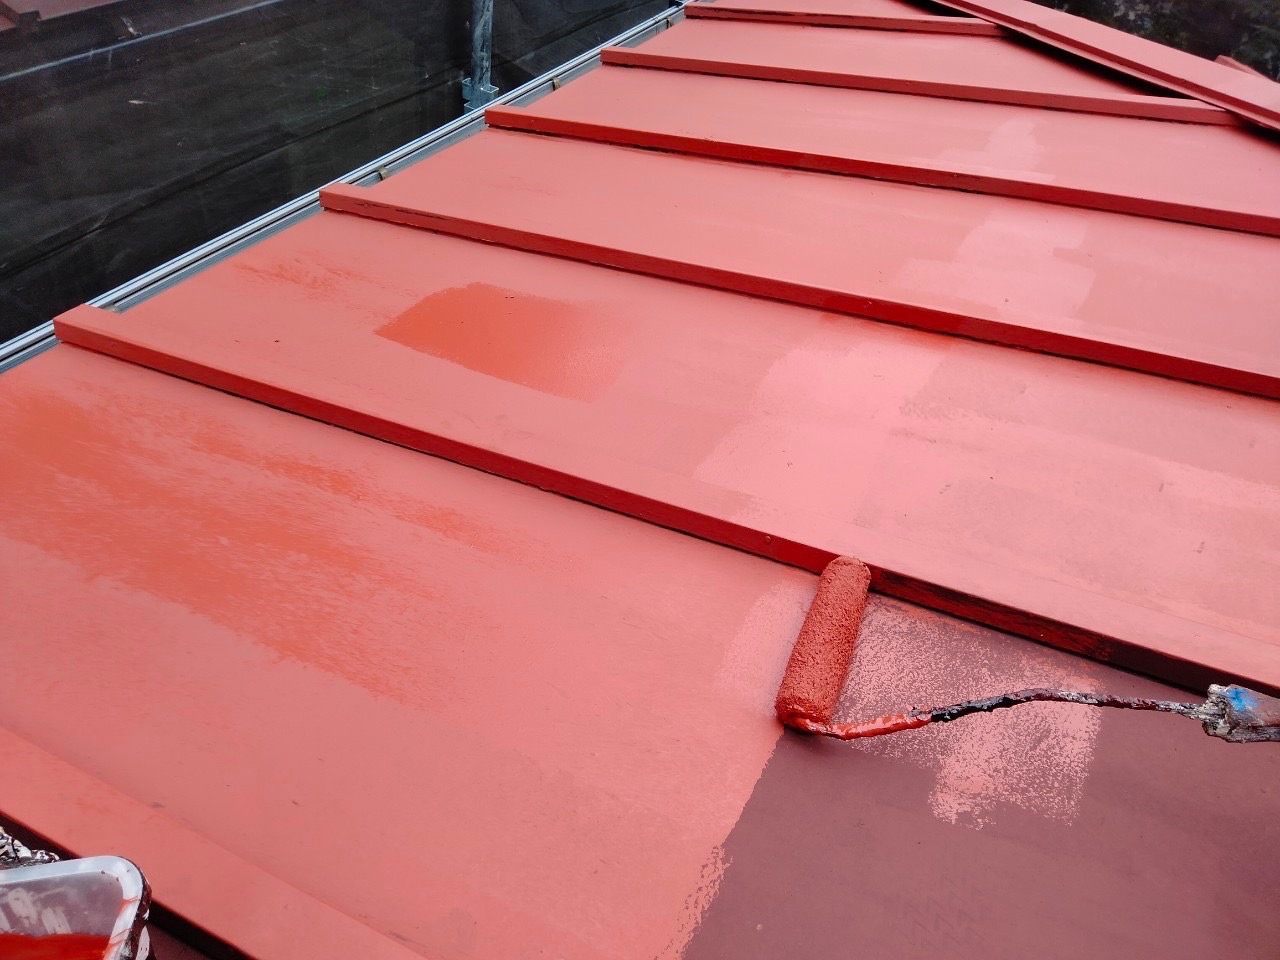
※The above photo shows red rust!
Please apply the rust prevention paint over the entire roof using a roller!
For detailed areas like eaves and ridges, please use an oil-based brush (paintbrush) for painting!
Rust prevention paint dries quickly, but the drying time varies by season!
In summer, please allow about 2 hours / in winter, 3 hours for drying!
The paint used in the photo is Nippon Paint’s Hypone Roof Deco, which is a rust prevention material!
6. Intermediate Coating
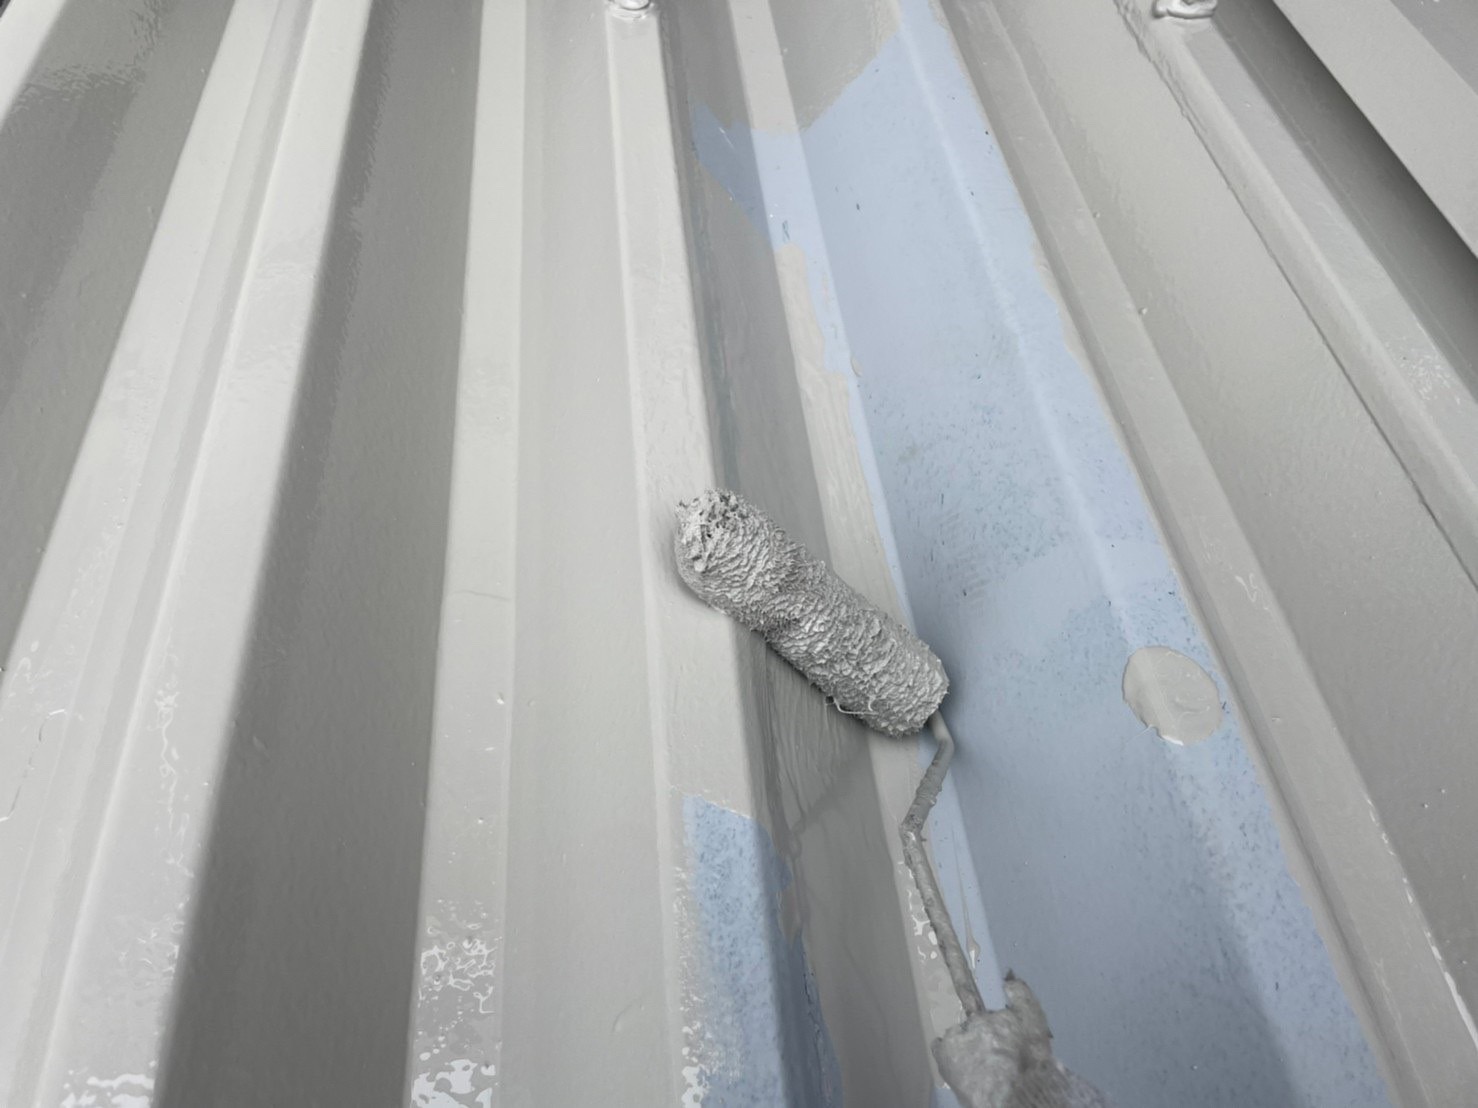
Please choose a weak solvent-based paint for metal roofs!
The paint should be diluted with a thinner to the specified amount before use!
We will proceed with the painting in the same manner as the undercoat!
7. Top Coat
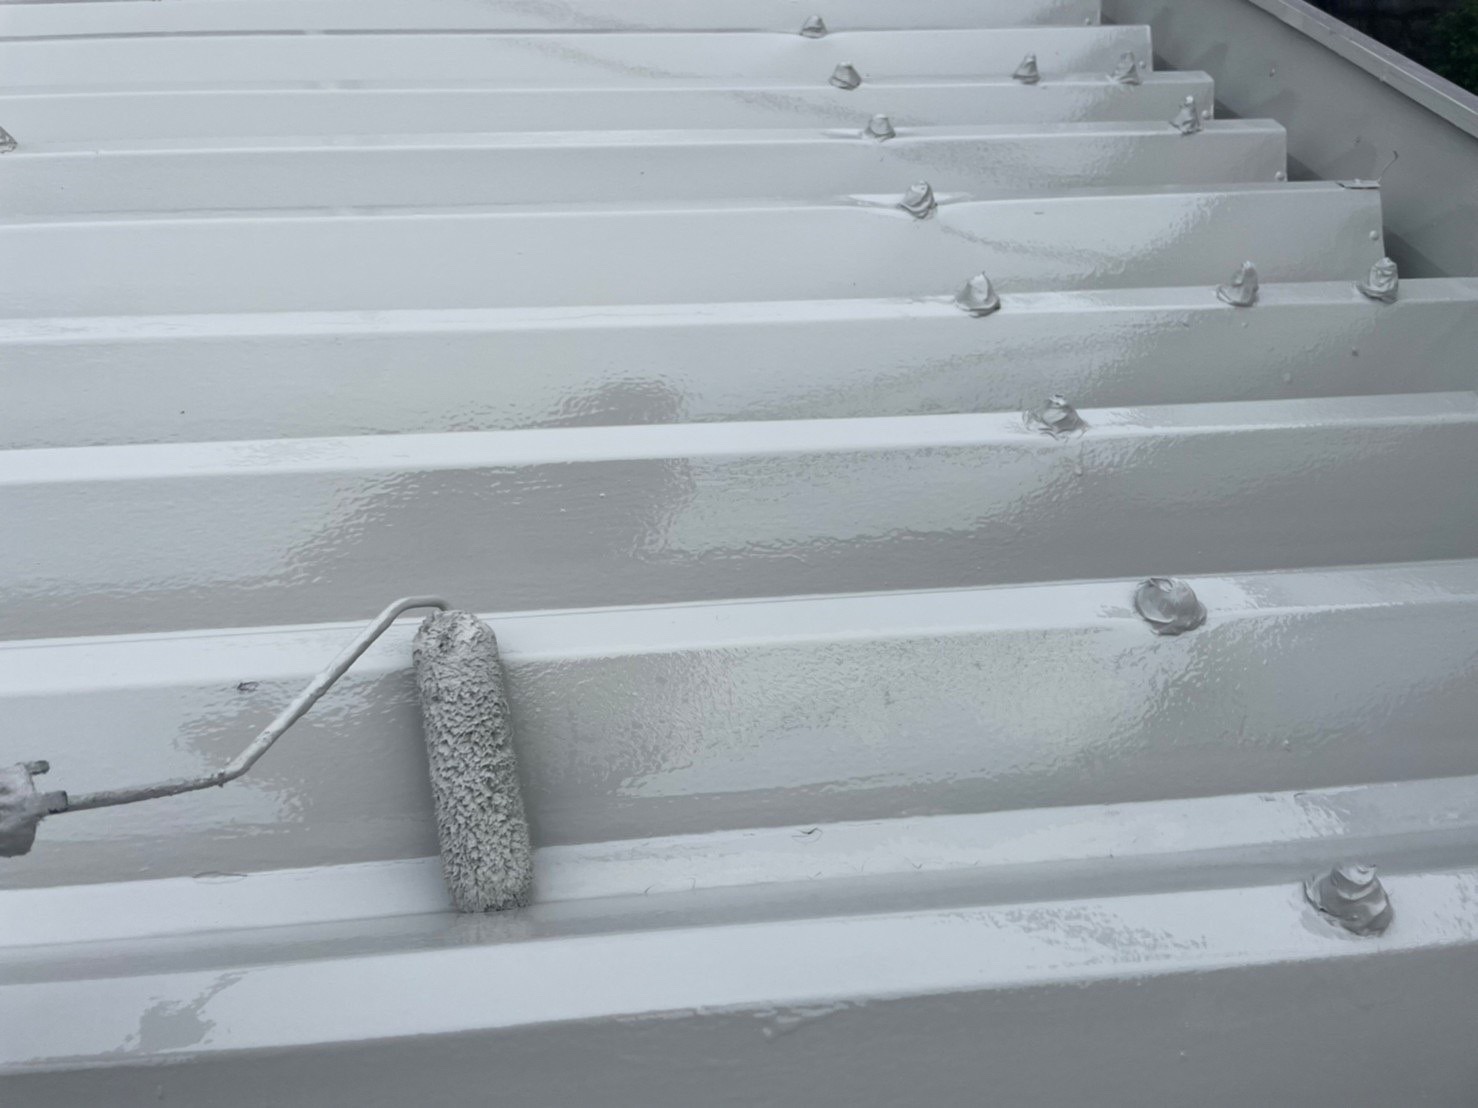

This is the final finishing process!
Please proceed with the painting in the same manner as the undercoat and middle coat!
The paint used is Nippon Paint/Fine Roof SI in Mountain Gray!
◎ Important Points for Metal Roof Painting
The most important task is Keren (rust removal).
Neglecting Keren can lead to rust coming up or paint peeling off.
A freshly painted metal roof can be quite slippery when wet! Be sure to check if your feet are wet and if the roof is wet!
Colonial, Slate, Color Best
1. High Pressure Washing
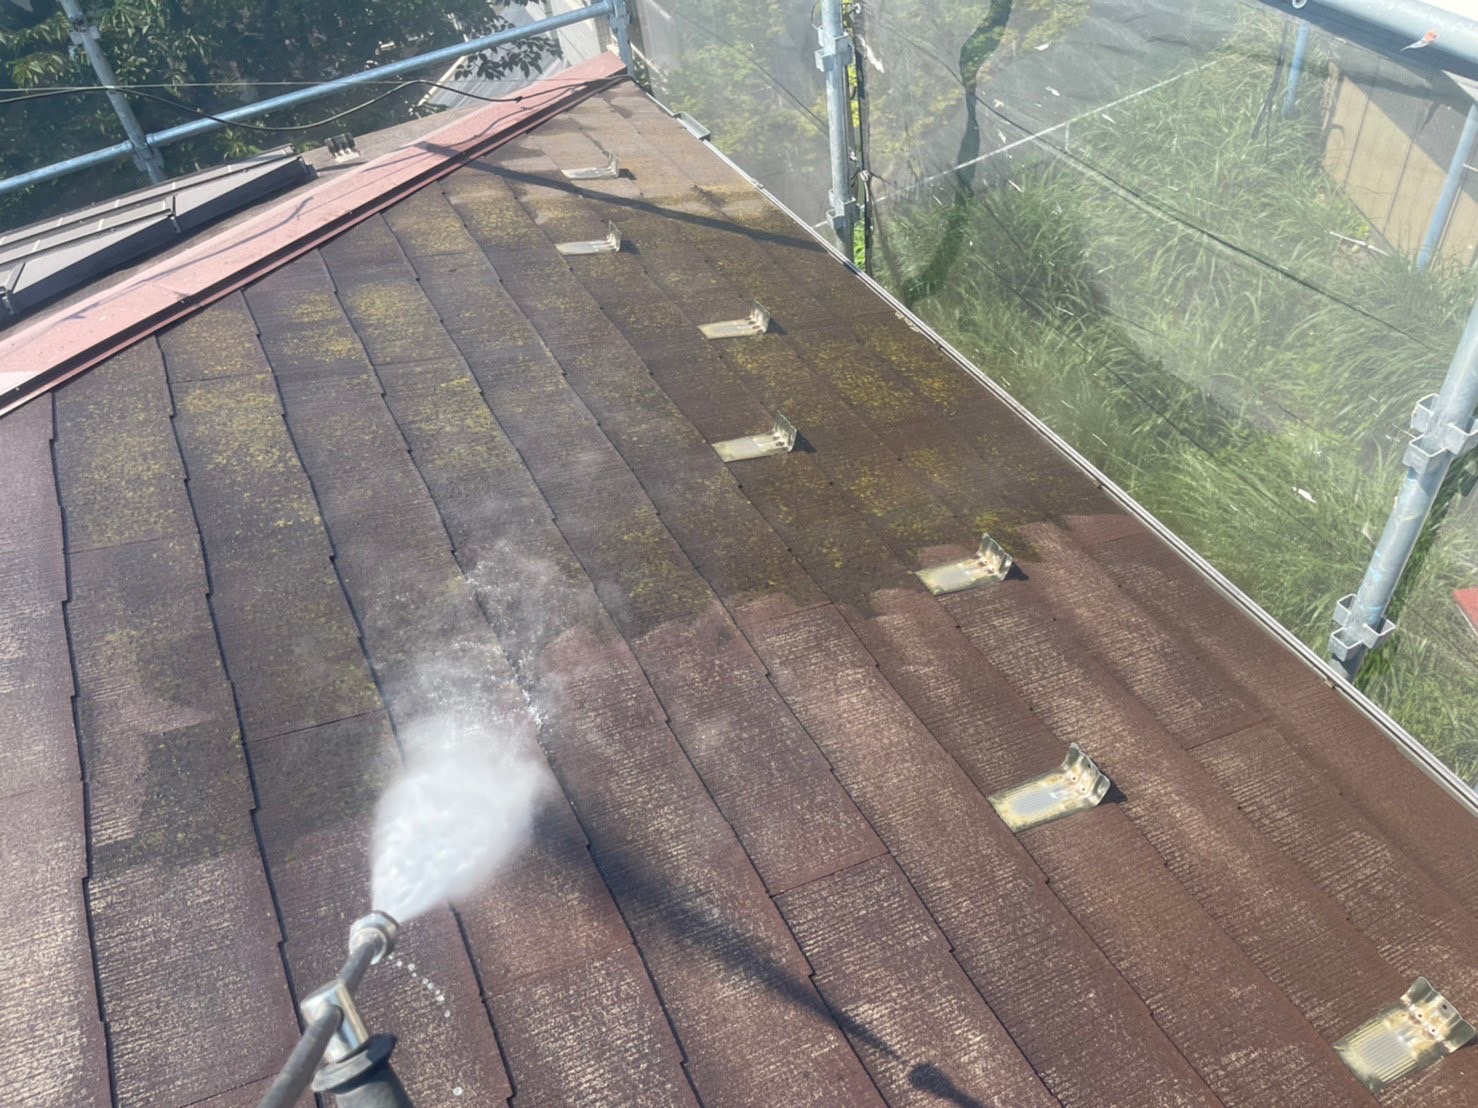
We will wash the entire roof.
Colonial roofs are prone to moss growth, so we will wash thoroughly to remove all moss.
Please be careful as deteriorated areas and areas with moss can be slippery!
Try to remove the old paint film as much as possible during washing!
2. Surface Preparation (Keren and Crack Repair)
Please perform Keren on the rust and remaining dirt on the ridge cap!
For cracks, use modified silicone or a repair material specifically for Colonial roofs!
If repairing with modified silicone, please apply the repair after applying primer!
3. Cleaning
We will clean dust and debris!
4. Protection
We will protect the rain gutters and walls to prevent paint from splattering or sticking!
We use a protective material called Polymask, which is a vinyl with tape attached, for the rain gutters!
For areas like the lower roof near the walls, we use masking tape and Polymask!
When applying masking tape, make sure to place it straight to clearly define the areas to be painted and those that will not be painted!
5. Primer Application
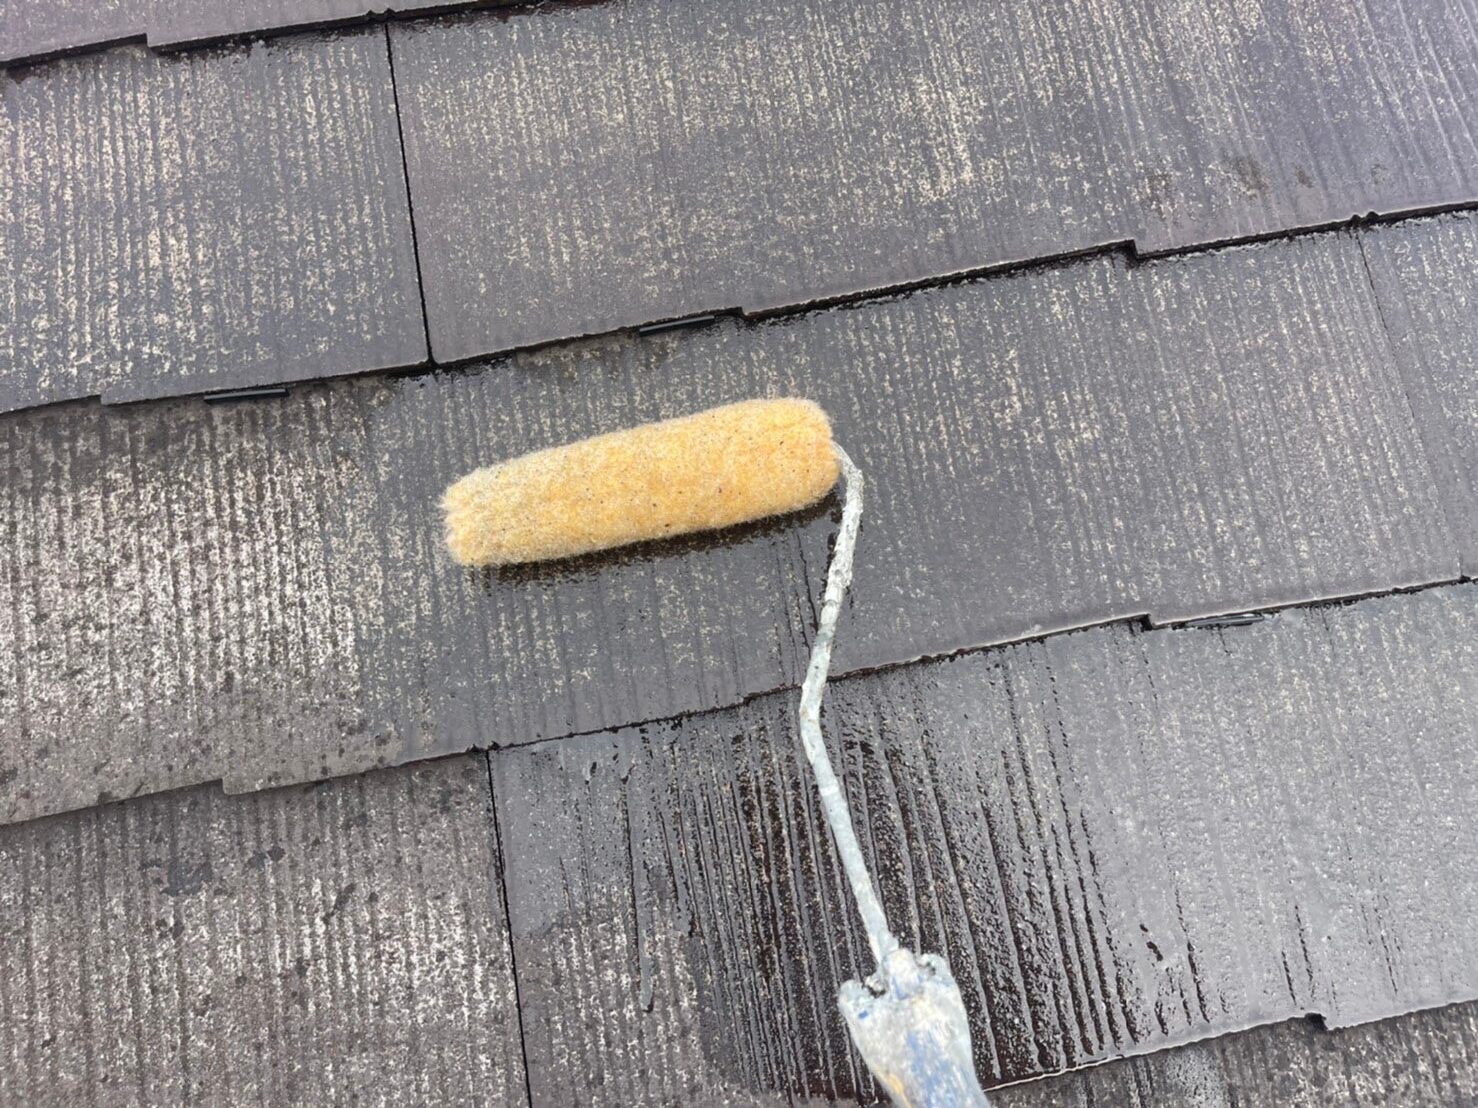
We use a primer specifically designed for colonial roofing materials. By allowing it to absorb well into the roofing material, we can eliminate unevenness and flaking during the middle and top coat applications.
While many primers are clear, if you are using heat-reflective paint for the top coat, the primer will be white.
The primer shown in the photo is the Nippon Paint/Best Sealer, specifically for colonial roofing.
6. Spacer Installation (Edge Cutting)
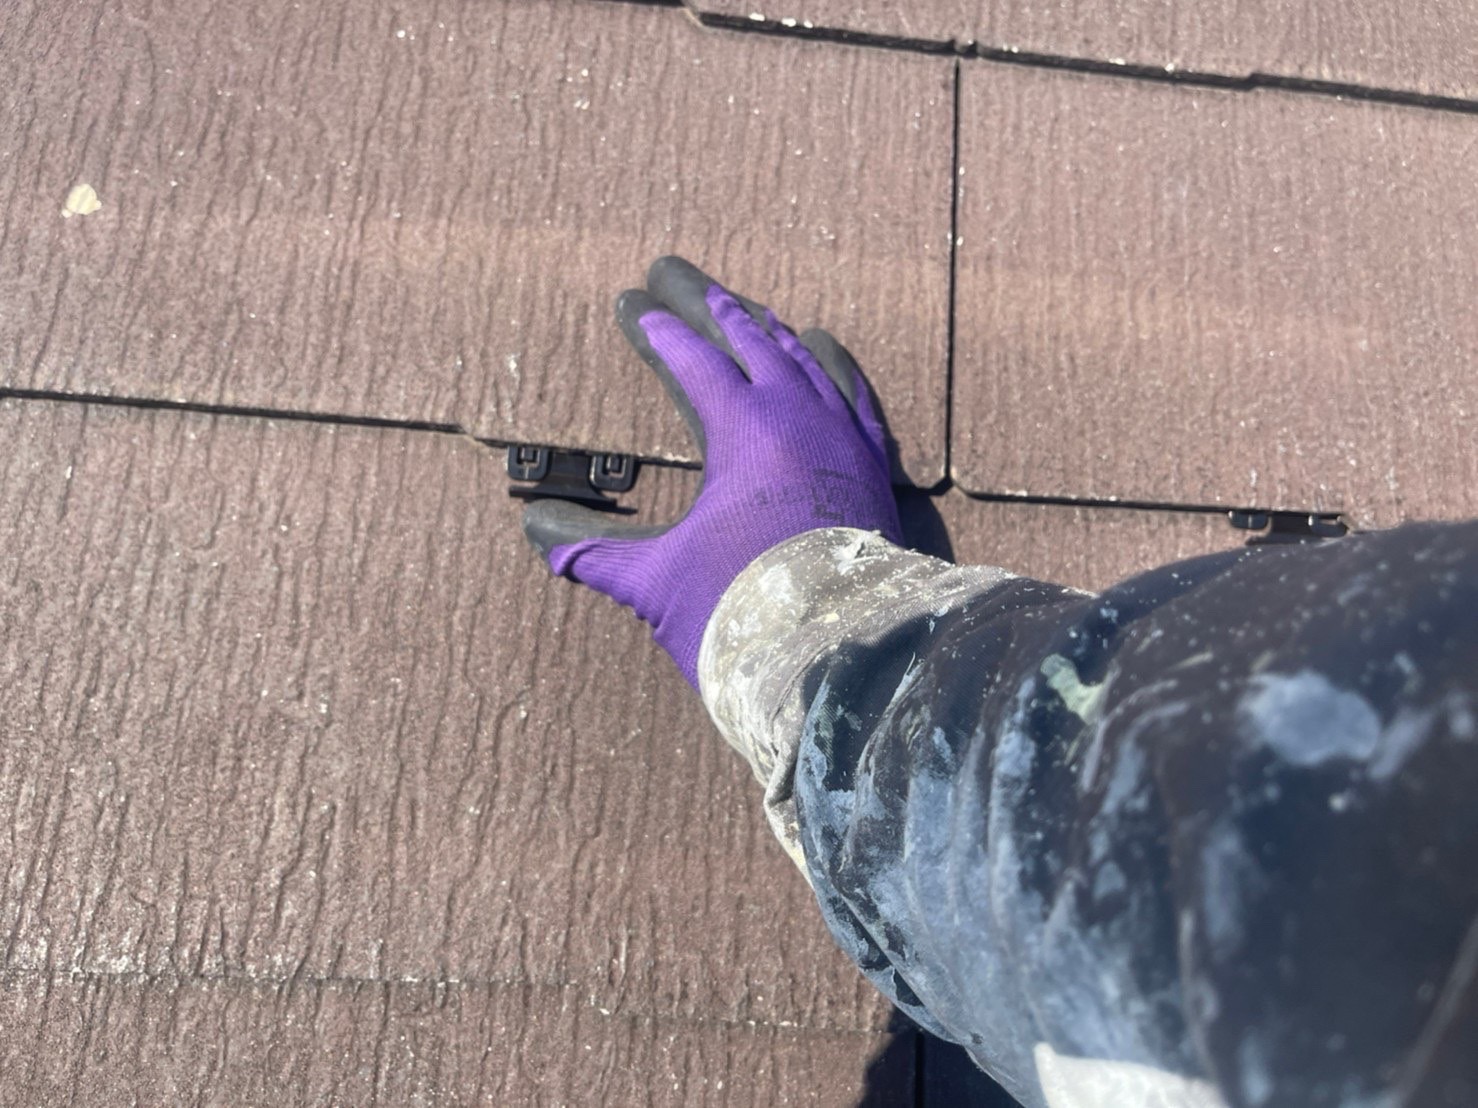
Colonial roofs allow water and moisture to escape through the gaps between each roofing material.
To ensure that the gaps are not blocked by paint, we insert a component called Taspacer by K.K. Same to maintain the gaps.
For more details about spacers, please refer to this page!
7. Middle Coat Application
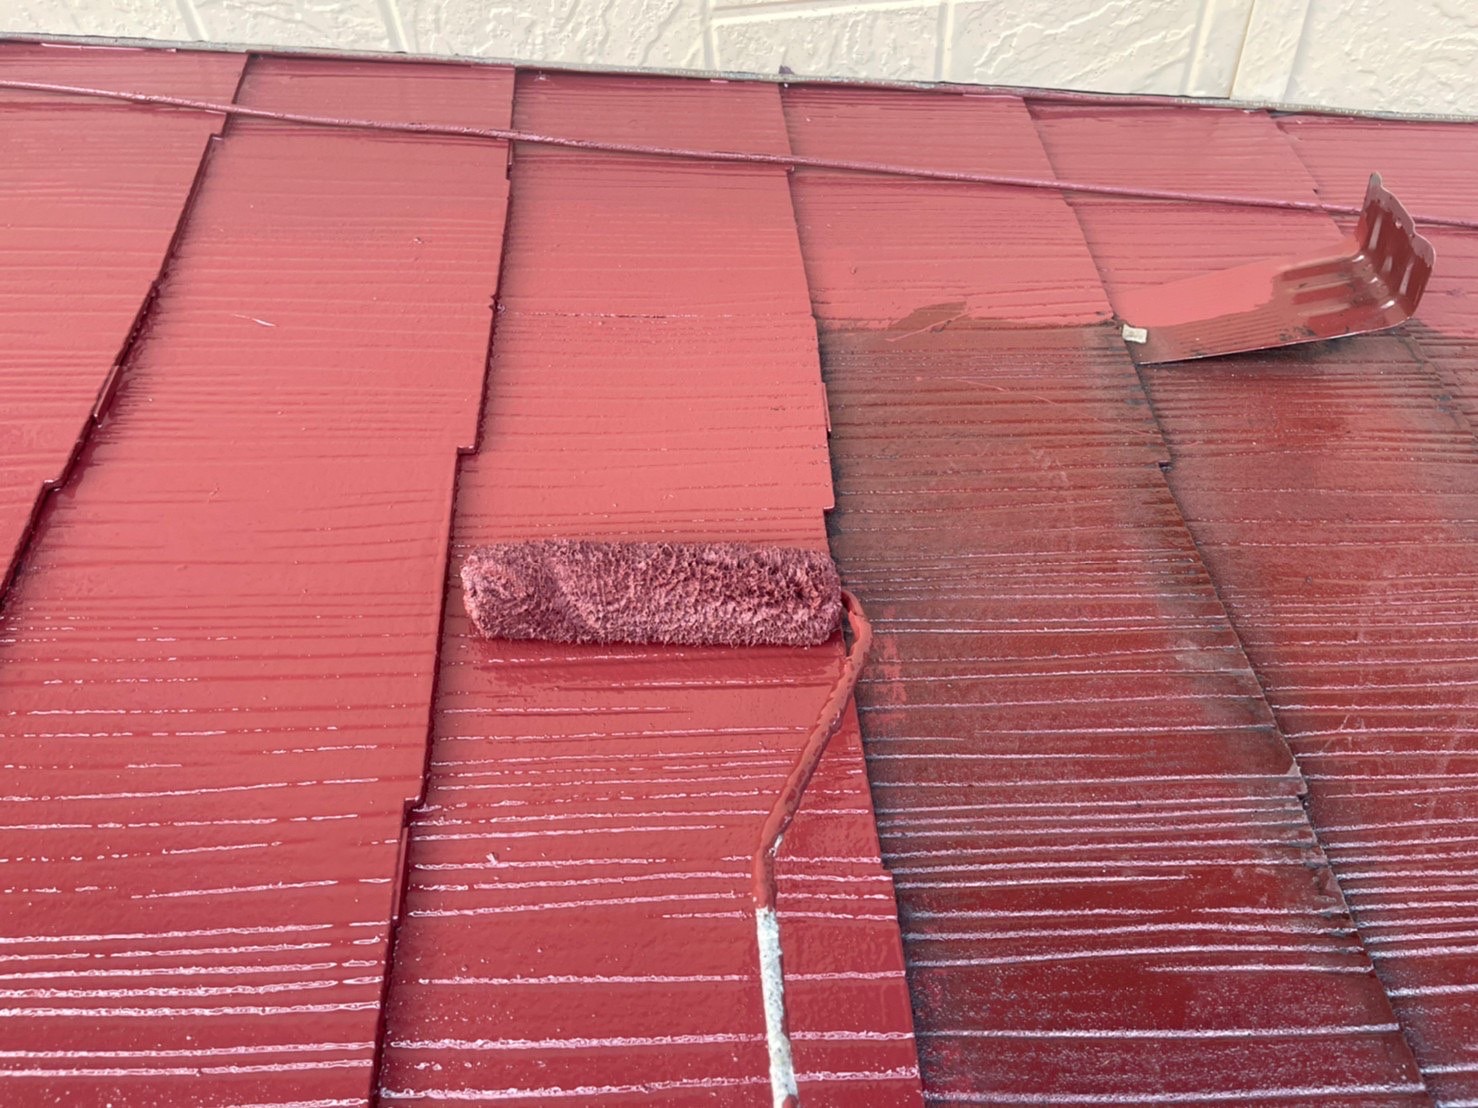
For gaps in the roofing material and hard-to-reach areas, we use a brush for painting!
8. Top Coat Application
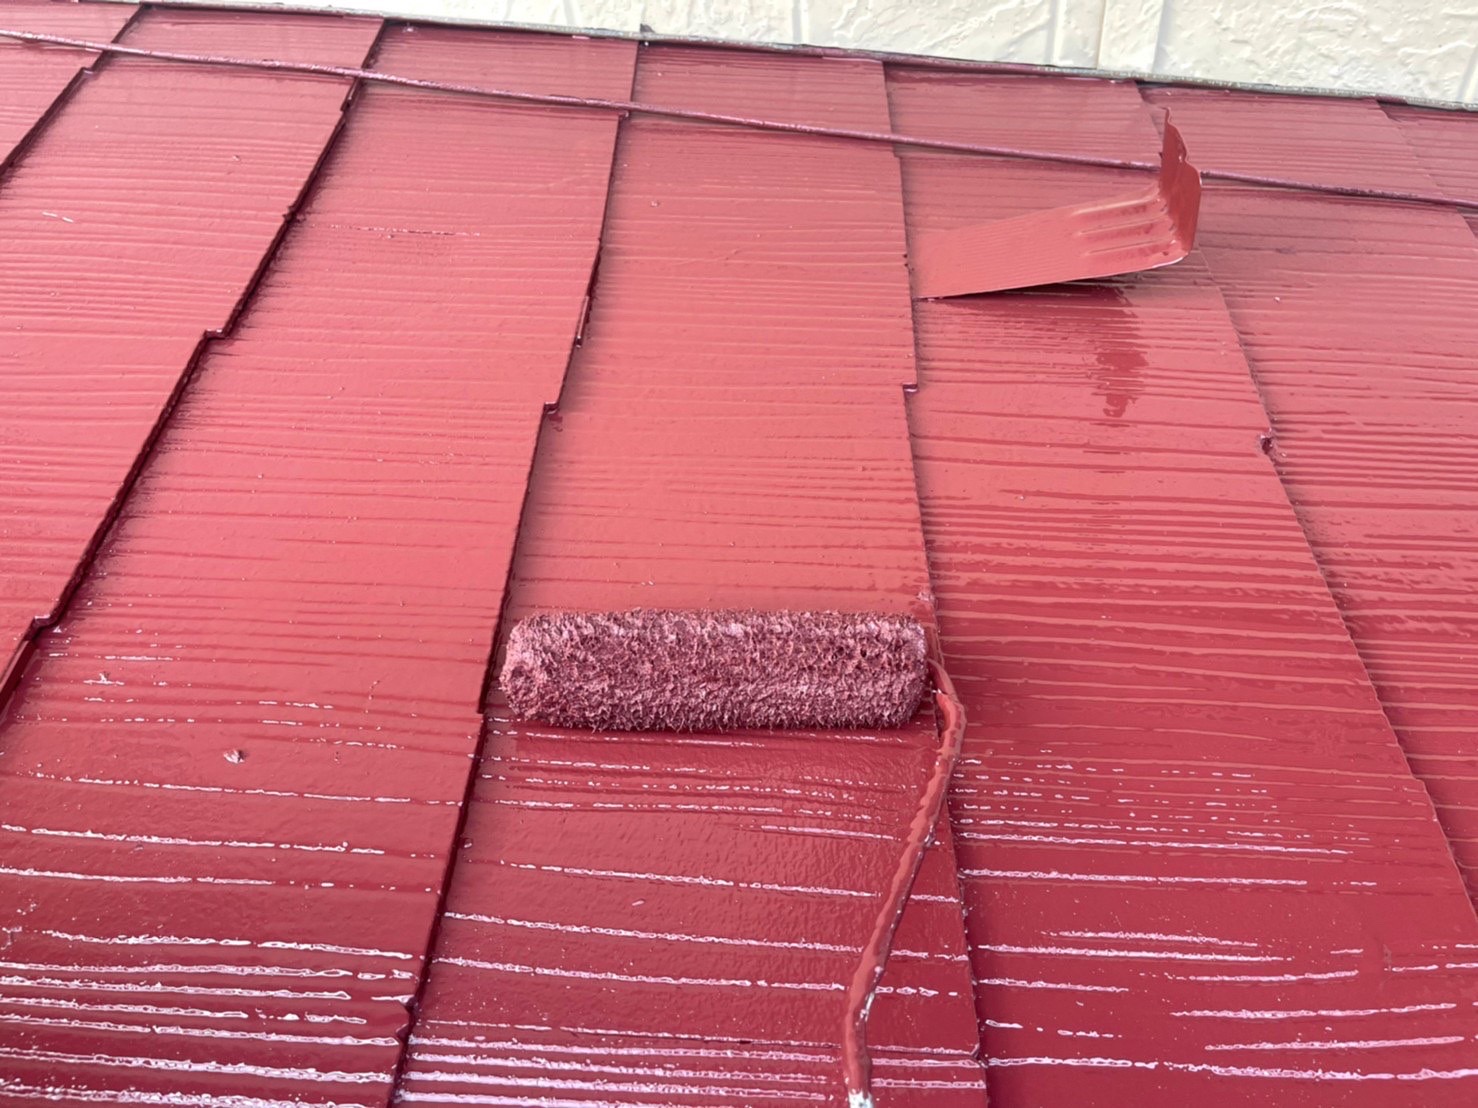
The painting is completed in the same manner as the intermediate coat.
Finally, please check that there are no gaps between the roofing materials filled with paint! If there are gaps, cutting the edges will be necessary.
The paint used is Nippon Paint/Fine Perfect!
◎ Points to Note for Colonial Roofs
Unlike other roofing materials, spacers and edge cutting are necessary.
If there is significant moss or deterioration, it can be quite slippery, so if it seems dangerous, let a professional handle it!
Mortar Tiles & Monier Tiles
1. High-Pressure Washing
Wash in the same manner as other roofing materials.
If you wash from the bottom to the top, water may enter through the gaps in the tiles, so wash from the top down!
Be careful not to direct high-pressure washing at the plaster.
2. Substrate Adjustment (Sanding & Crack Repair)
For tile roofs, broken roofing materials can be easily replaced. However, mortar tiles and Monier tiles are often discontinued…
If the roofing material is no longer in production, crack repair or professional metalwork will be necessary.
3. Cleaning
Similarly, clean up any debris and dust!
4. Protection
Protect the rain gutters and wall edges just like with other roofing materials.
5. Primer Coat
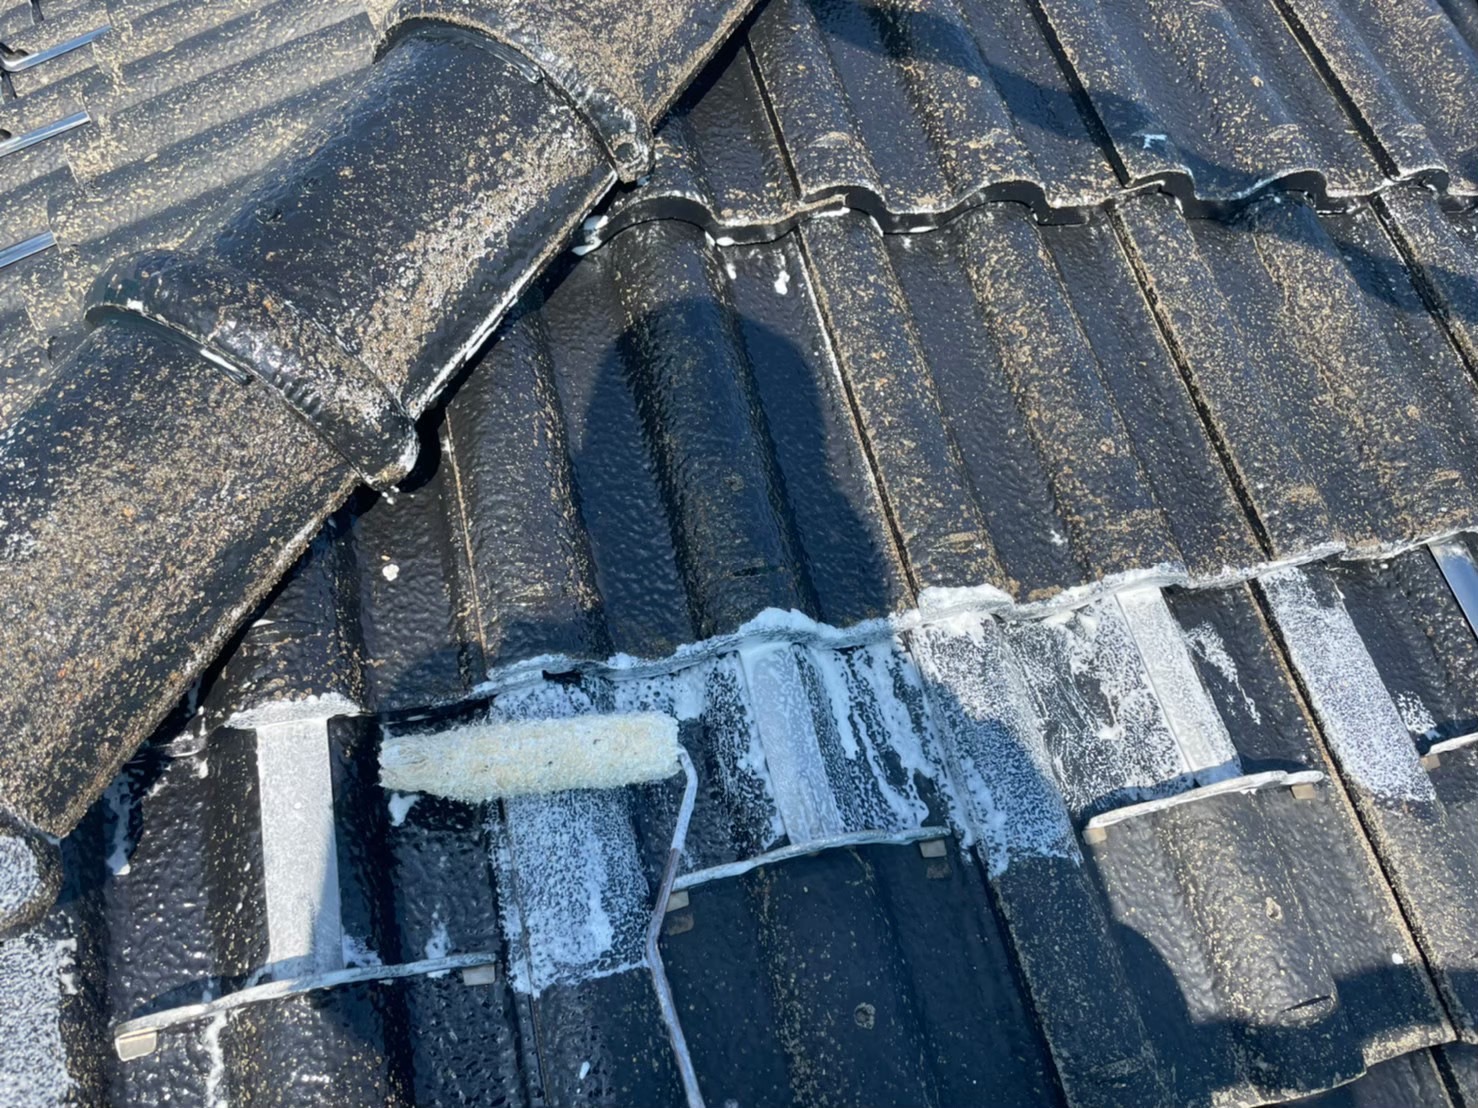
Apply a dedicated primer for mortar tiles and Monier tiles!
Due to the significant unevenness, there will be many areas that do not get wet with the roller.
In that case, please use a brush for painting!
The primer used is Mizutani Paint/Slurry Reinforced Primer!
6. Intermediate Coat
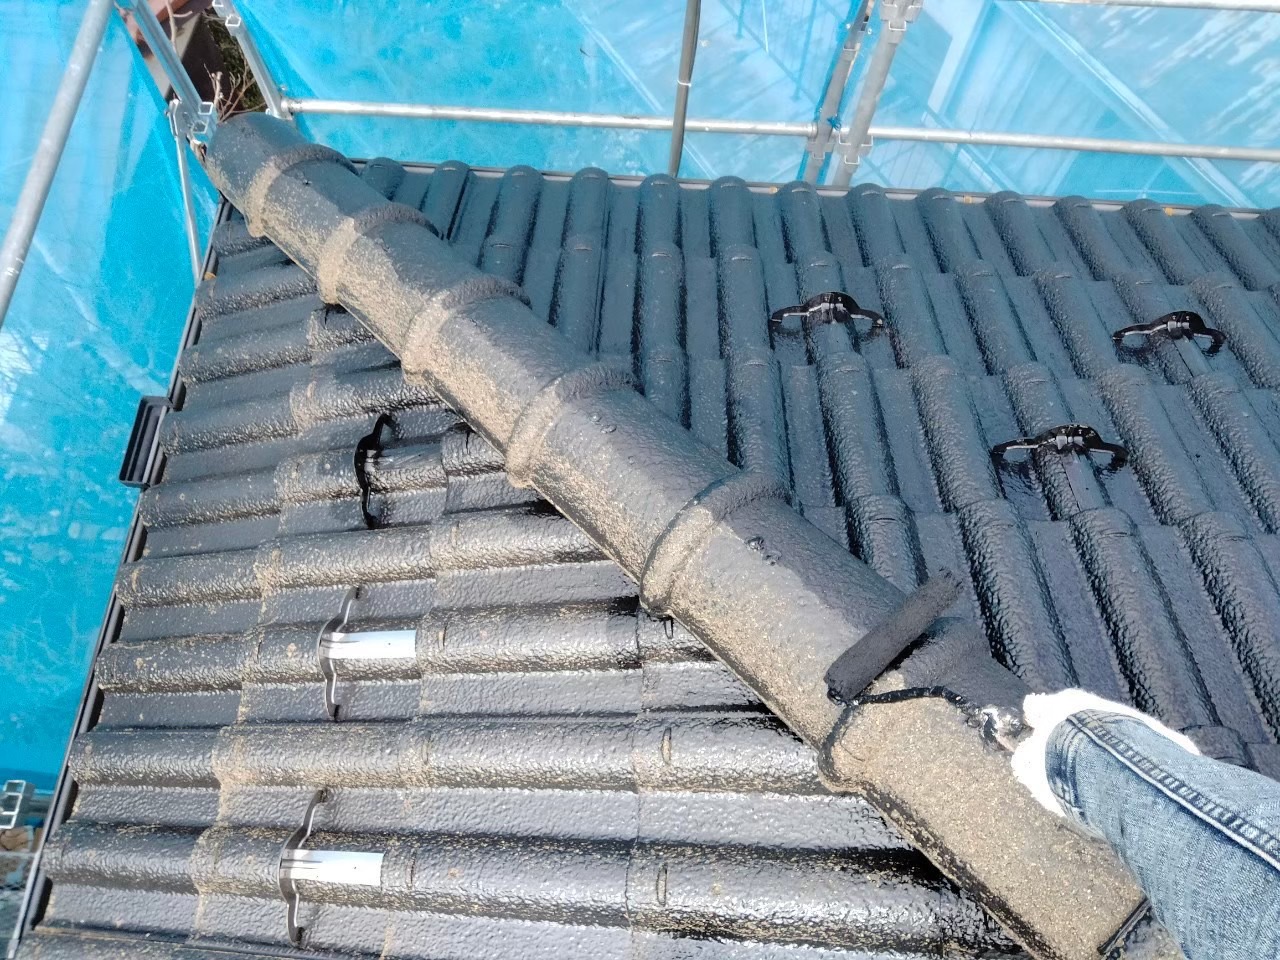
Paint in the same manner as the primer coat!
7. Top Coat
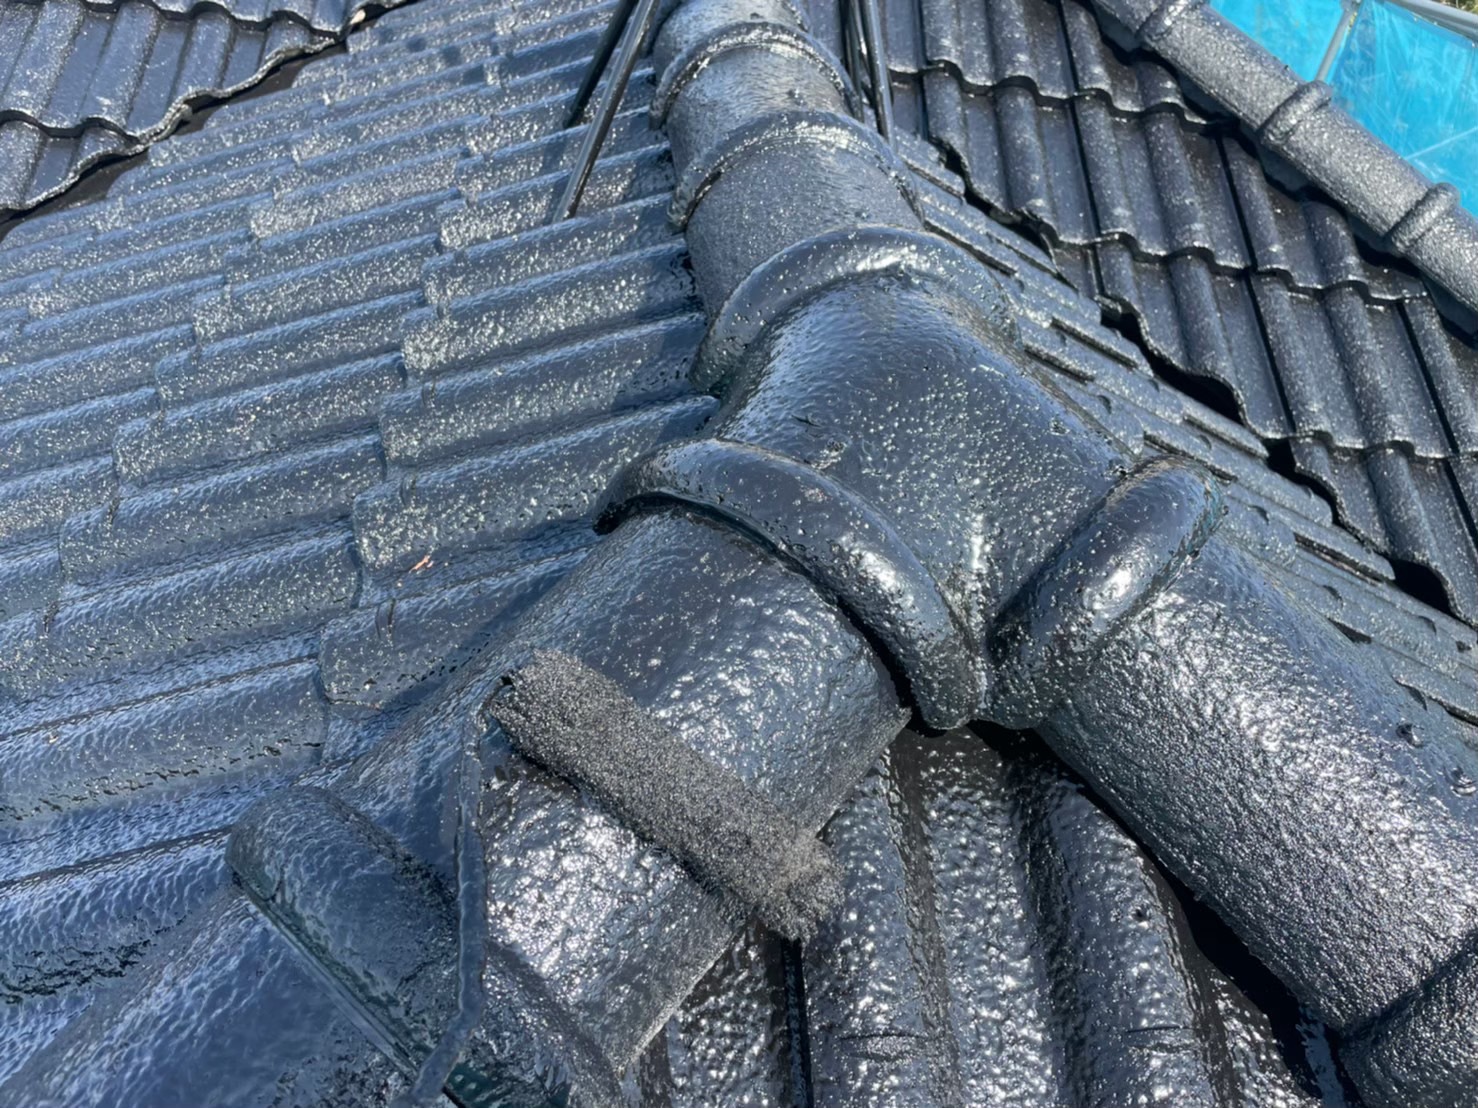
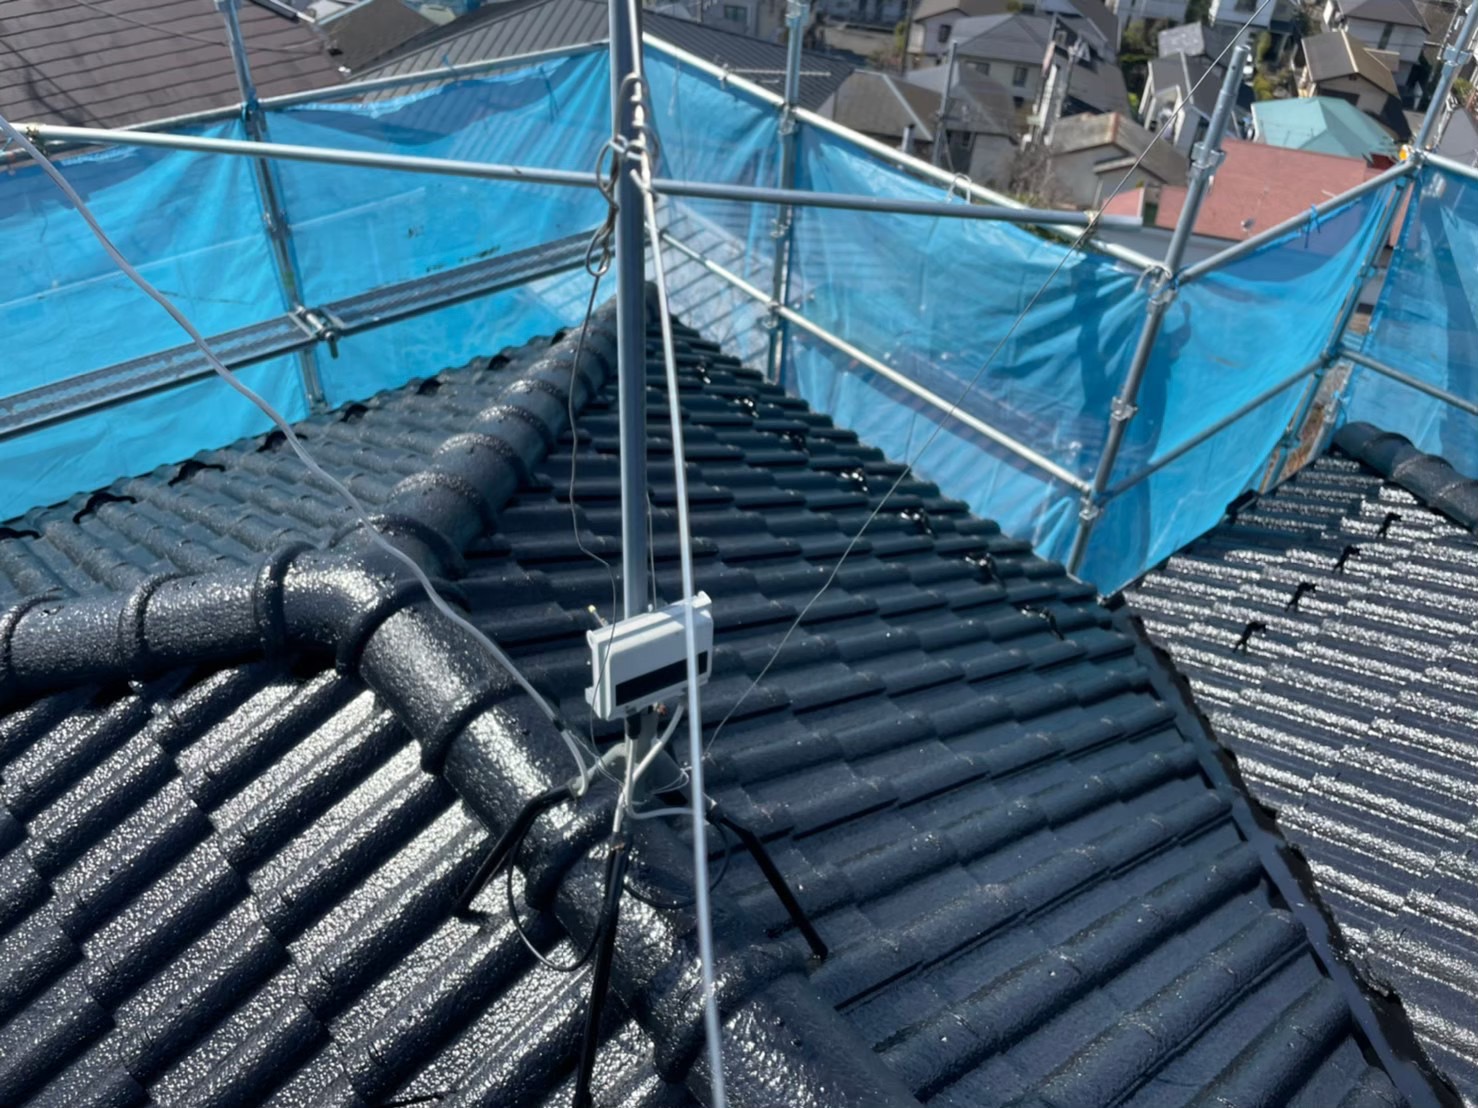
Next is the topcoat. This will be the finishing touch for the roof painting.
◎Points to Note About Monier Tiles
When washing a roof with Monier tiles, care must be taken to prevent leaks. Since there are many discontinued products, it is essential to be cautious not to break the roofing materials, so work must be done carefully.
Conclusion
We have explained the DIY plan above!
Safety is the top priority, so please do not push yourself too hard and give it a try!
If you have any questions or concerns, our company will fully support you!
Feel free to consult us about any uncertainties regarding construction or the DIY plan!
We recommend starting with simple roof painting as your first challenge!
Our company has many examples of roof painting and exterior wall painting in our construction achievements!
We hope you will take a look.
We also have the procedures for sealing and exterior wall painting available!
Helpful information about exterior renovations can be found here!
・Summary of Popular Exterior Wall Paint Colors! Recommended Color Combinations!
・Introducing Roofing Materials That Cannot Be Painted or Are Not Recommended! Roof Painting Not Allowed!
・Latest! Subsidies in Kanagawa Prefecture! Introducing Grants and Reduction Systems!
・Is Exterior Wall Painting Necessary? Risks of Leaving It Untreated!
・How Much Does Exterior Wall Painting Cost? Are There Tips to Reduce Costs?
・What Is the Best Time for Exterior Wall Painting? How to Determine the Best Timing!
・Exterior Wall Cleaning Construction Plan Without Temporary Scaffolding!
・What Are the Ventilation Methods for Siding External Walls and the Direct Installation Method? Introducing Maintenance Methods!
・
About Joint and Sealing Work|Introducing Cost Estimates and Construction Methods!
LINE consultations are also very welcome◎

We are also updating our Instagram regularly◎ Please follow us!

contact Kakeru Koumuten Co., Ltd.
Kakeru Koumuten is a young company whose team is, on average, in their late twenties, but our skills are second to none.
Our greatest strength is that we handle scaffolding, roofing and painting entirely in-house. In an industry where these tasks are usually divided among contractors, our complete service simplifies project management and helps keep costs down. Above all, if a problem arises, we respond promptly.
We proudly describe ourselves as the youngest and most helpful renovation company in Kanagawa!