What is Shikkui!? We will explain the deterioration and repair methods of the shikkui on roof tiles along with our construction results!

Hello! This is Kakeru Koumuten Co., Ltd.!

Here, we will introduce “Deterioration of the stucco on roof tiles” and
actual construction results from Kakeru Koumuten Co., Ltd. as well
We will explain the construction process, so please take a look!
What is stucco?
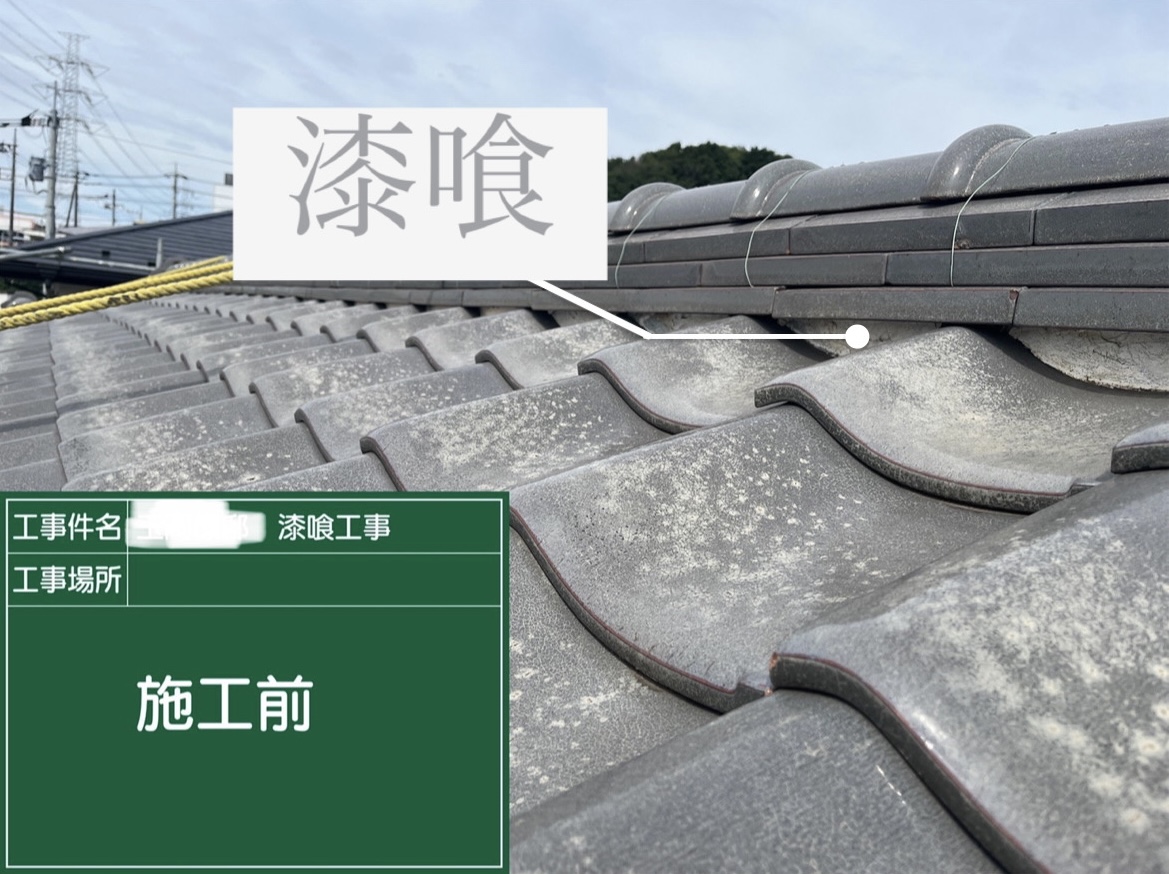
Stucco is used in various places in construction, such as tiles, ceilings, and walls.
It is a familiar building material used in various locations, including the outer walls of traditional Japanese houses and castles.
This article will focus on the stucco used on roof tiles!
The stucco fills the gaps between the ridge of the roof and the tiles.
If your home has roof tiles, you may have experienced seeing white, crumbling material peeling off the roof, haven’t you?
That is precisely the stucco that has come off due to the deterioration of the roof.
We will explain the stucco in detail!
Role of stucco
First, the stucco on roof tiles fills the gaps between the ridge of the roof and the tiles, protecting the layer of clay called “fuki-doko” underneath the tiles.
In addition to its waterproofing effect, stucco also has adhesive properties similar to clay, serving the role of filling gaps between tiles and providing waterproofing.
Since it serves as the foundation for the ridge tiles, it is also crucial in preventing the outflow of the inner Arakida clay when the stucco peels off.
Symptoms of stucco deterioration
Since plaster is primarily made of slaked lime, its lifespan is shorter compared to tiles. While the lifespan of tiles is said to be 50 to 80 years, the lifespan of plaster is approximately 10 to 20 years. Over time, the surface may decay or peel, gradually showing signs of deterioration in the plaster.
When the plaster starts to peel, the soil known as “daitotsuchi” will emerge from inside the ridge. This is Arakida soil.
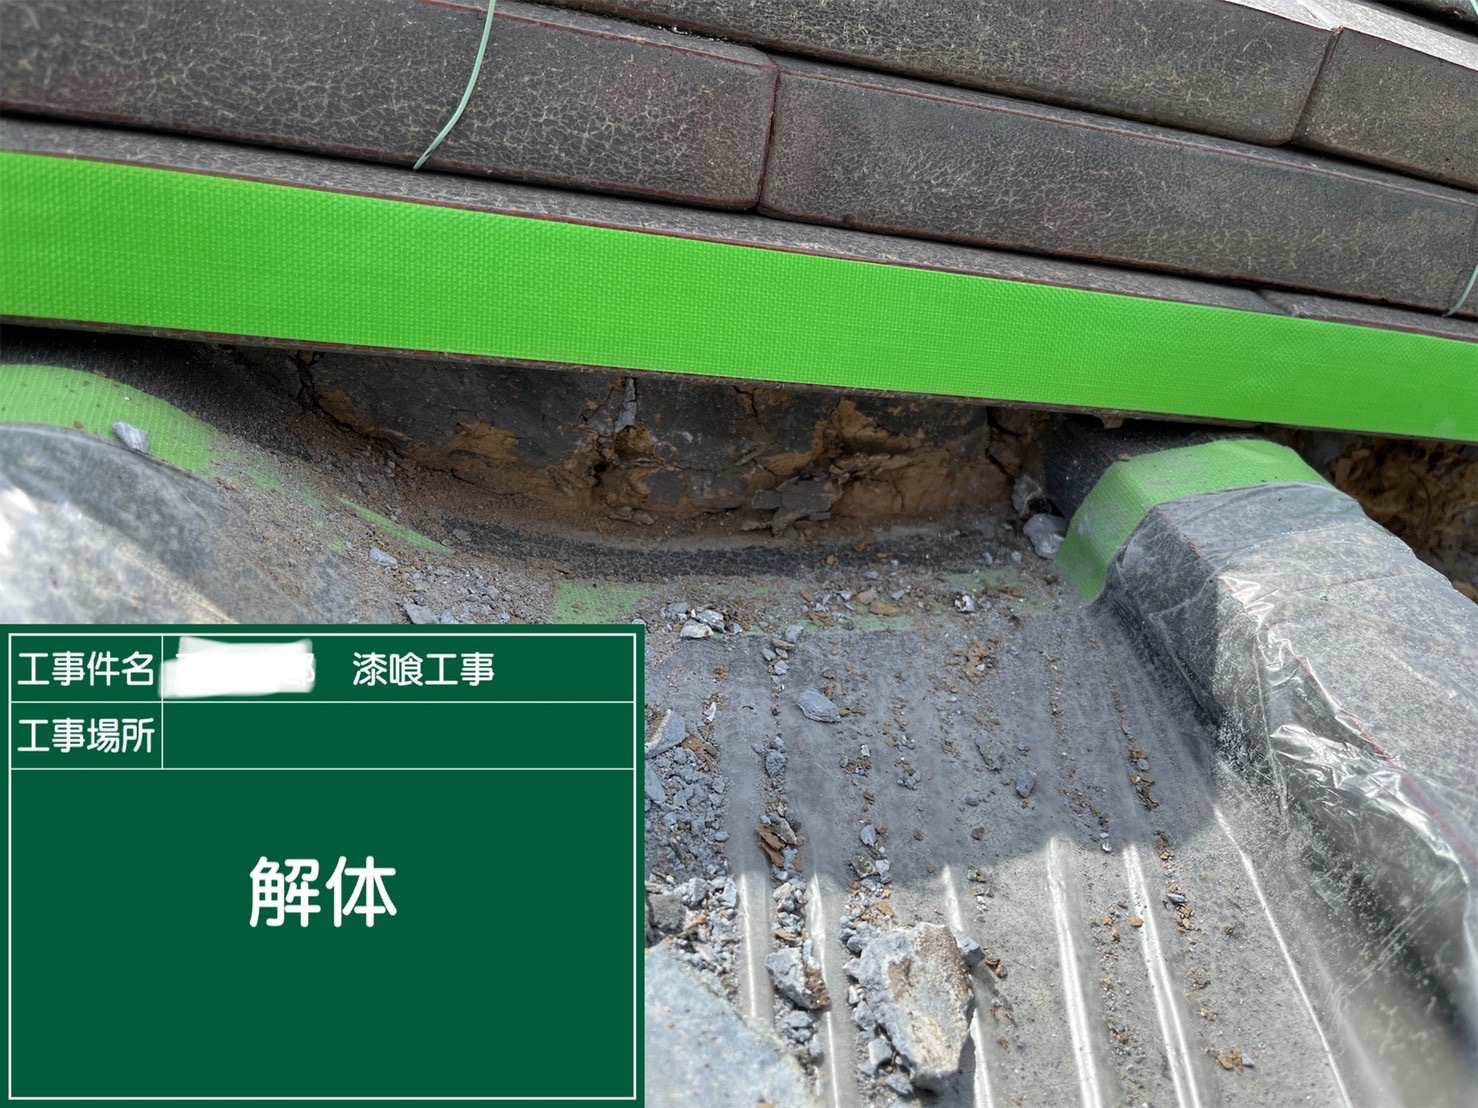
If deterioration progresses, rainwater can enter through the peeled plaster, eroding the roofing soil beneath the tiles. By the time you notice this, the entire ridge may have sustained damage, leading to water leaks. In the worst case, there is a risk that the ridge could collapse and fall.
Main Causes of Deterioration
・Exposed to rain and wind, causing the surface to decay
・Deterioration due to direct sunlight and temperature fluctuations
・Plaster shrinks over time.
・Cracks caused by earthquakes or vibrations.
In principle, the plaster on the roof requires regular maintenance.
It is best to regularly monitor the signs of plaster deterioration. By performing regular maintenance, the overall lifespan of the tile roof can also be extended. Let’s keep maintenance in mind to extend its lifespan as much as possible!
Methods for Repairing Plaster
We will explain the construction methods when plaster deteriorates.
Repacking and Recoating of Plaster (Surface Coating)
If there is little peeling of the plaster, we will address it with this repacking work.
The construction can be completed in just one day.
First, we will dismantle the existing plaster and then repack and coat it with new plaster.
Re-stacking of Ridge Tiles
Re-stacking the ridge tiles involves removing the ridge tiles (noshigawara) located at the highest point of the roof and reconstructing them anew.
This re-stacking work is applicable when the plaster is overflowing with soil or when there is distortion in the ridge.
The soil and copper wire will also be replaced with new ones.
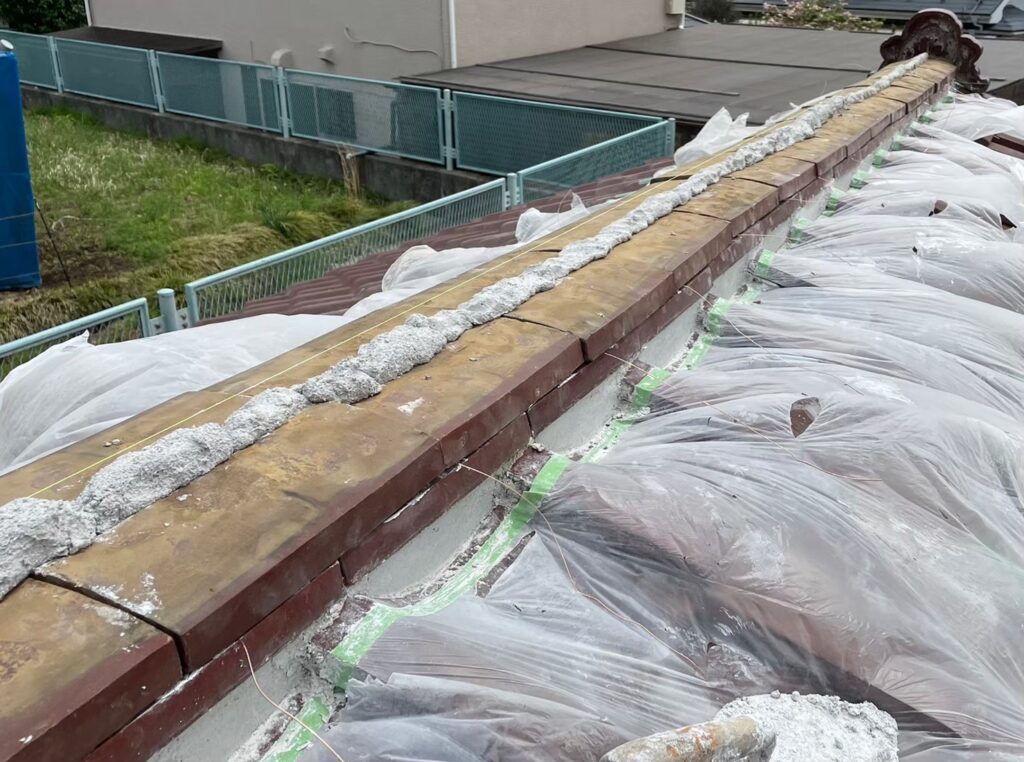
When we perform the re-stacking of the ridge, we use “Nanban plaster“, which results in a ridge that is more durable than Arakida soil.
Nanban plaster is a material that combines “slaked lime” with silicone and fibers.
It has higher strength and waterproofing compared to regular plaster and Arakida soil.
The construction period may take approximately 3 to 5 days.
How to Choose a Contractor for Plaster Work
Choosing a contractor for plaster work is very important.
To extend the lifespan and durability of roof tiles, let’s select a reputable company. Here’s how to choose a contractor!
Contractors with Construction Experience
First, there are things you should research before deciding on a contractor.
One important point is that contractors without construction experience can be risky.
Some contractors may have never done plaster work. As a result, they may lack knowledge and could perform incorrect work. If you cannot find any examples of their work, first, ask the contractor about their experience.
Contractors Who Take Photos of the Work Process
The roof is a place that is usually not visible. Therefore, it can be difficult for customers to check.
Choose a contractor who takes photos before, during, and after the work. The reason why it’s good to have a contractor who documents the work is that, quite simply, you can confirm with your own eyes that they are not doing shoddy work.
However, there are some contractors who do not take any photos at all. Unfortunately, many contractors skip this step, claiming that the work will be finished quickly.
Contractors with Post-Construction Guarantees
Choose a contractor that has a solid after-service system, including post-construction guarantees.
Due to the effects of rain, wind, and UV rays, there may be areas that become concerning even a few years after the work is done. Without a guarantee, you may incur additional unnecessary costs.
When selecting a contractor, be sure to check their guarantees and after-service system. Also, request regular inspections even after the work is completed.
Kakeru Koumuten Co., Ltd. offers solid guarantees!
We also have a page detailing our guarantees, so please take a look if you’re interested!
Construction Examples from Kakeru Koumuten Co., Ltd.
Repacking of Plaster
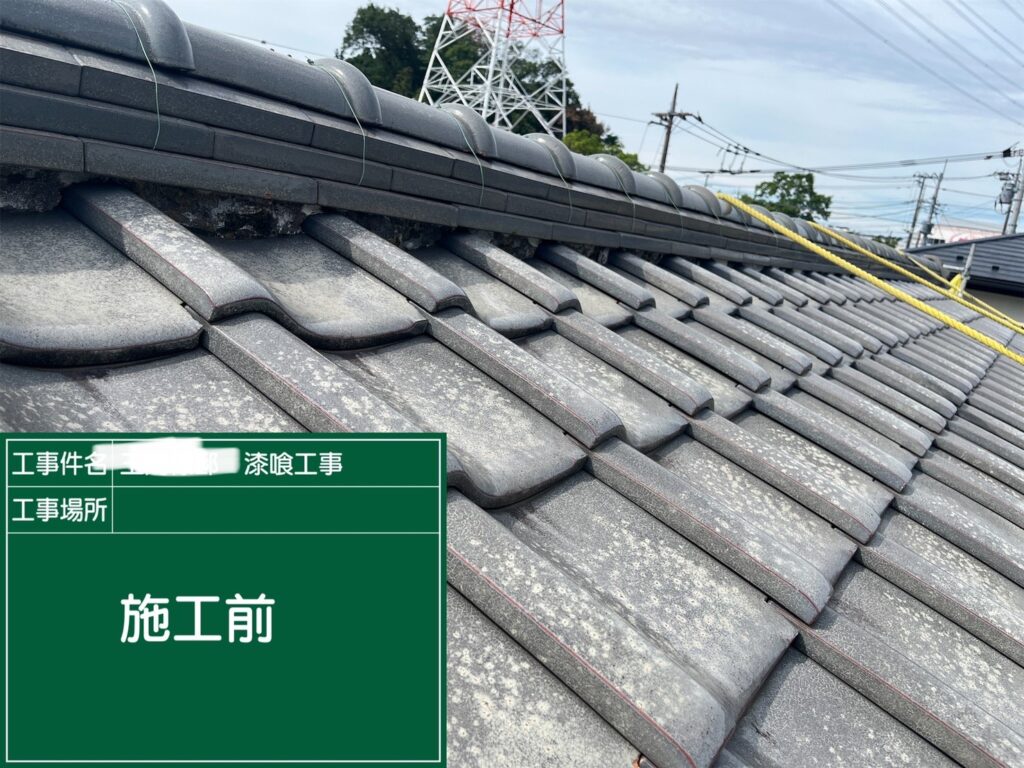
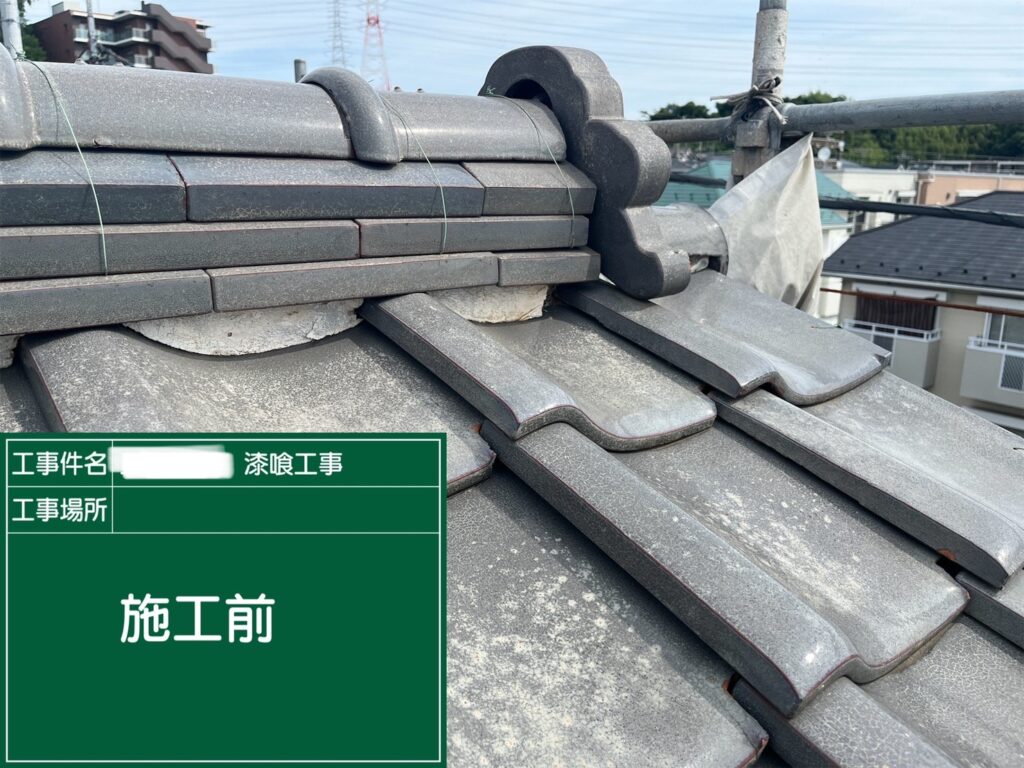
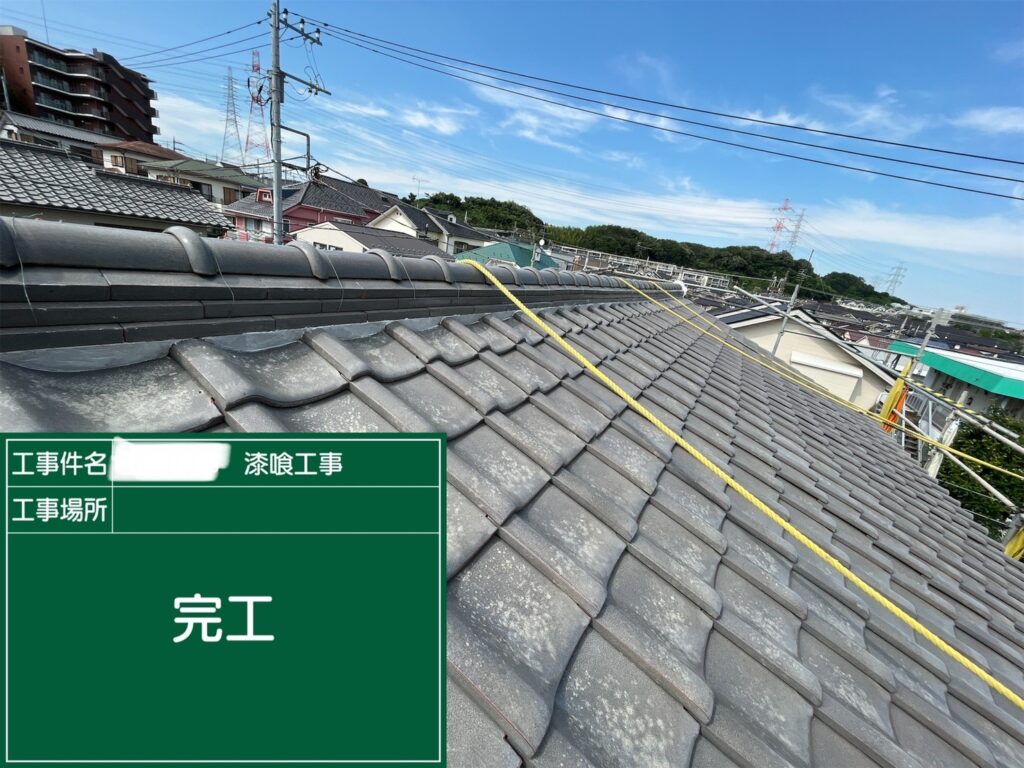
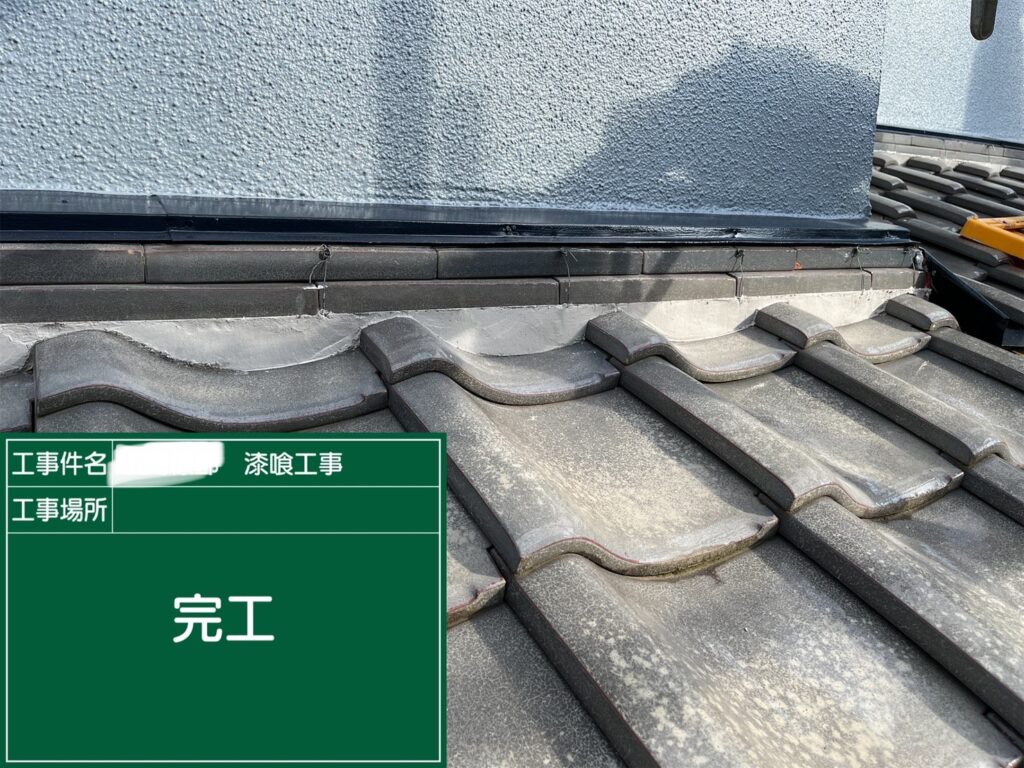
This project is a case study for Mr. T’s residence, commissioned by Company A!
This construction involves repointing the mortar of the roof tiles.
We will explain the actual results achieved by Kakeru Koumuten along with photos!
1. Preparation Work
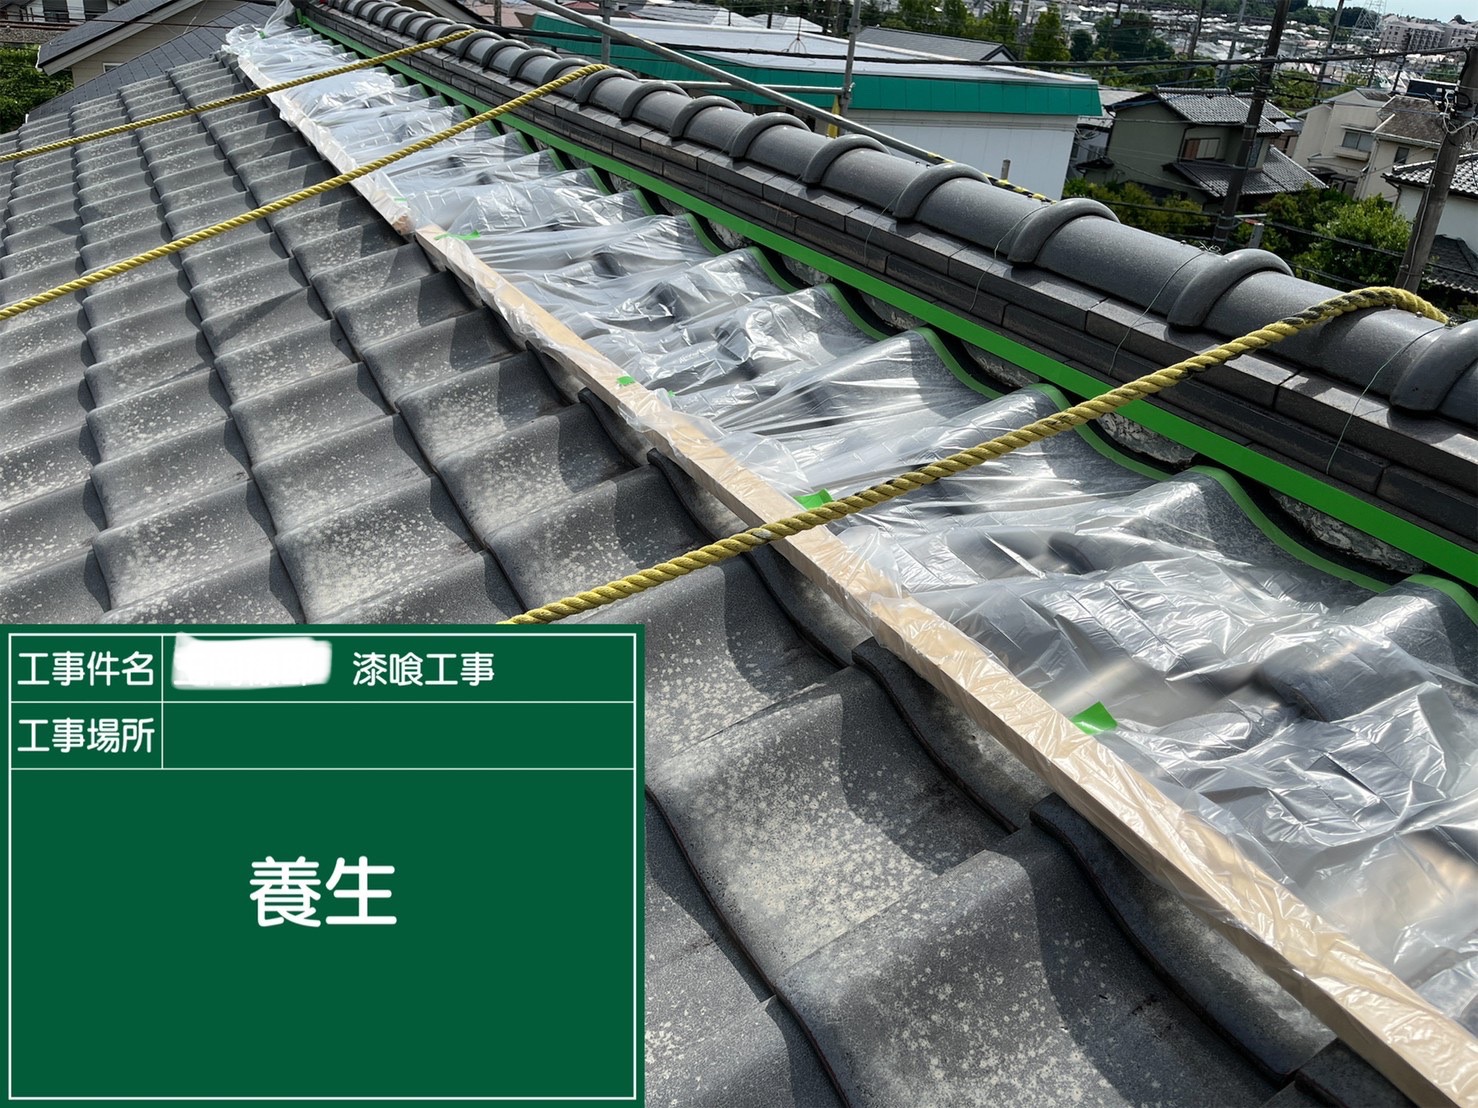

2. Demolition
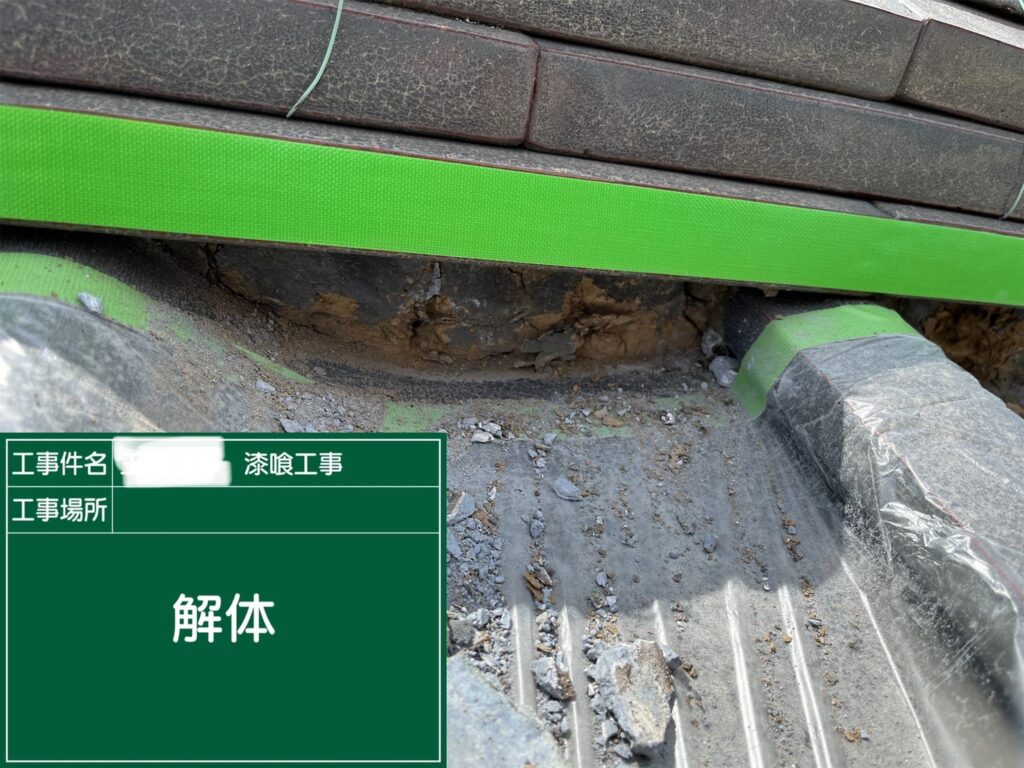
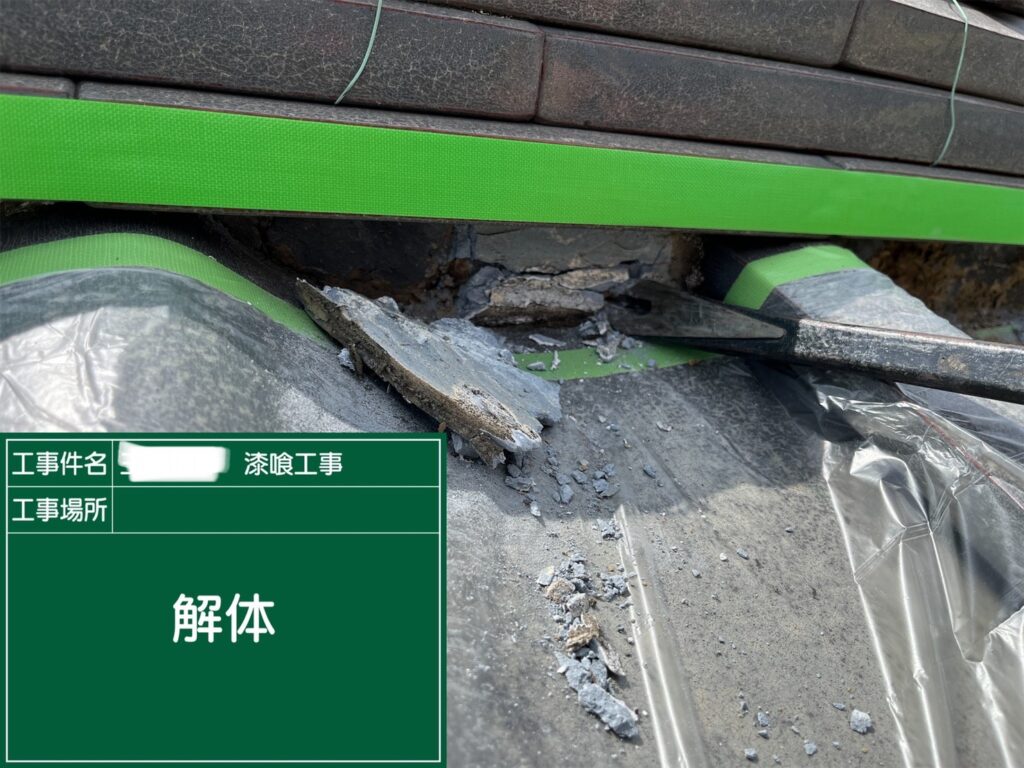
Cracks and peeling are signs of deterioration! We will be careful not to disturb the underlying soil during the dismantling process!
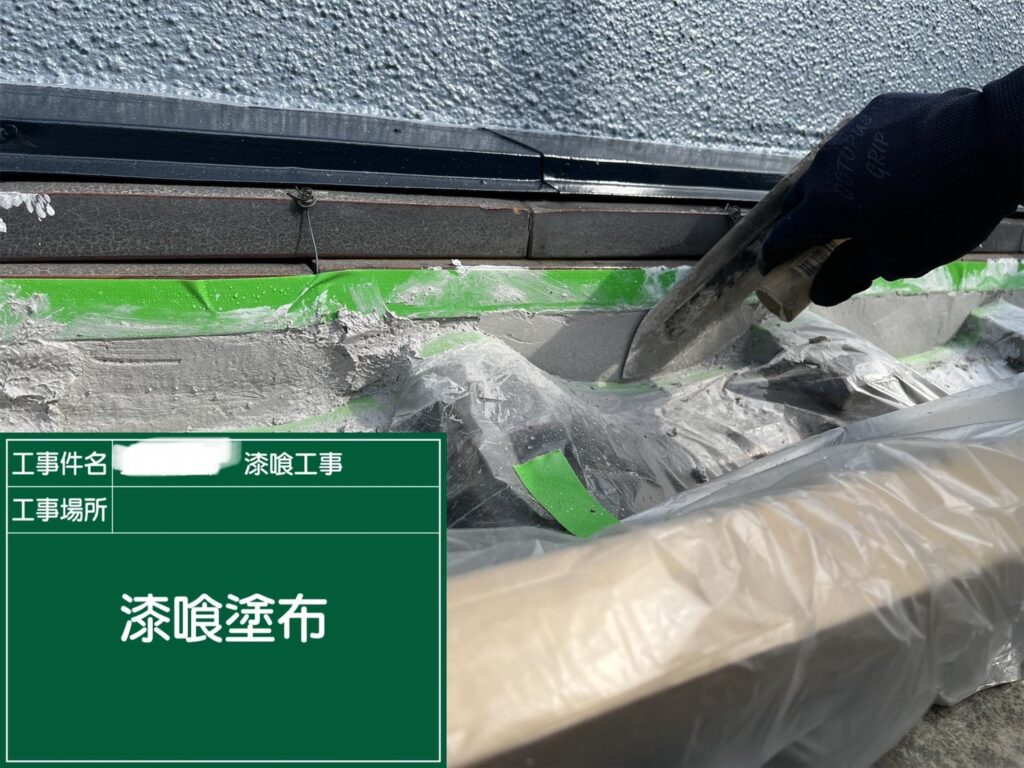
3. Stucco Application
↓Product Information↓
4. Cleaning
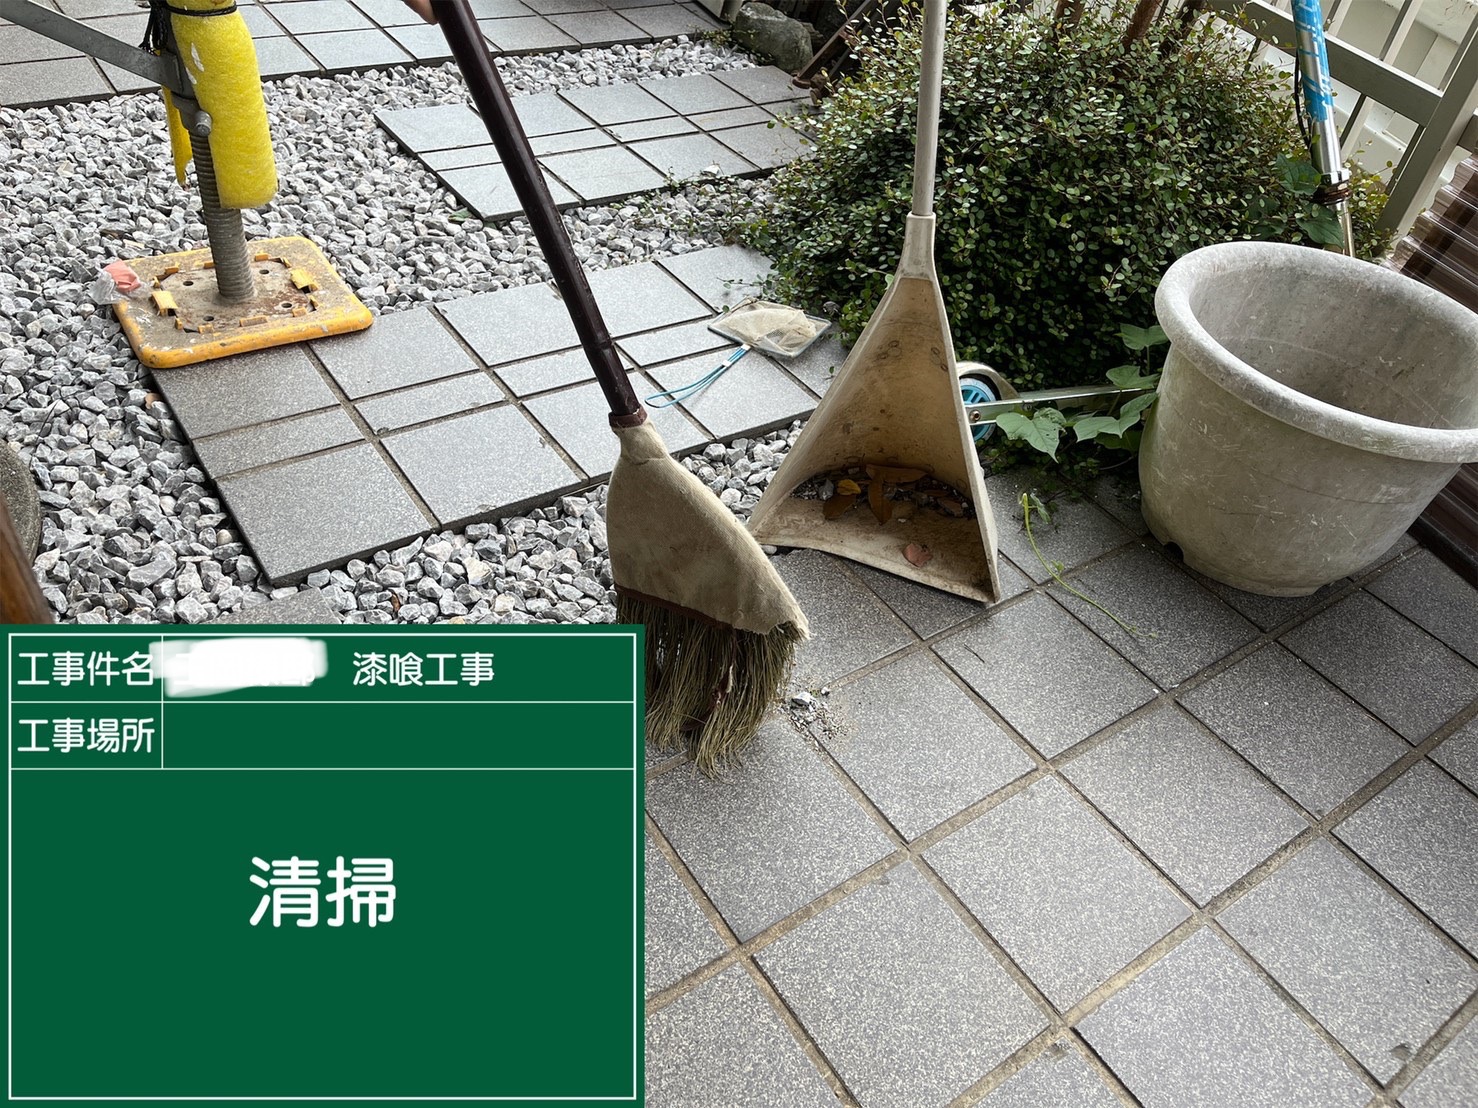
5. Completion of Repacking
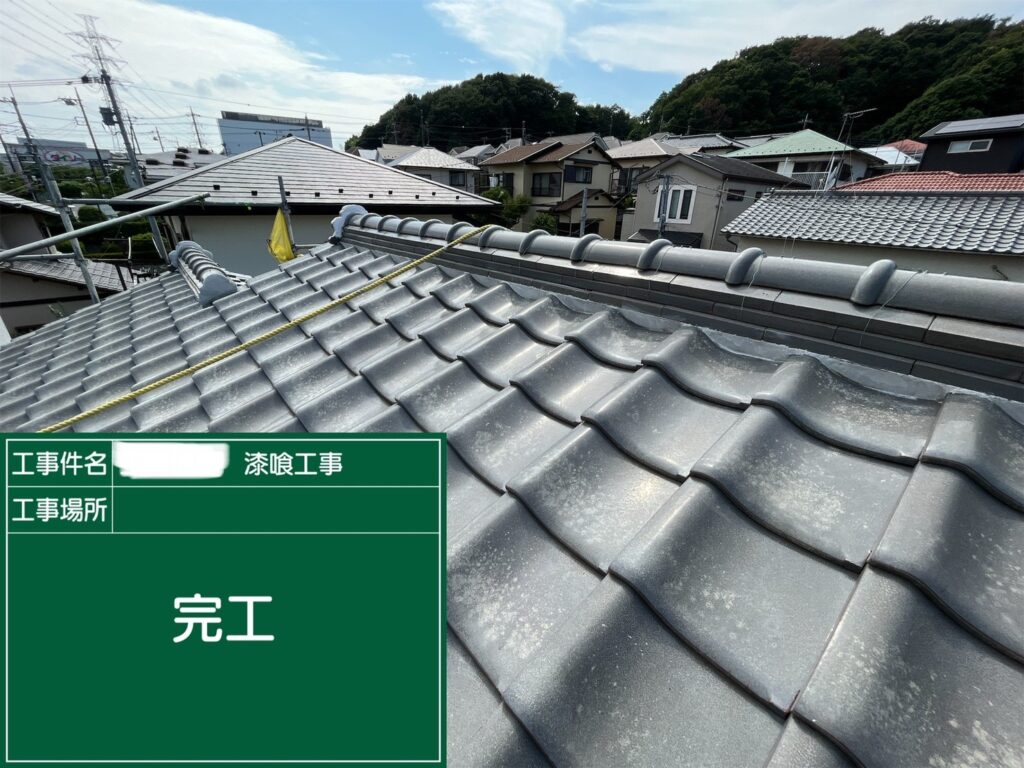
Stucco Used
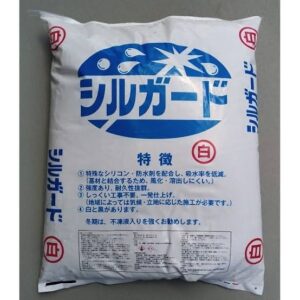
The stucco used in this project is Roof Silguard (Nanban Stucco) in white!
It contains a special waterproofing material that reduces the waterproof rate. There is also a black color available, making a total of two colors!
Reconstruction of Ridge Tiles
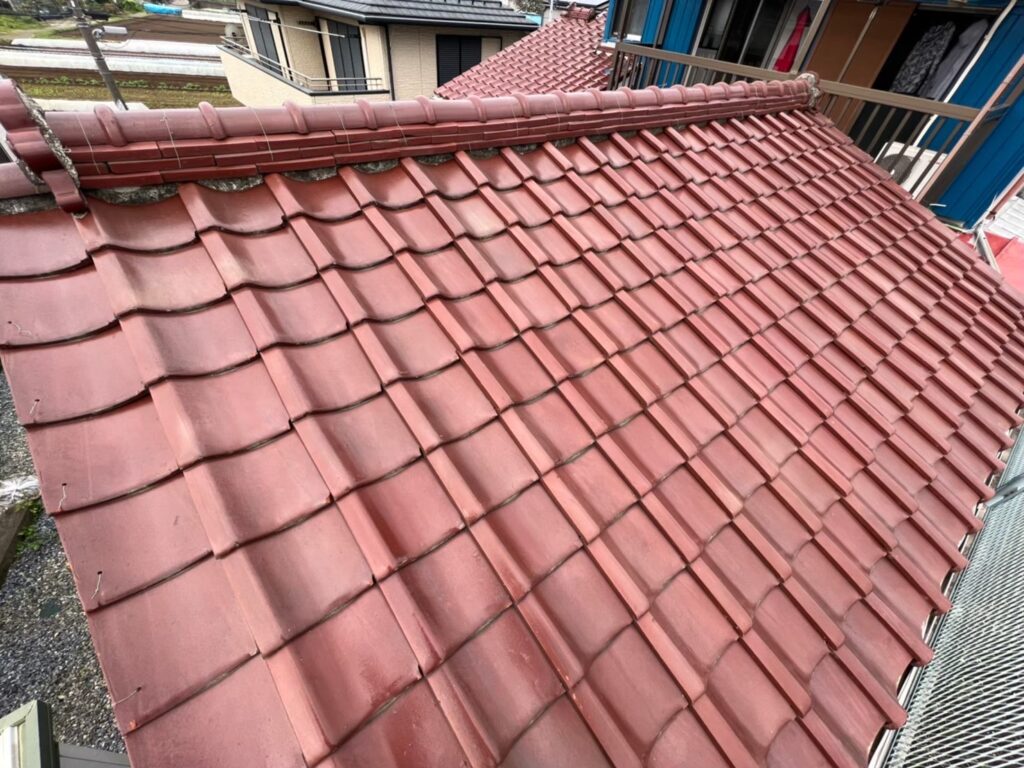
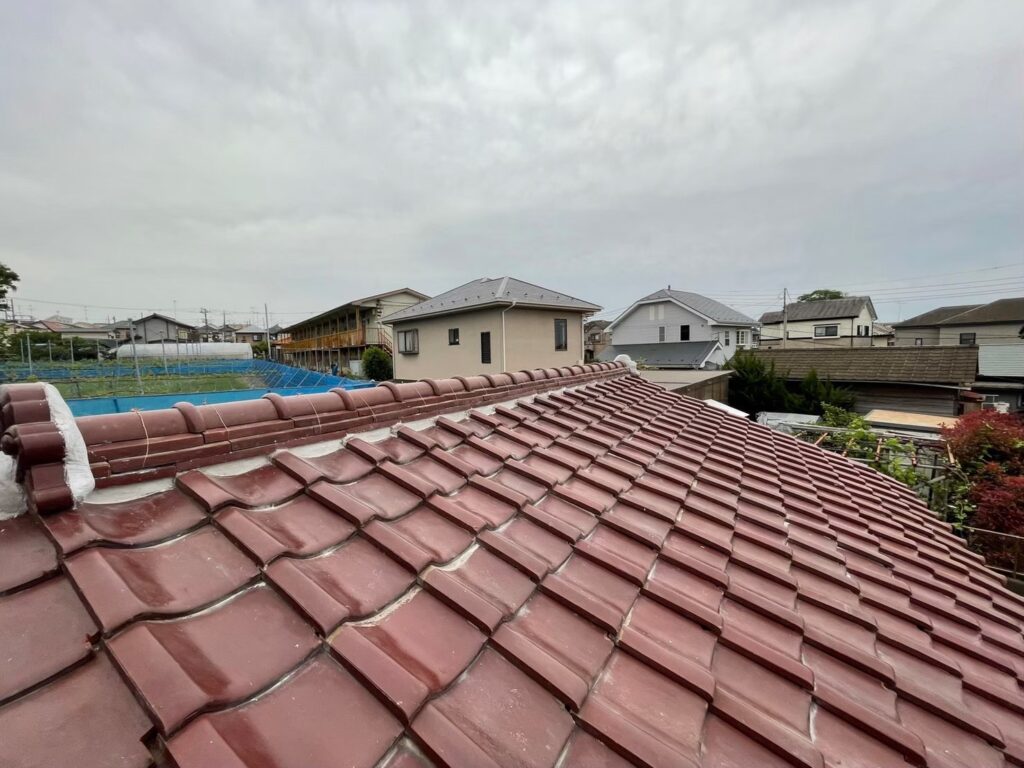
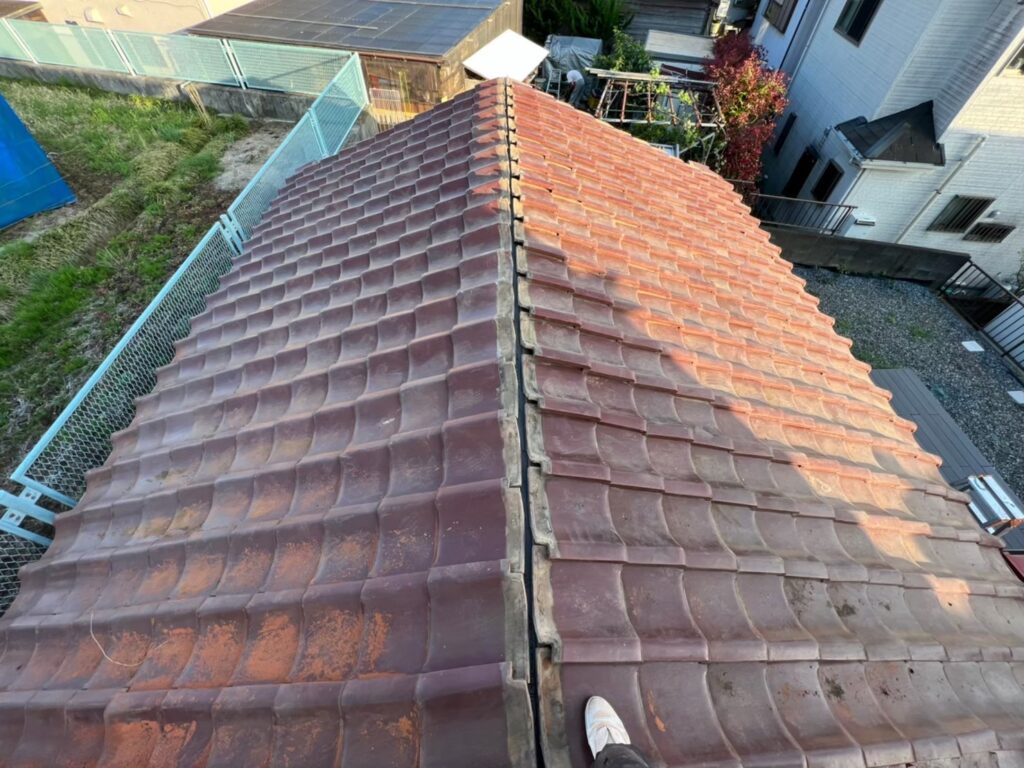
1. Dismantling Existing Ridge Tiles
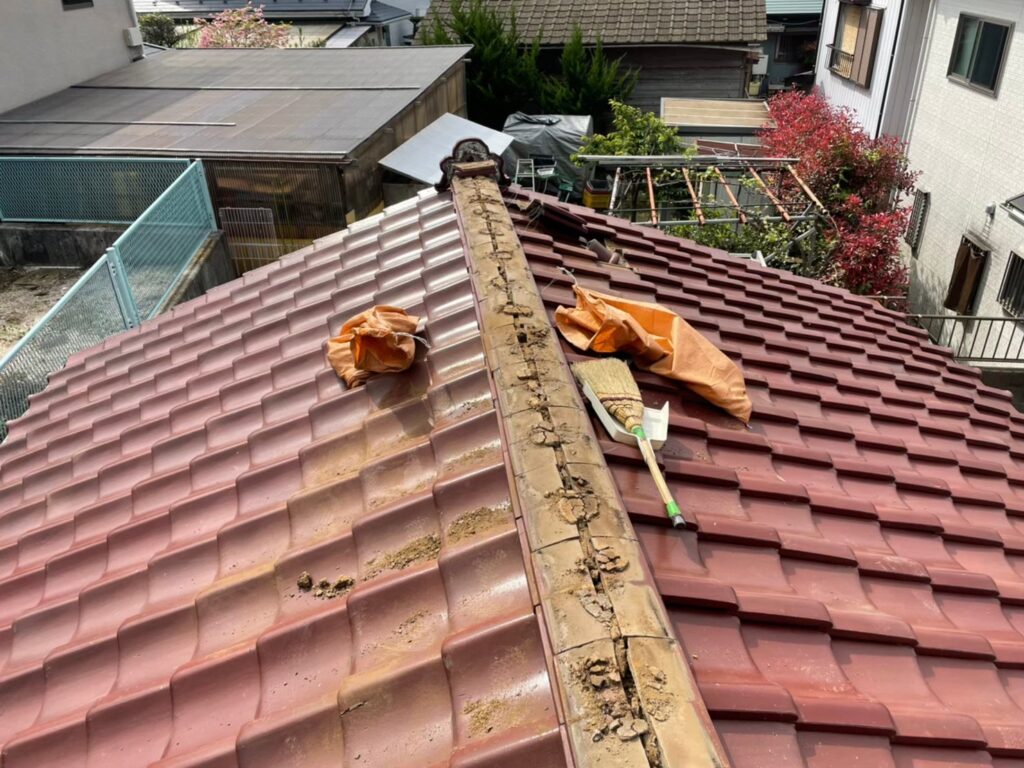
2. Removal of Roof Soil
3. Filling with Nanban Stucco
4. Completion
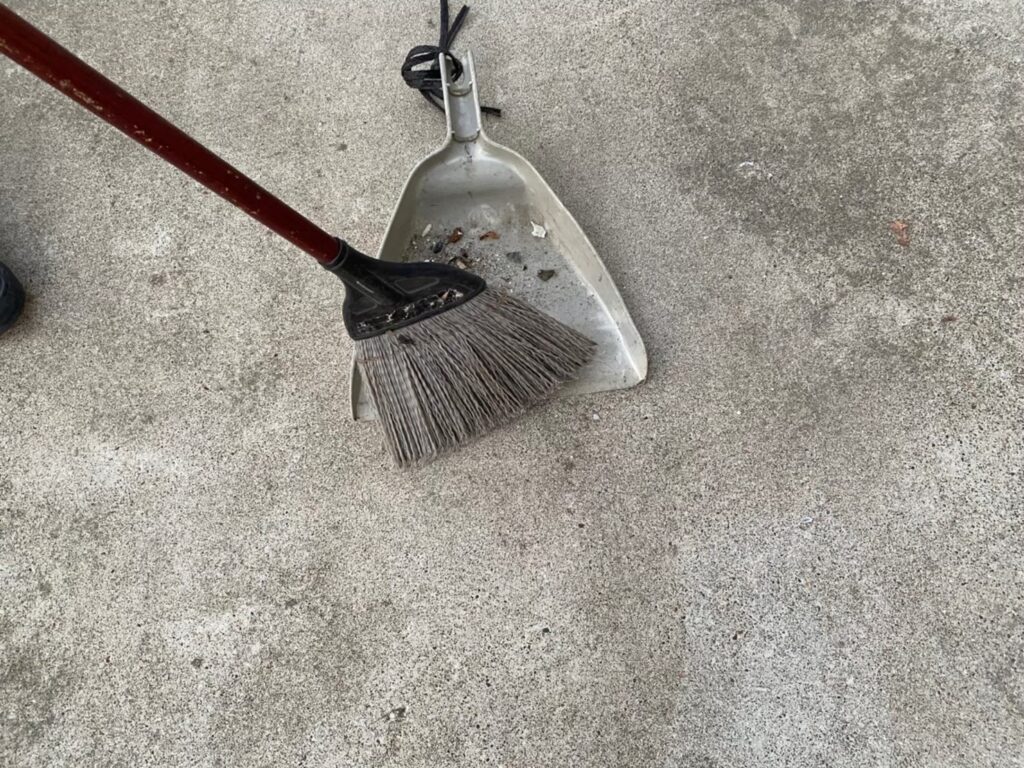
5. Cleaning
Summary
Maintenance of plaster is necessary to extend the lifespan of the tiles.
If the plaster deteriorates, it can lead to leaks throughout the house, so if it has been over 20 years, we recommend maintenance!
We look forward to hearing from you before any leaks occur!
Estimates and inspections are, of course, free! If you have any concerns regarding roofs, rain gutters, exterior walls, or exteriors, please consult Kakeru Koumuten Co., Ltd.!
From temporary scaffolding work to roofing and exterior painting, we carry out all work in-house. We are confident that our costs, quality, and organization for exterior work are unmatched compared to other companies! We welcome competitive estimates!
You will be glad you asked! We take every request seriously to ensure you feel that way. We have published pricing plans for exterior painting and rain gutter replacement, so please take a look if you’re interested!
Helpful information about exterior renovations can be found here!
・Aso-ku, Yokohama | We performed ridge cap replacement and rain gutter replacement work!
・Tama-ku, Kawasaki | Roof repair | We implemented measures against leaks due to ridge cap replacement!
・Aoba-ku, Yokohama | We performed re-packing of the plaster and roof painting work!
・Fujisawa City, Kanagawa Prefecture | We performed re-packing work of the plaster on the tile roof!
・What is ridge cap? What situations arise due to deterioration?
・For those who want to try painting the roof and exterior walls DIY! Scaffold installation only! Roof and exterior wall painting DIY plan!
・What is the cost range for roof remodeling? Types of work and how to choose a contractor, etc.
・Summary of popular colors for exterior wall painting! We will introduce recommended color combinations!
・Latest | About subsidies and reduction systems available for renovations!
・What are the market prices for rain gutter repair and cleaning? Tips on timing, fire insurance, and choosing a contractor!!
・Renovation store in Kanagawa Prefecture, Yokohama | What is roof overlay (roof cover method)?
Consultations via LINE are also very welcome◎

We are also updating our Instagram regularly◎ Please follow us◎

contact Kakeru Koumuten Co., Ltd.
Kakeru Koumuten is a young company whose team is, on average, in their late twenties, but our skills are second to none.
Our greatest strength is that we handle scaffolding, roofing and painting entirely in-house. In an industry where these tasks are usually divided among contractors, our complete service simplifies project management and helps keep costs down. Above all, if a problem arises, we respond promptly.
We proudly describe ourselves as the youngest and most helpful renovation company in Kanagawa!