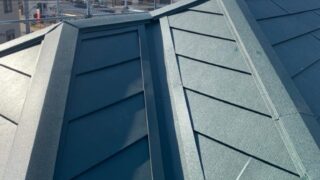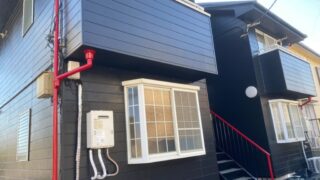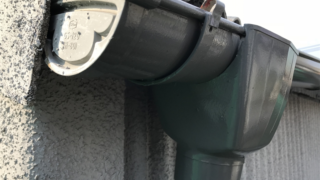
【Ota-ku, Tokyo】|Exterior Painting|We have completed tile exterior painting work for a used detached house!
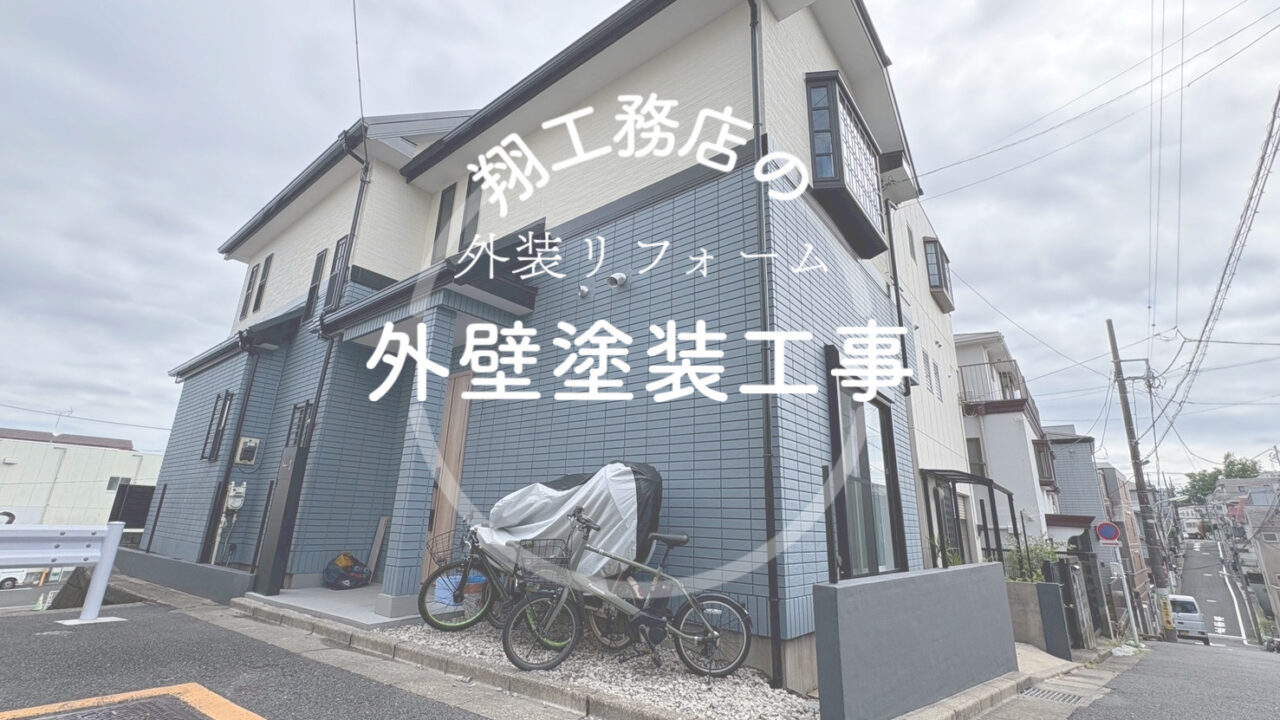
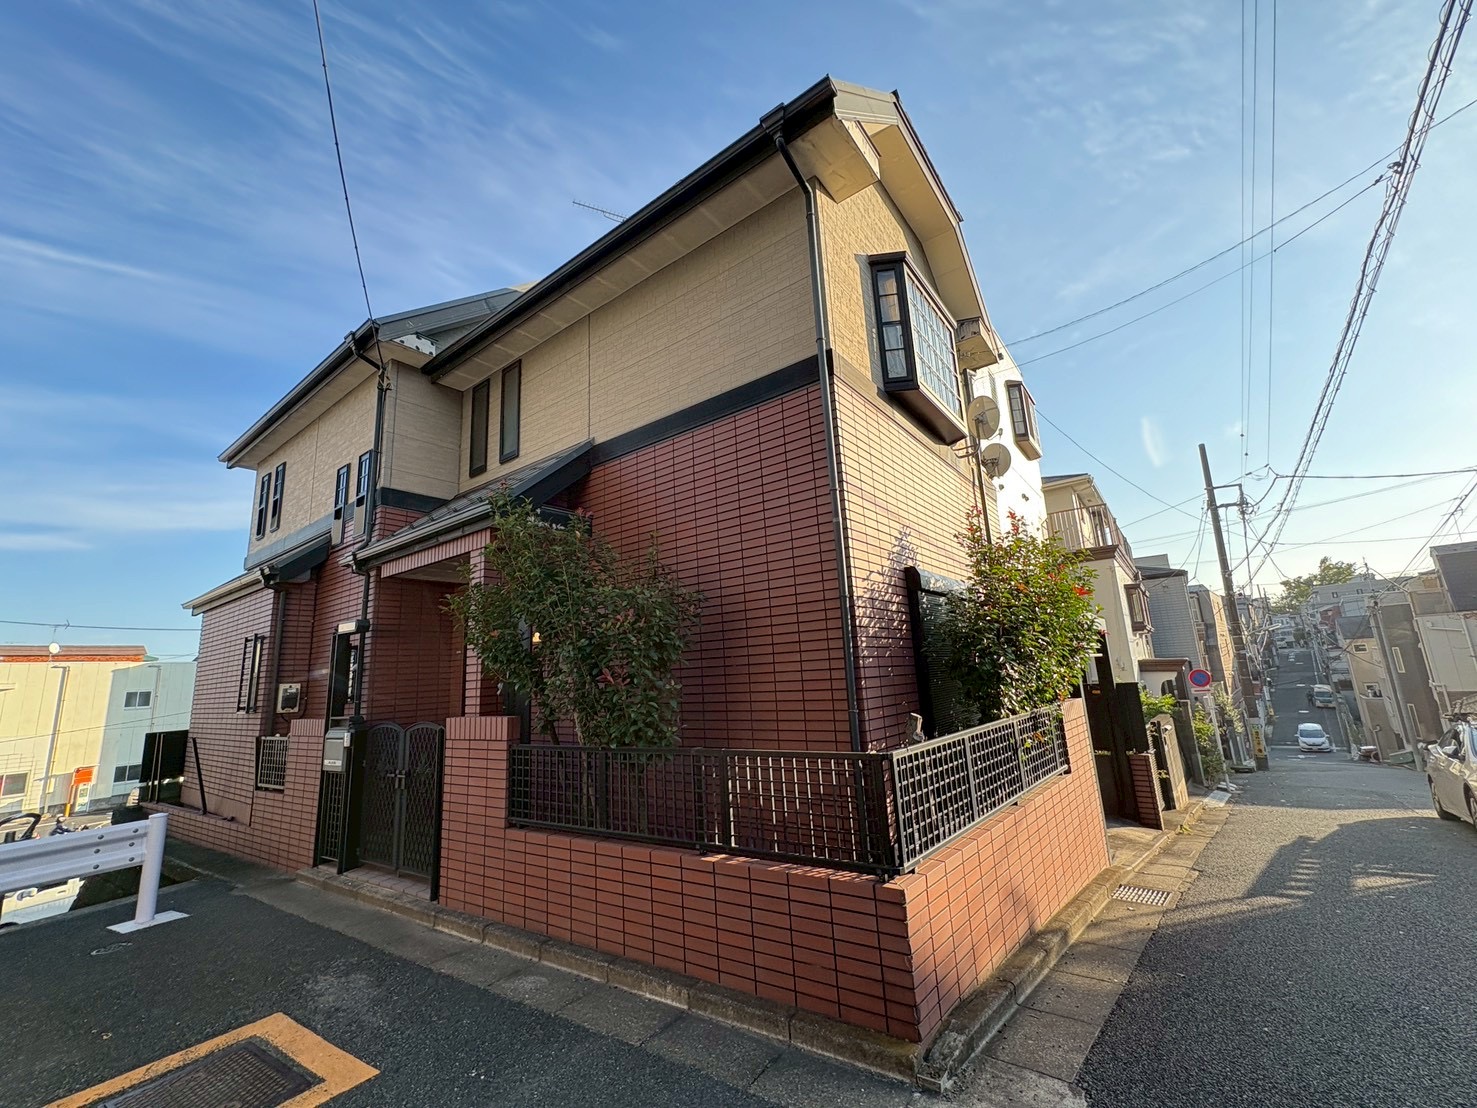
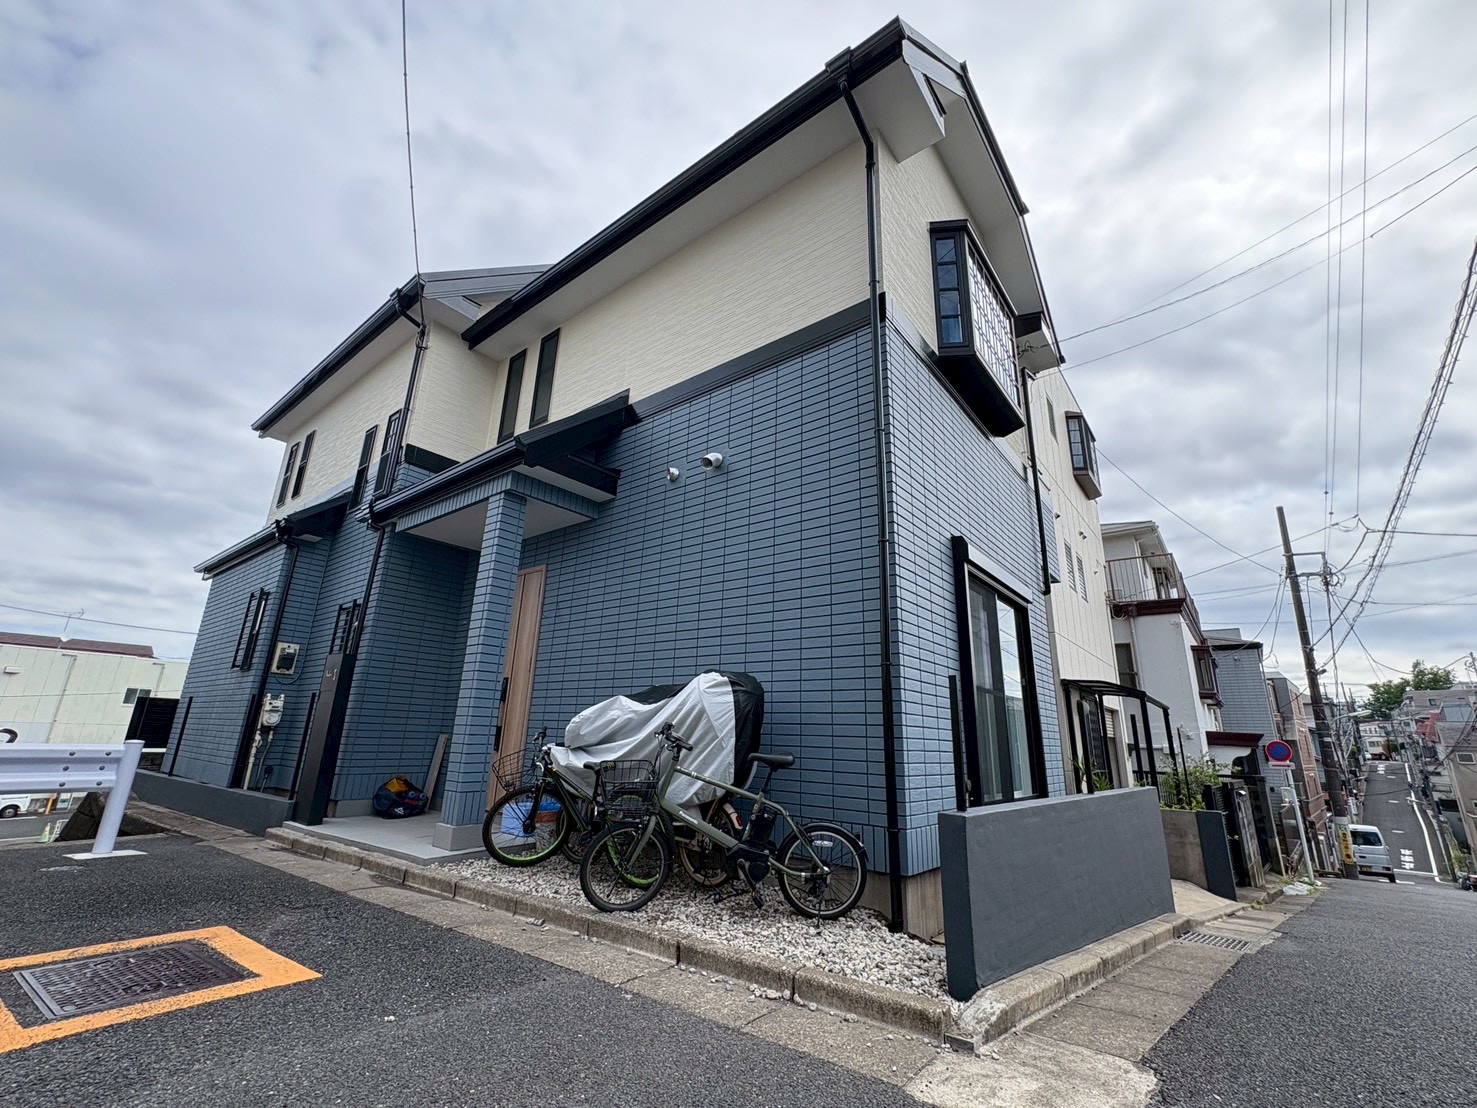

Construction Data for Ota-ku, Tokyo
| Construction Location |
| Ota-ku, Tokyo |
| Construction Details |
| Temporary Scaffolding Installation Exterior Wall Painting Work Exterior Painting Work Joint Replacement |
| Existing Substrate |
| Existing Exterior Wall: Tile Exterior Wall |
| New Materials Used |
|
【Exterior Wall Paint】 |
| Price Range |
| 1,000,000〜1,100,000 |
| Construction Period |
| Approximately 14 days |
| Completion Month |
| April 2026 |
| Inquiry and Proposal Details |
|
〇 Inquiry Details 〇 Proposal Details 【2F Surrounding Exterior Walls】 【1F Surrounding Exterior Walls】 |
Joint Replacement Work Procedure
1. Removal of Existing Sealing Material
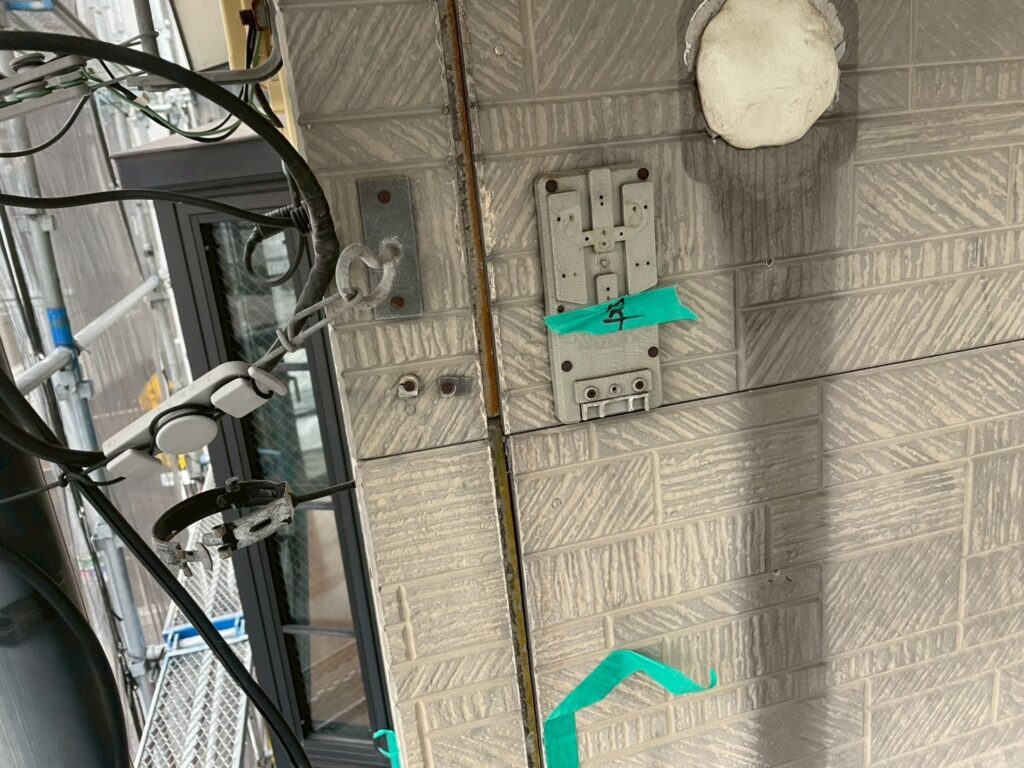

2. Application of Masking Tape
3. Application of Primer
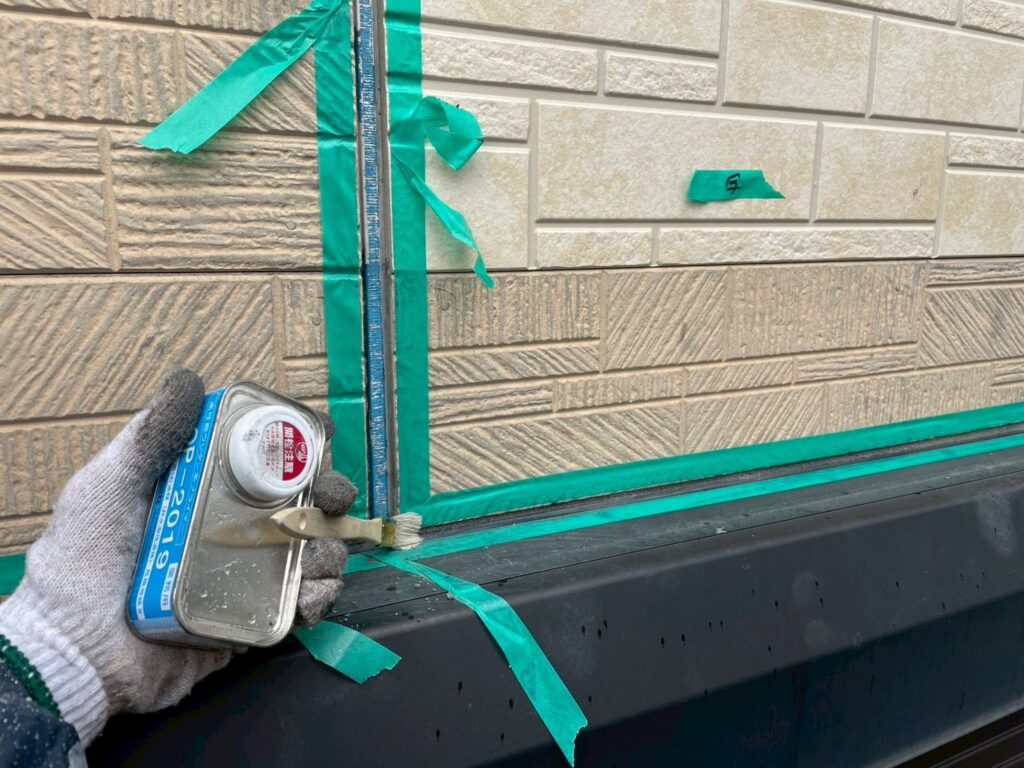
4. Filling of Sealing Material
The caulking material used for this work isSunrise / SR Seal H100. It has a durability of about 30 years and is ultra-durable, ultra-low pollution, flexible, and resistant to dirt.
5. Finishing with a Trowel
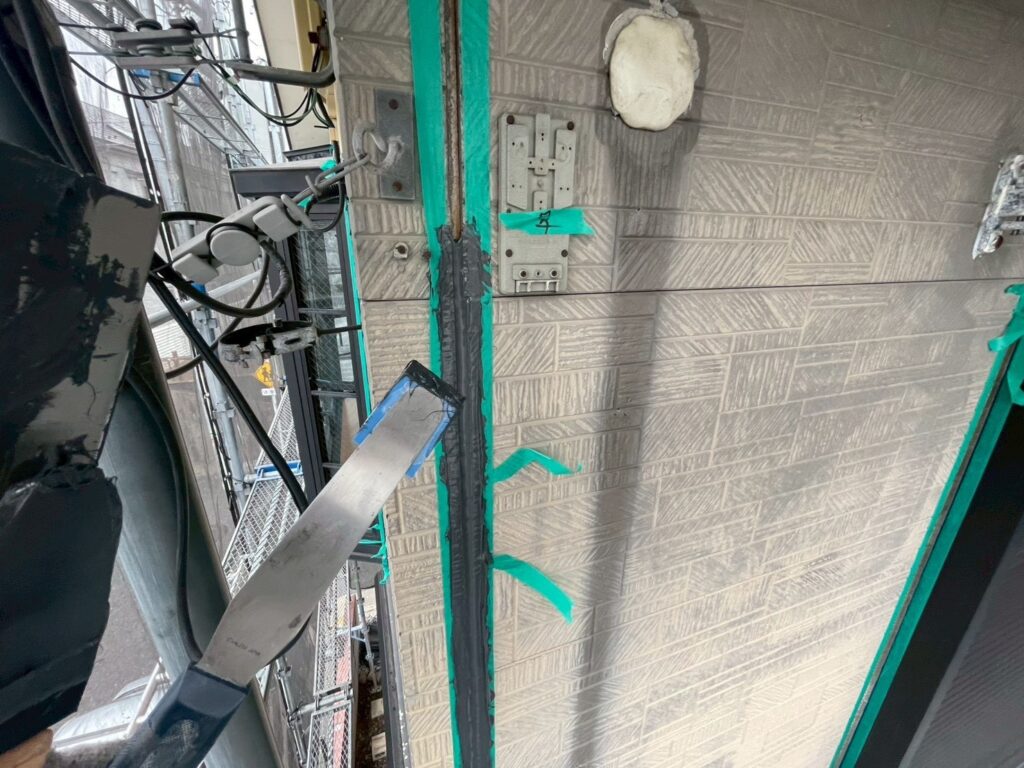
6. Removal of Masking Tape
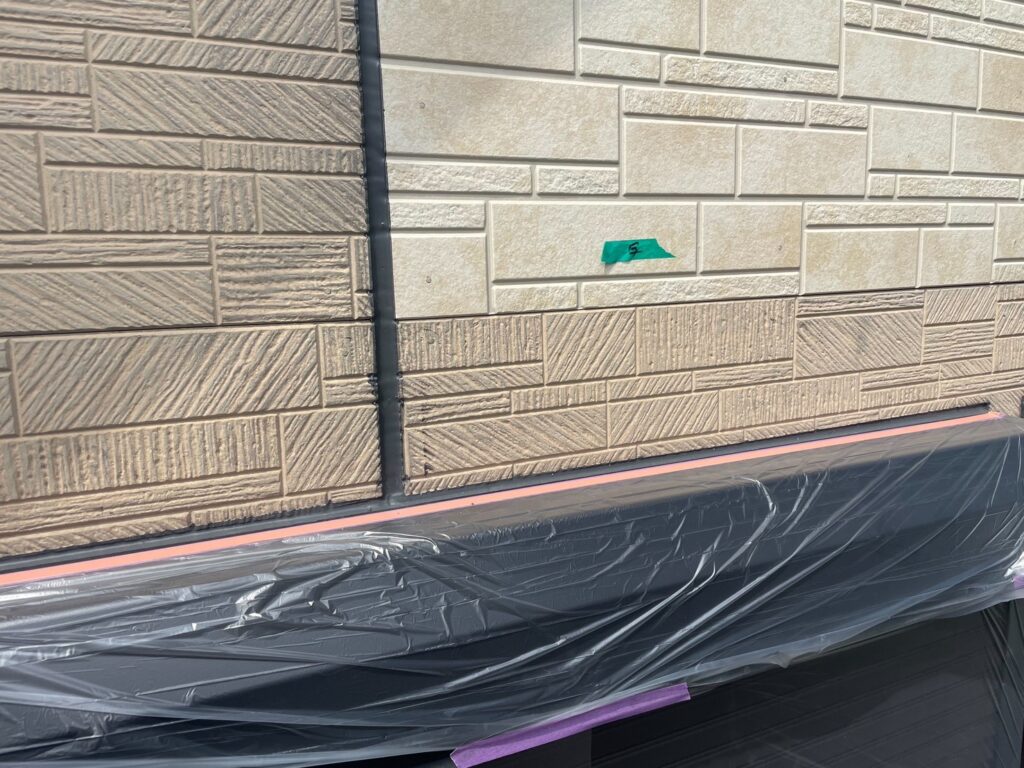
Exterior Wall Painting Work Procedure
1. High-Pressure Washing
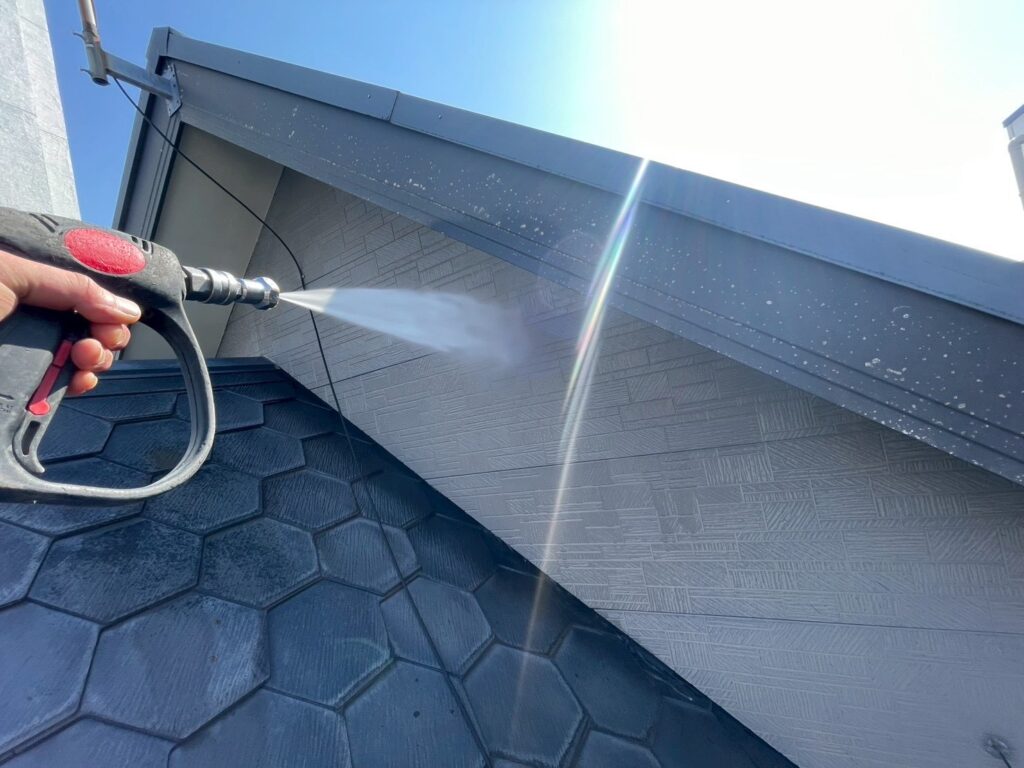
3. Protection of Each Part
Neglecting protection can create gaps, allowing paint to seep in or resulting in uneven lines.
3. Tile Damage – Mortar Repair
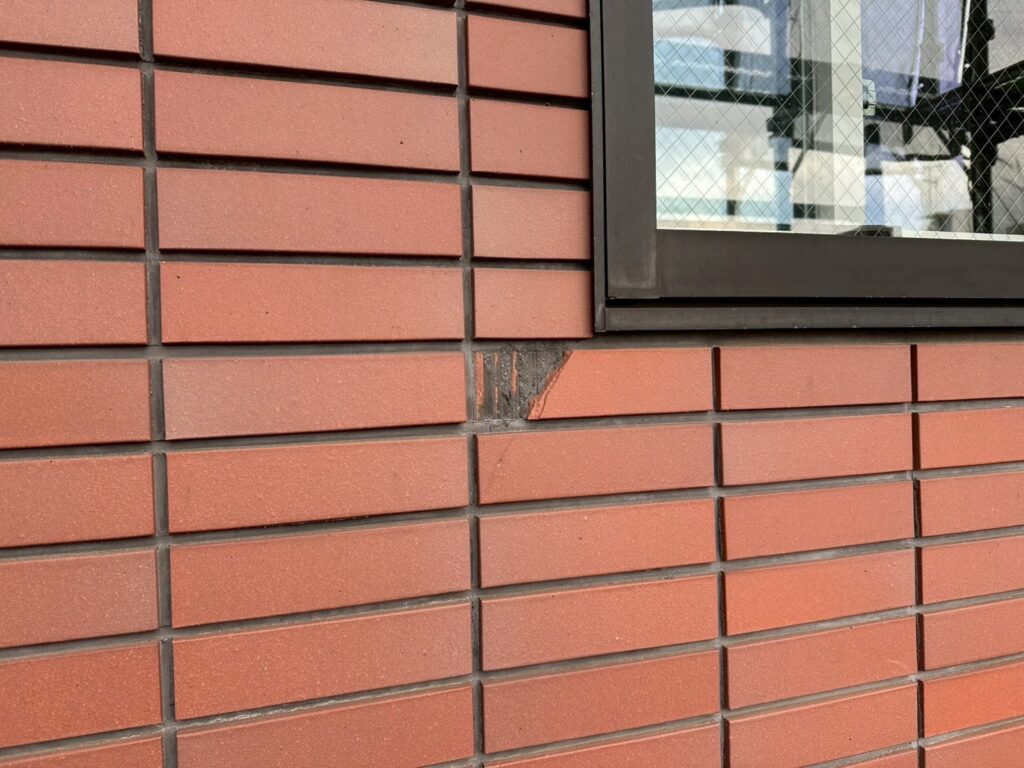
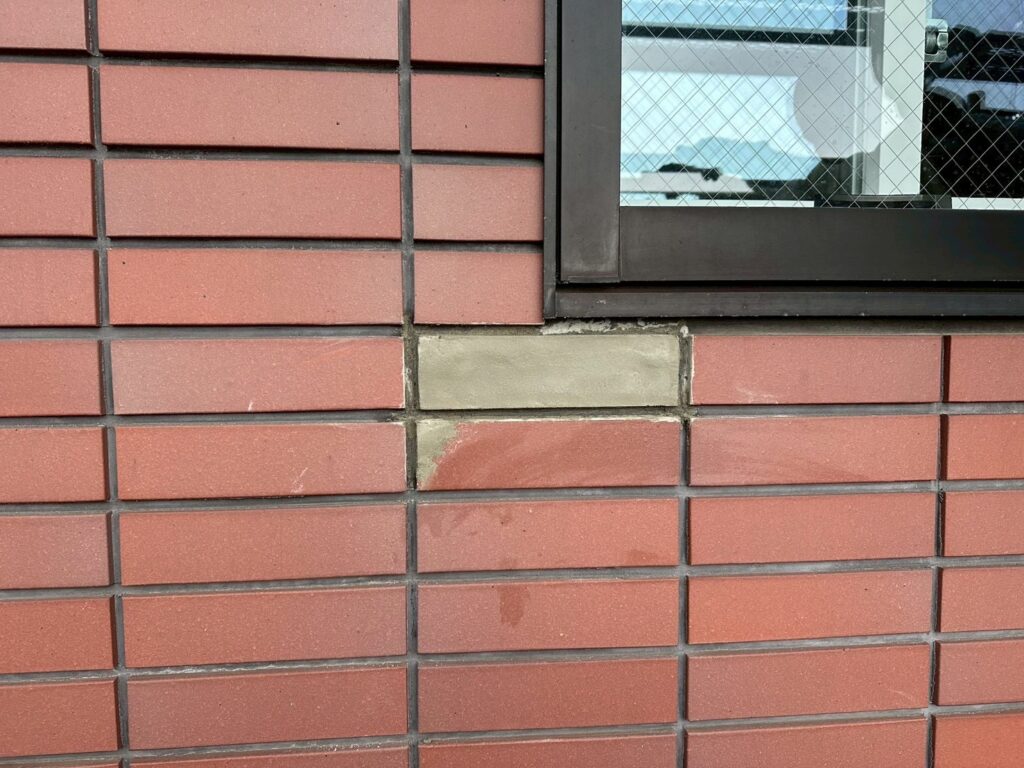
4. Tile Exterior Wall – Cation Tight Application
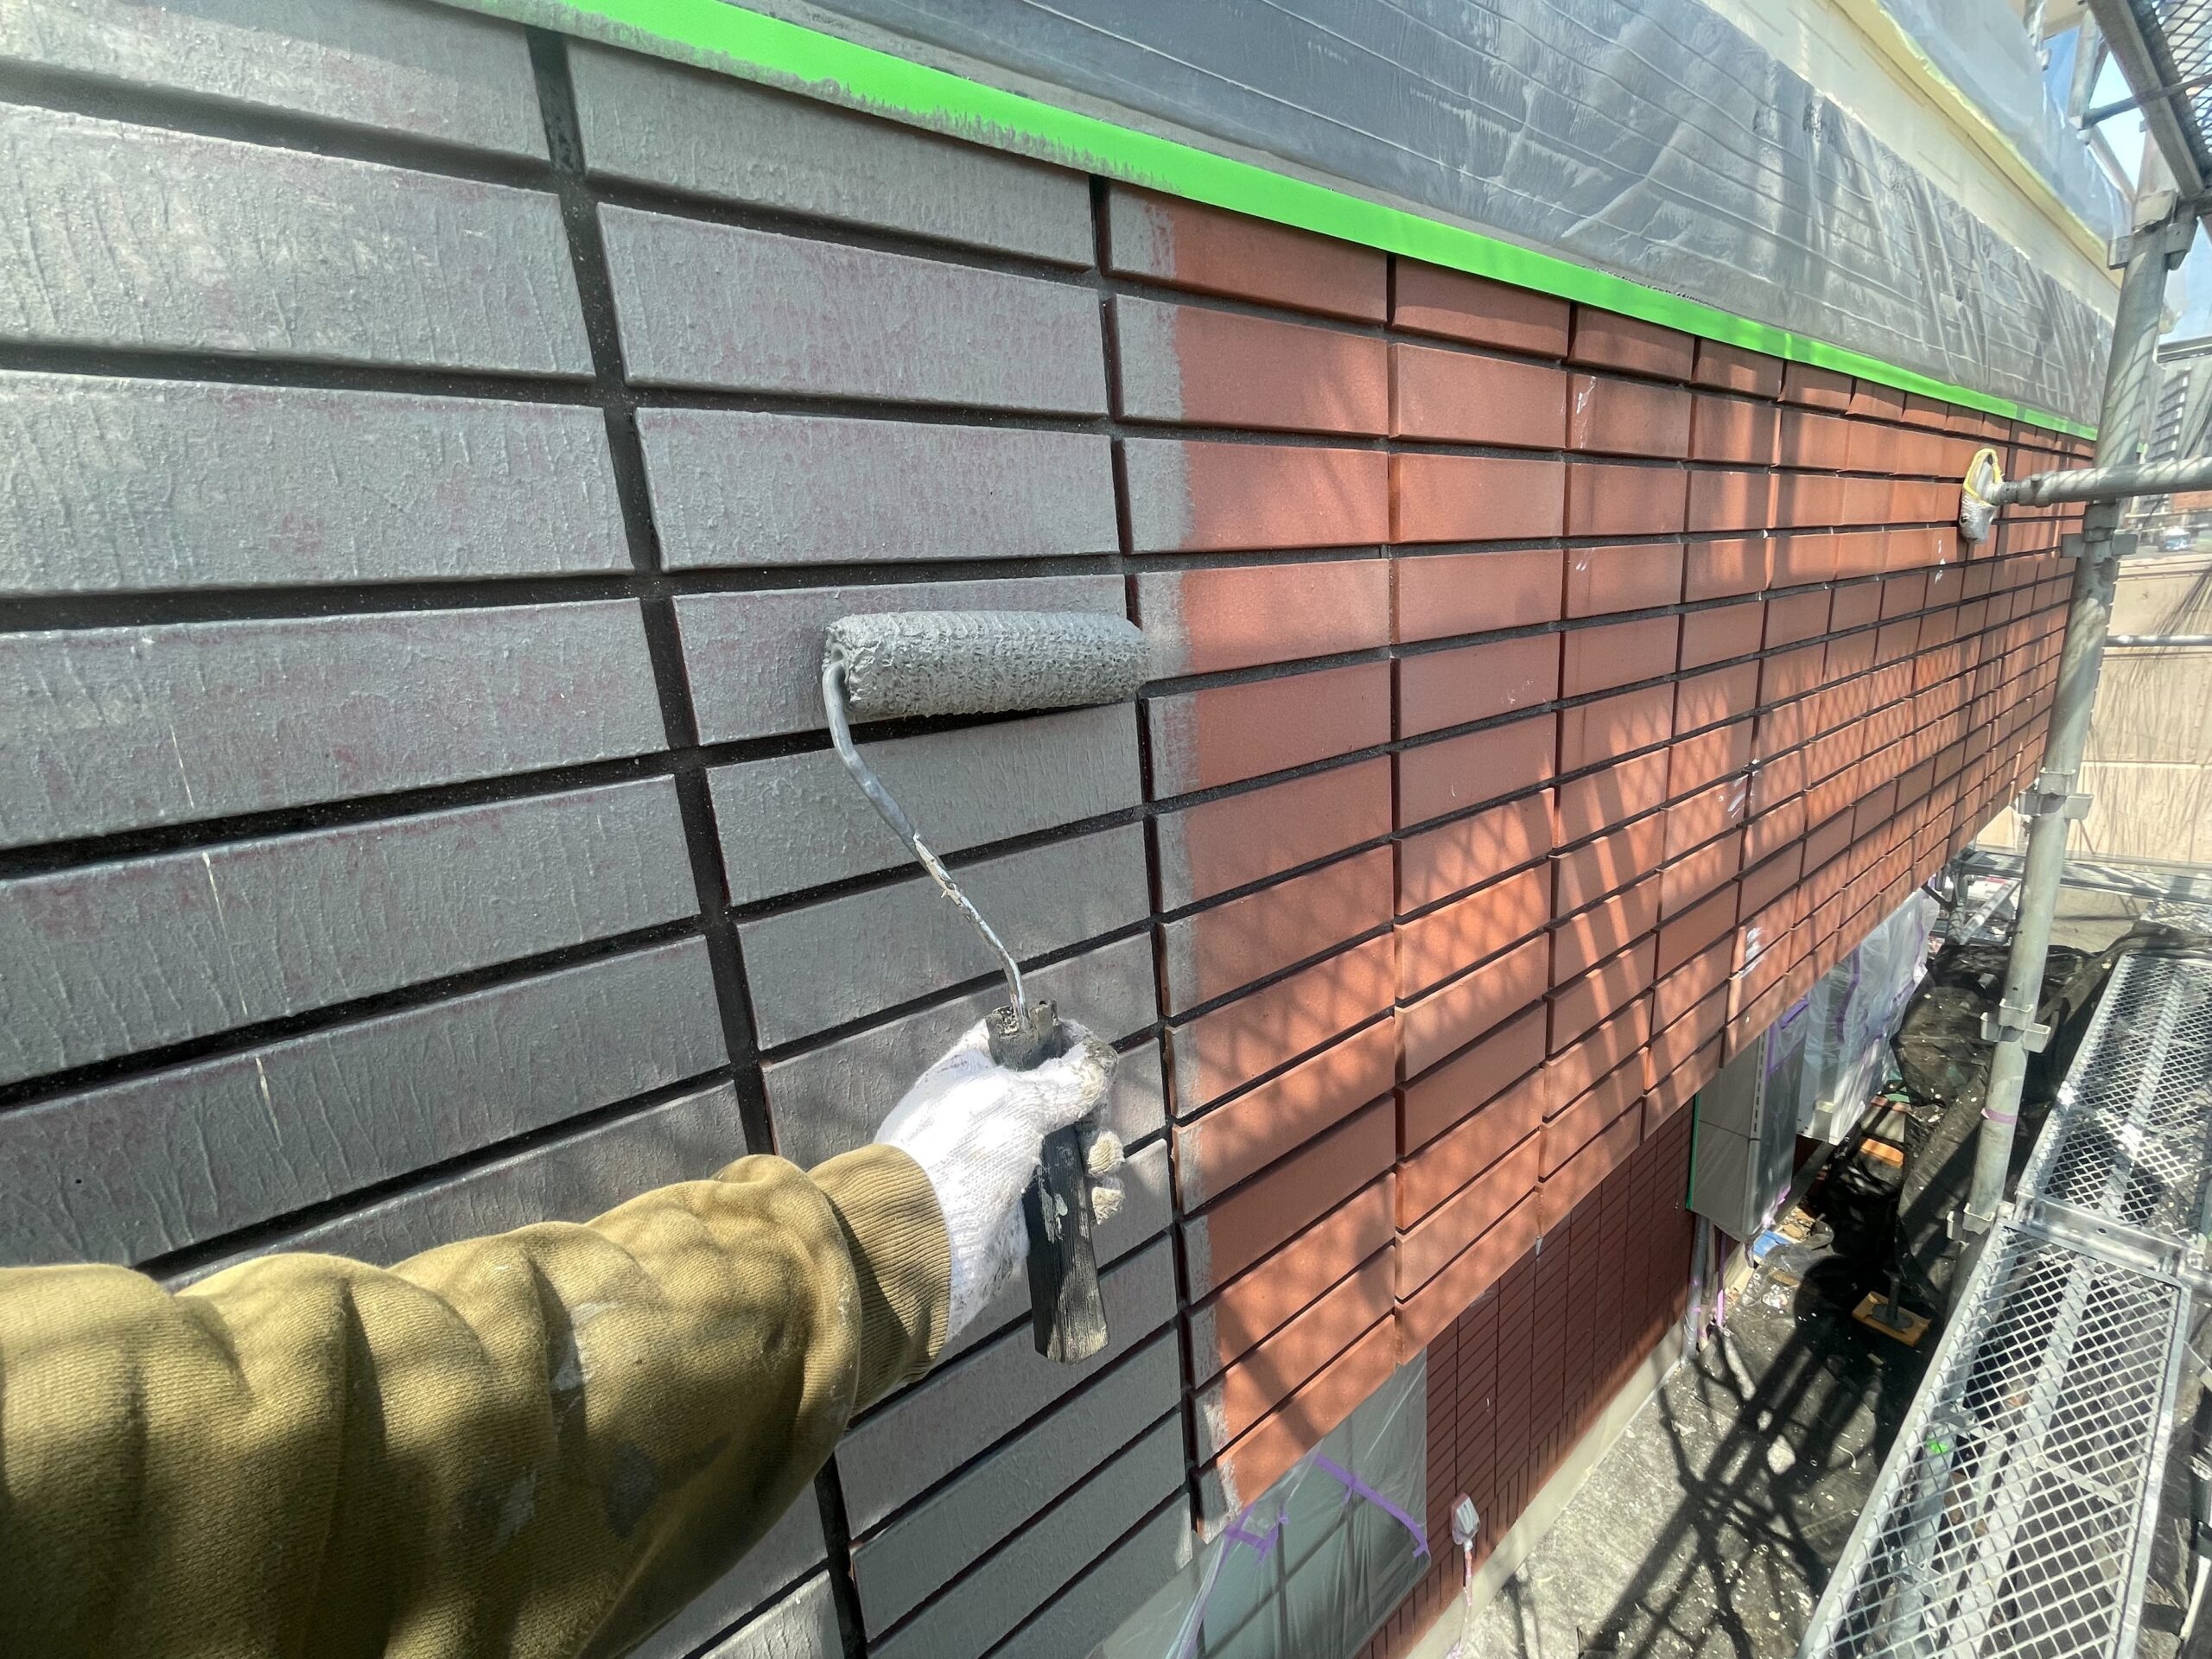
4. Primer Application
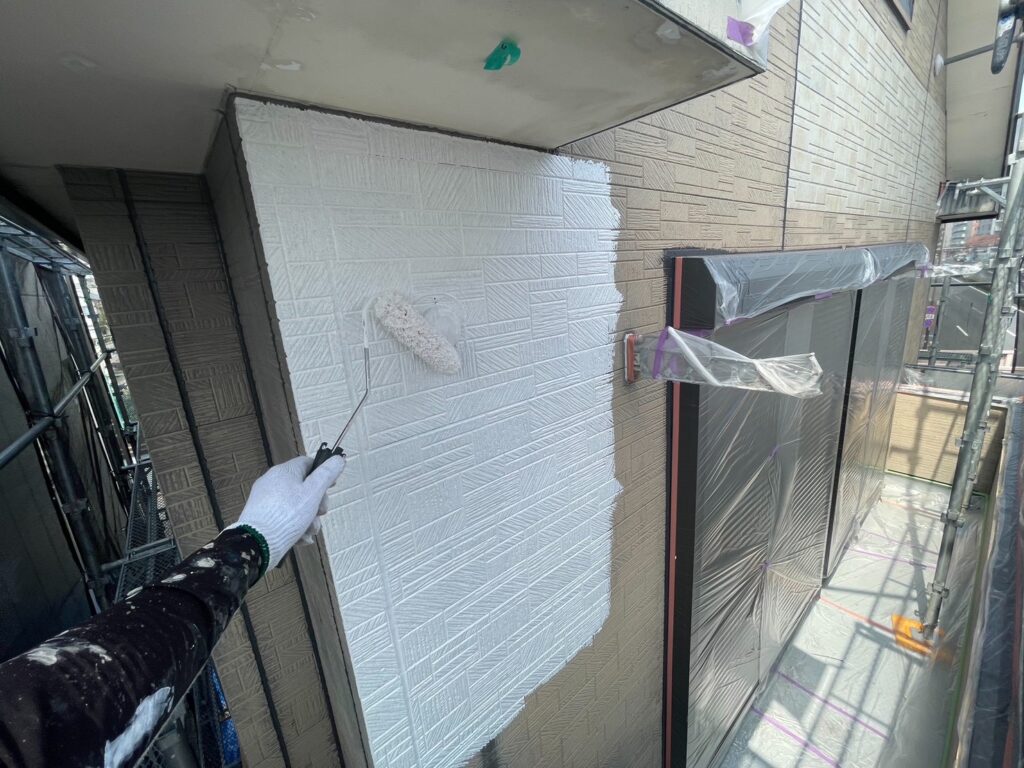
The primer for the siding surface is SK Kaken’s water-based SD Surf Epoxy Premium. It also has substrate adjustment functions, sealing fine cracks!
For the tile surface, we will spray a cationic sealer! We ensured that the sealer penetrates well into the joints!
5. Middle Coat
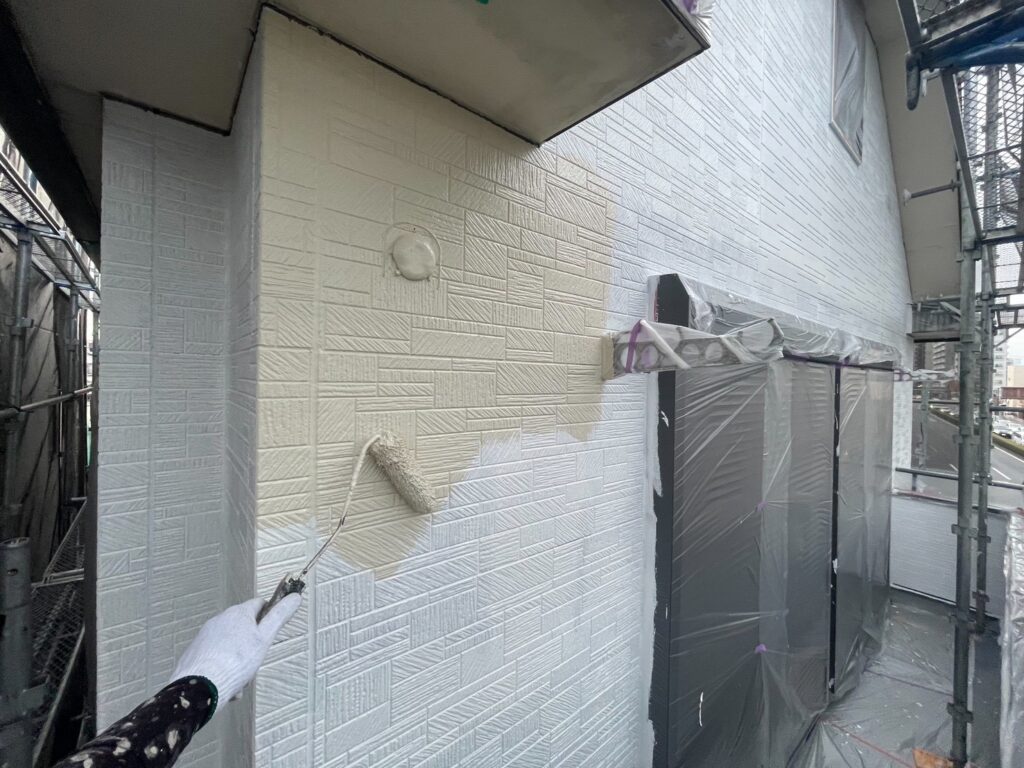
For the tile surface, we will perform spray painting just like with the primer!
Since we wanted to emphasize moisture permeability for the tile surface, we used Perfect Top.
6. Top Coat
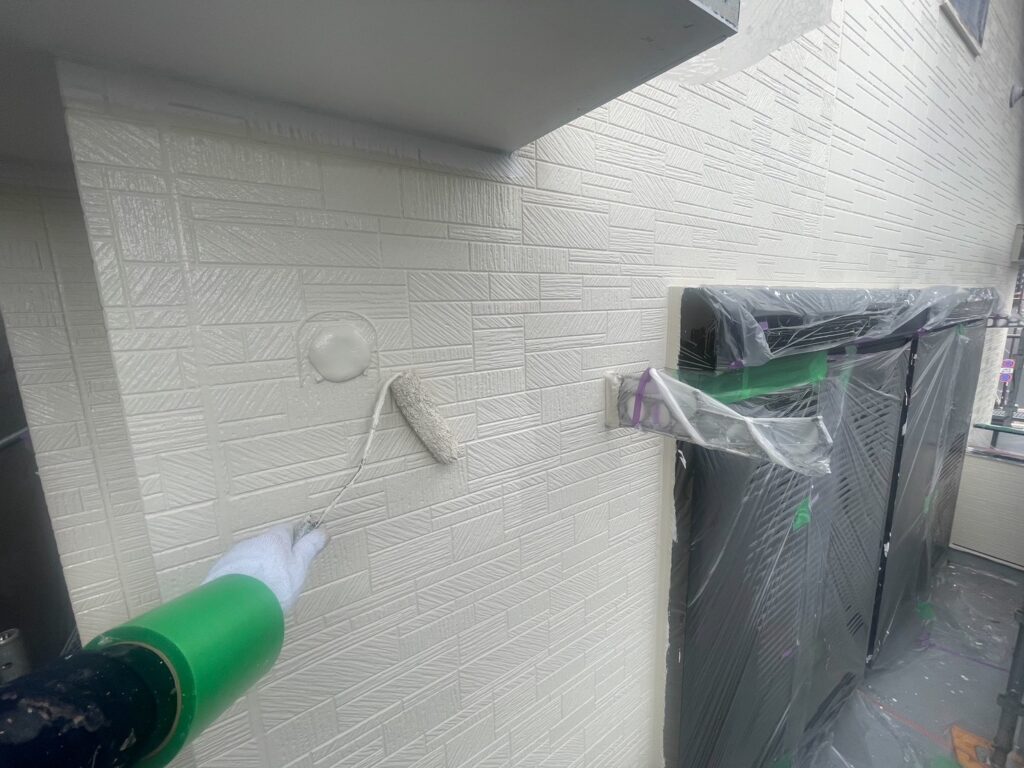
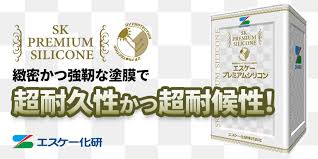
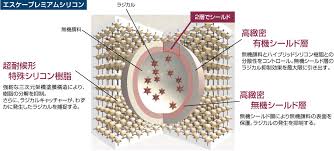
We used SK Kaken’s Escape Premium Silicon for the paint. The manufacturer’s expected durability is said to be about 14 to 16 years.
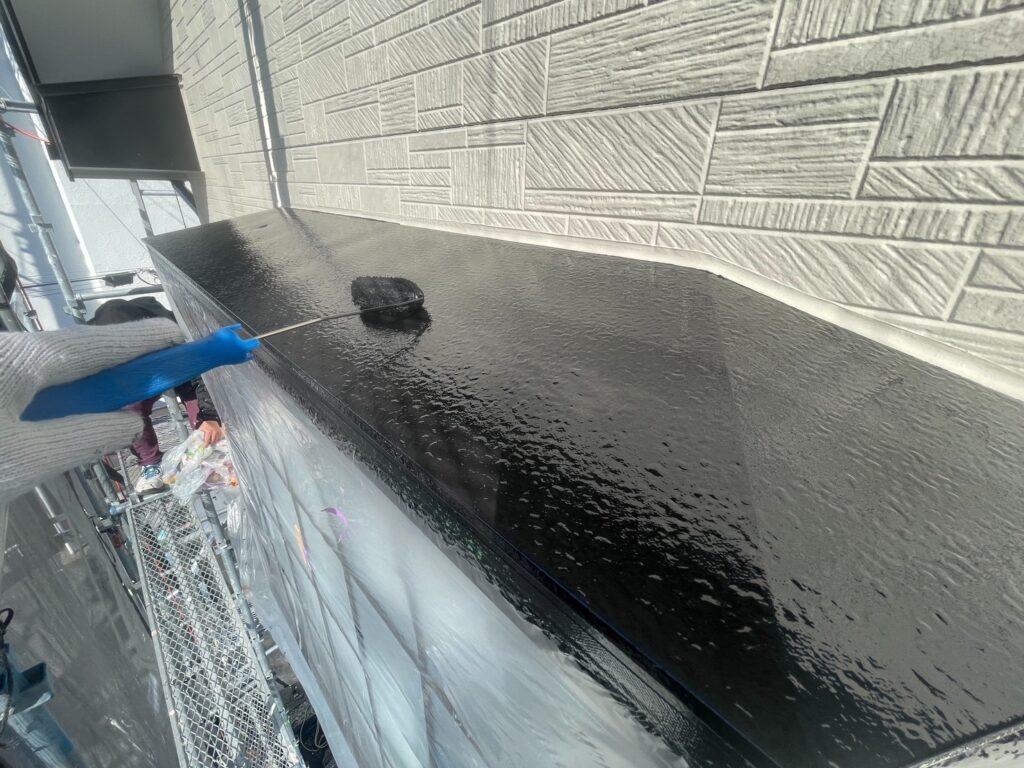
7. Painting of Auxiliary Parts (Rain Gutter, Eaves, Fascia, Soffit, Canopy)
Rain Gutter
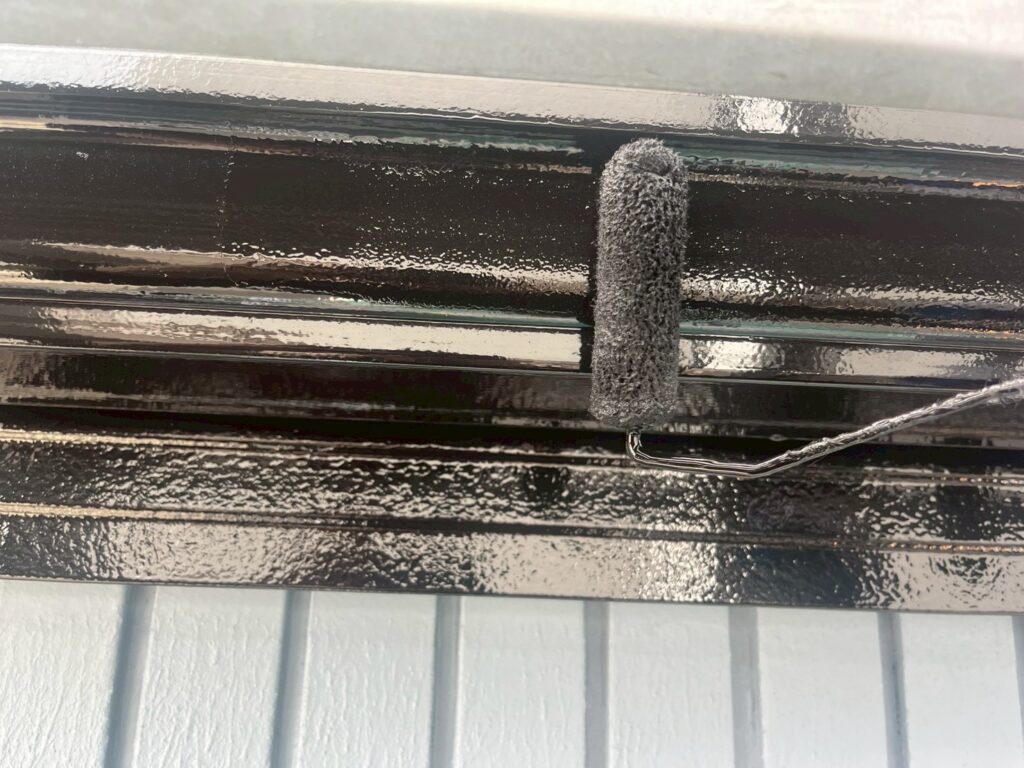
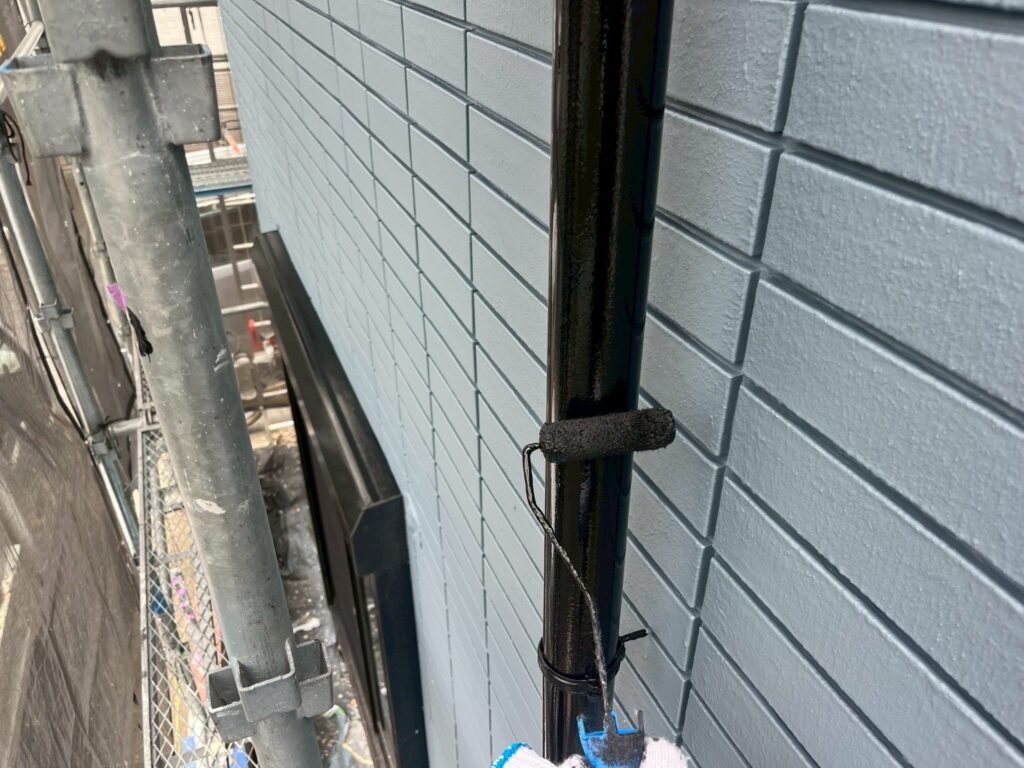
Canopy
Soffit
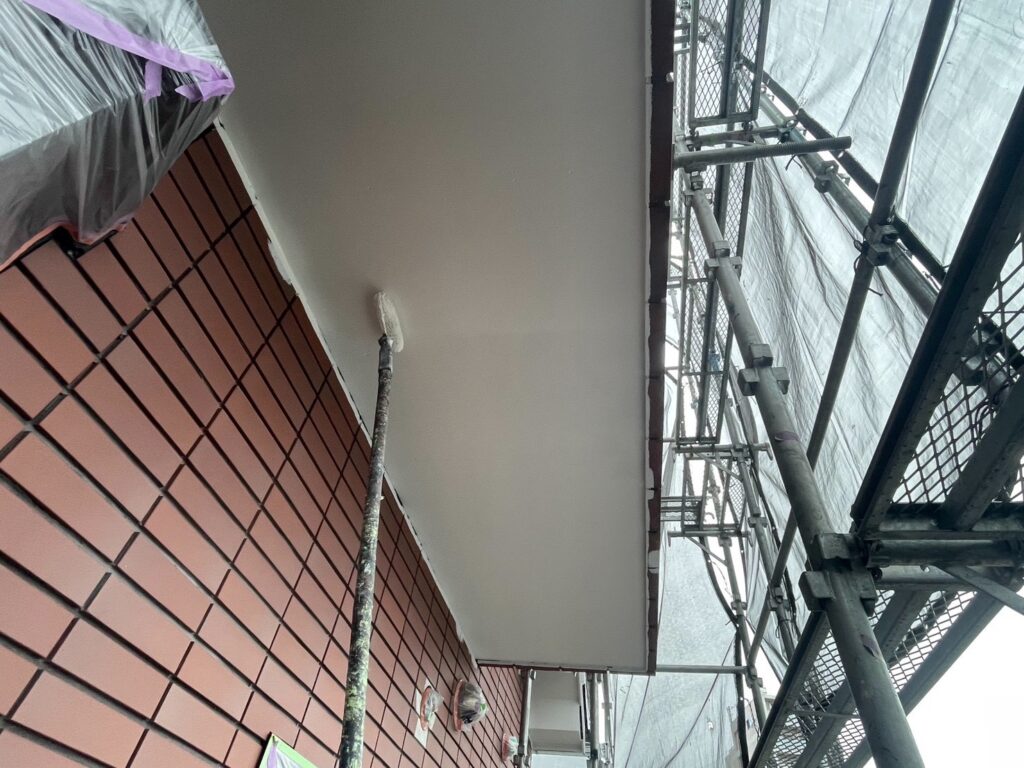 We will thoroughly paint every detail that can be painted! We will apply rust prevention primer to the metal parts! Since the eaves were made of board material, we will apply a sealer as a primer. [/chat]
Exterior Painting Work Procedure
1. High-Pressure Washing
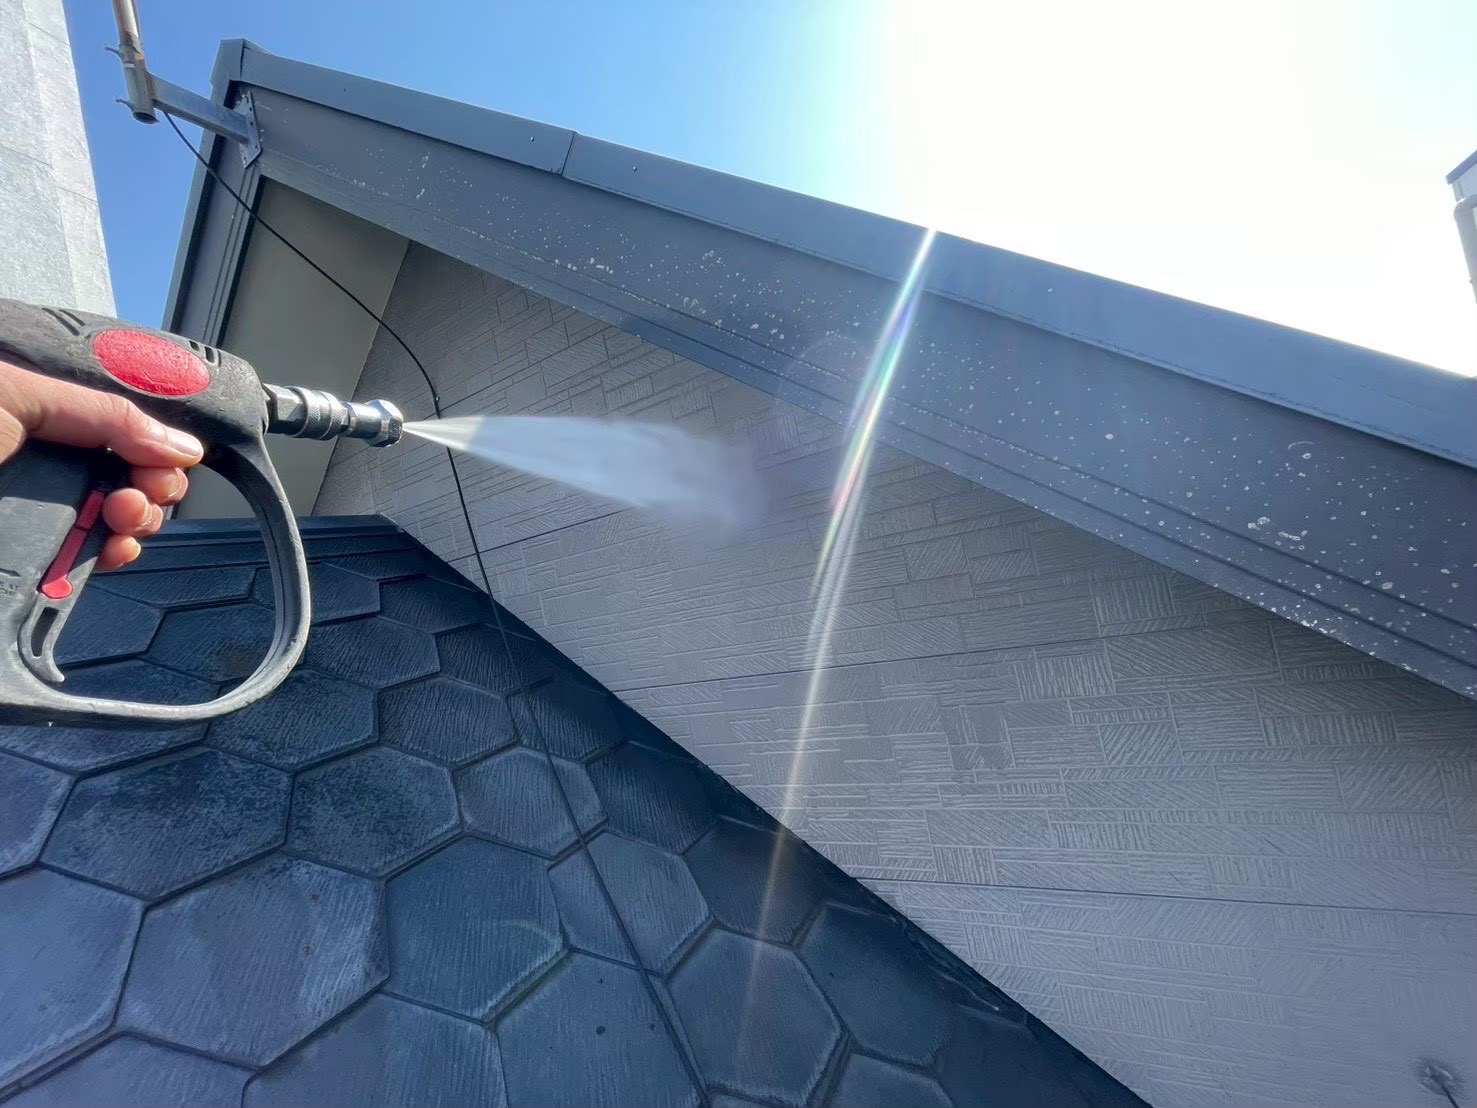
Before applying the paint, we will thoroughly remove dirt and moss using high-pressure washing! We will also strip away any peeling paint! Neglecting this step can cause the freshly painted surface to peel off. We will wash not only the exterior but also the ground surfaces as well. [/chat]
2. Repairs and Surface Preparation
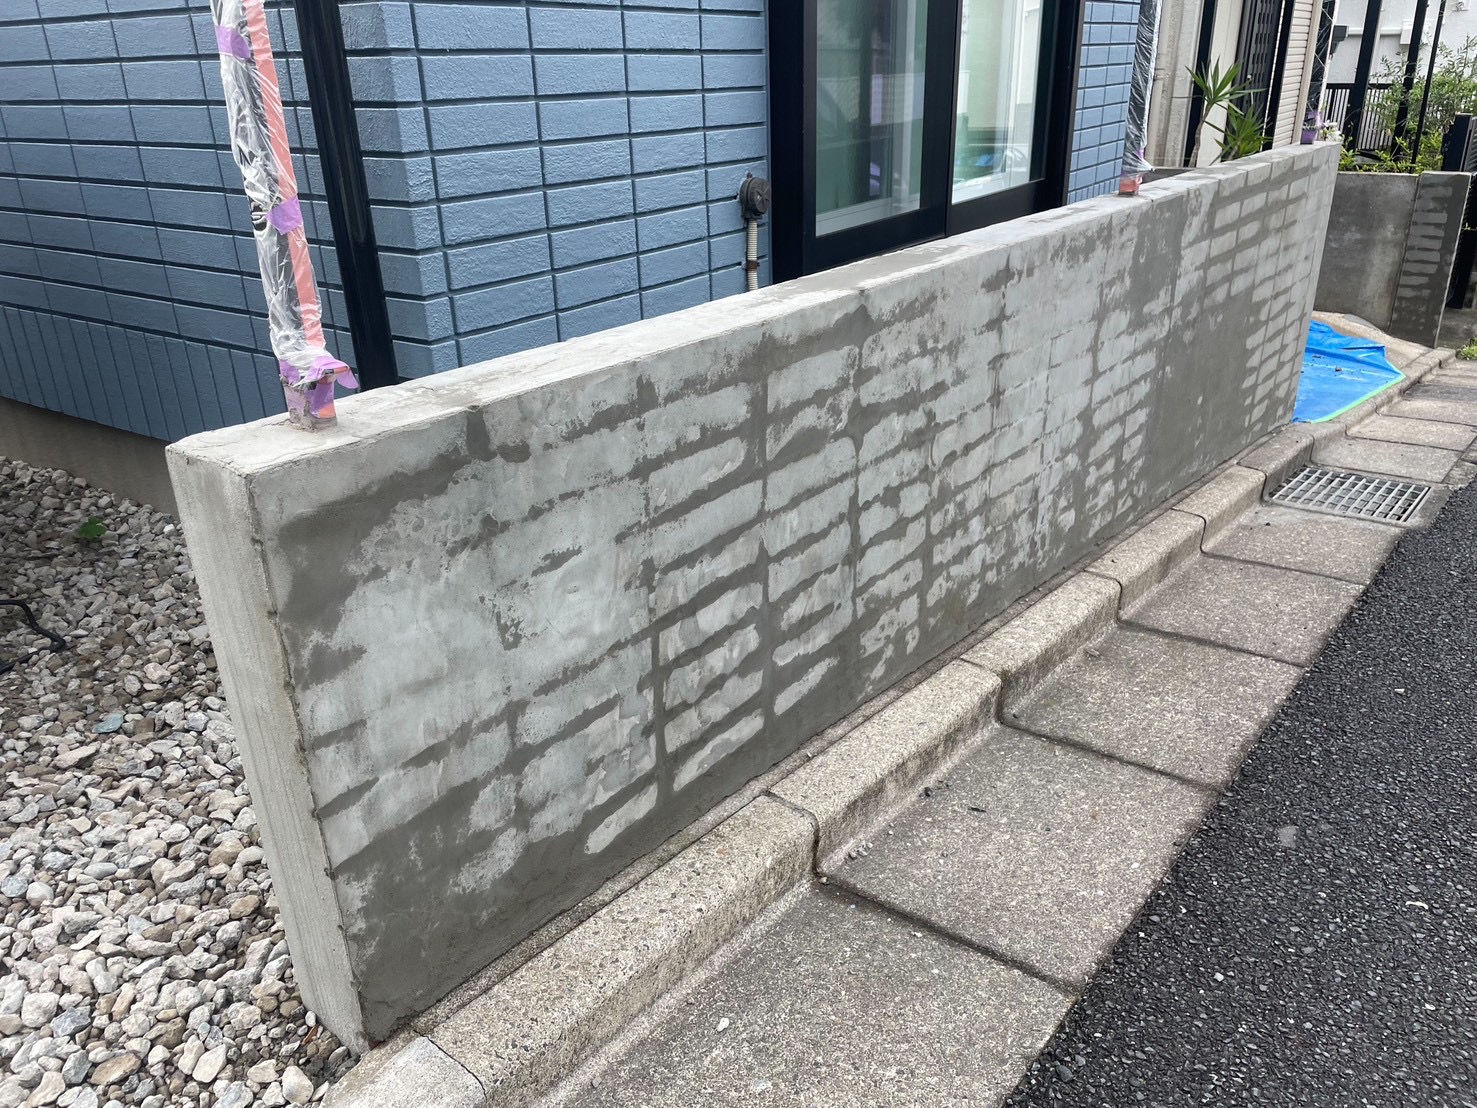
3. Primer Application
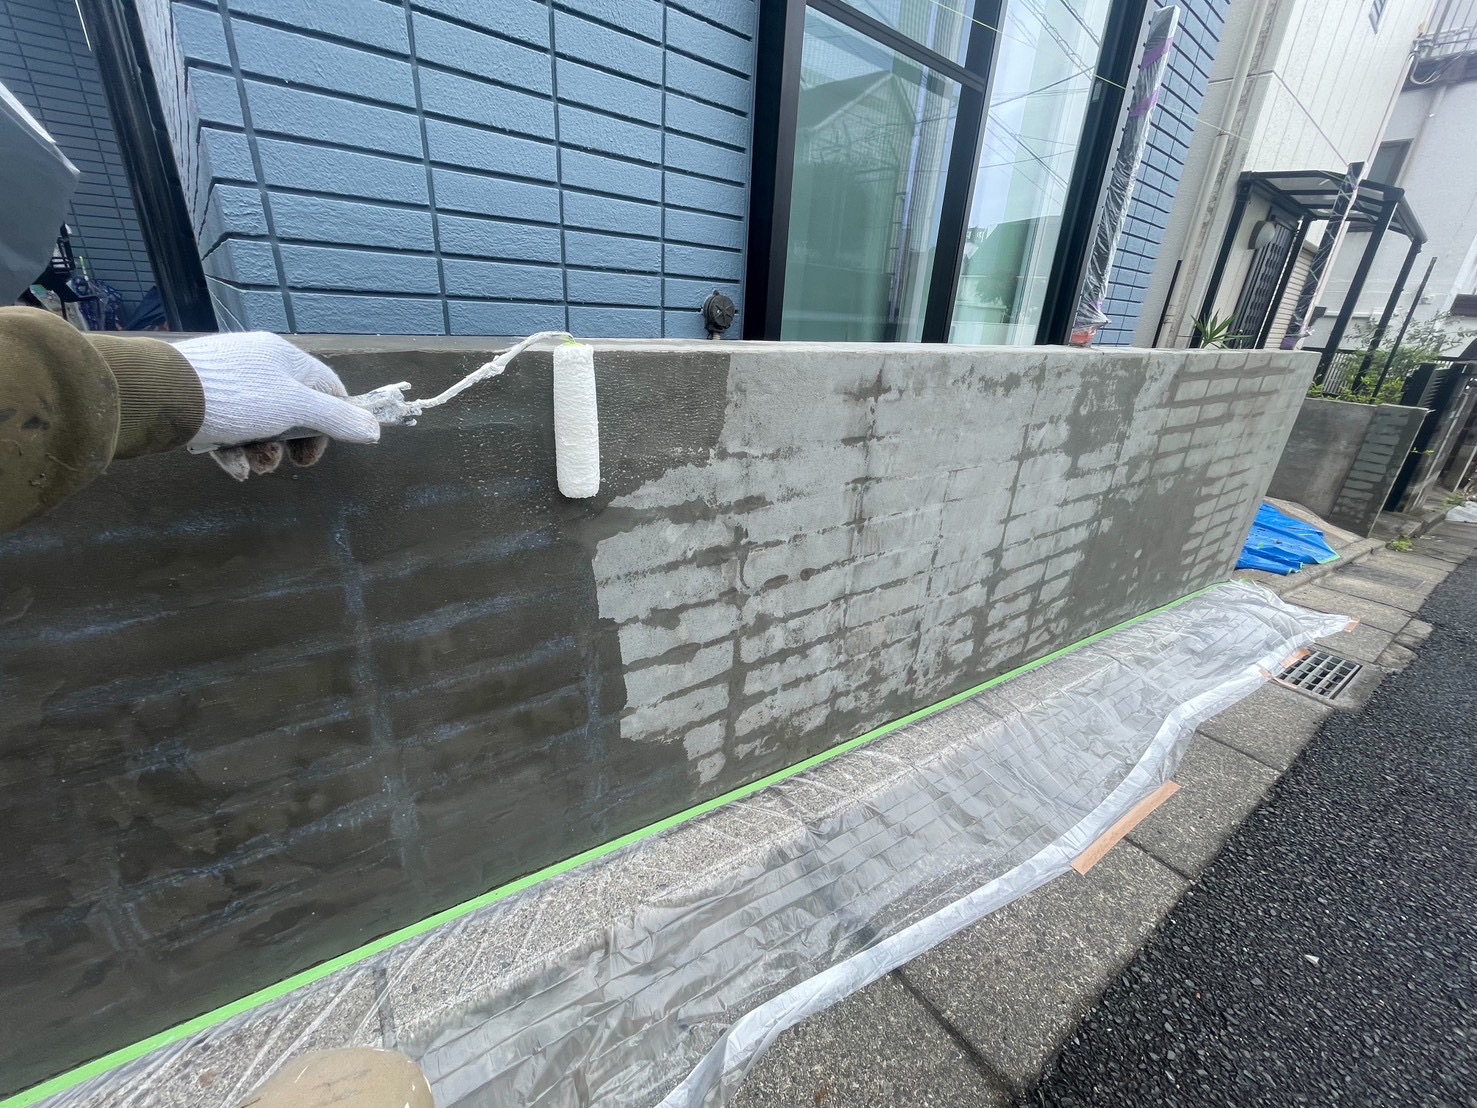
The primer we use is Safe Sealer!
4. Middle Coat
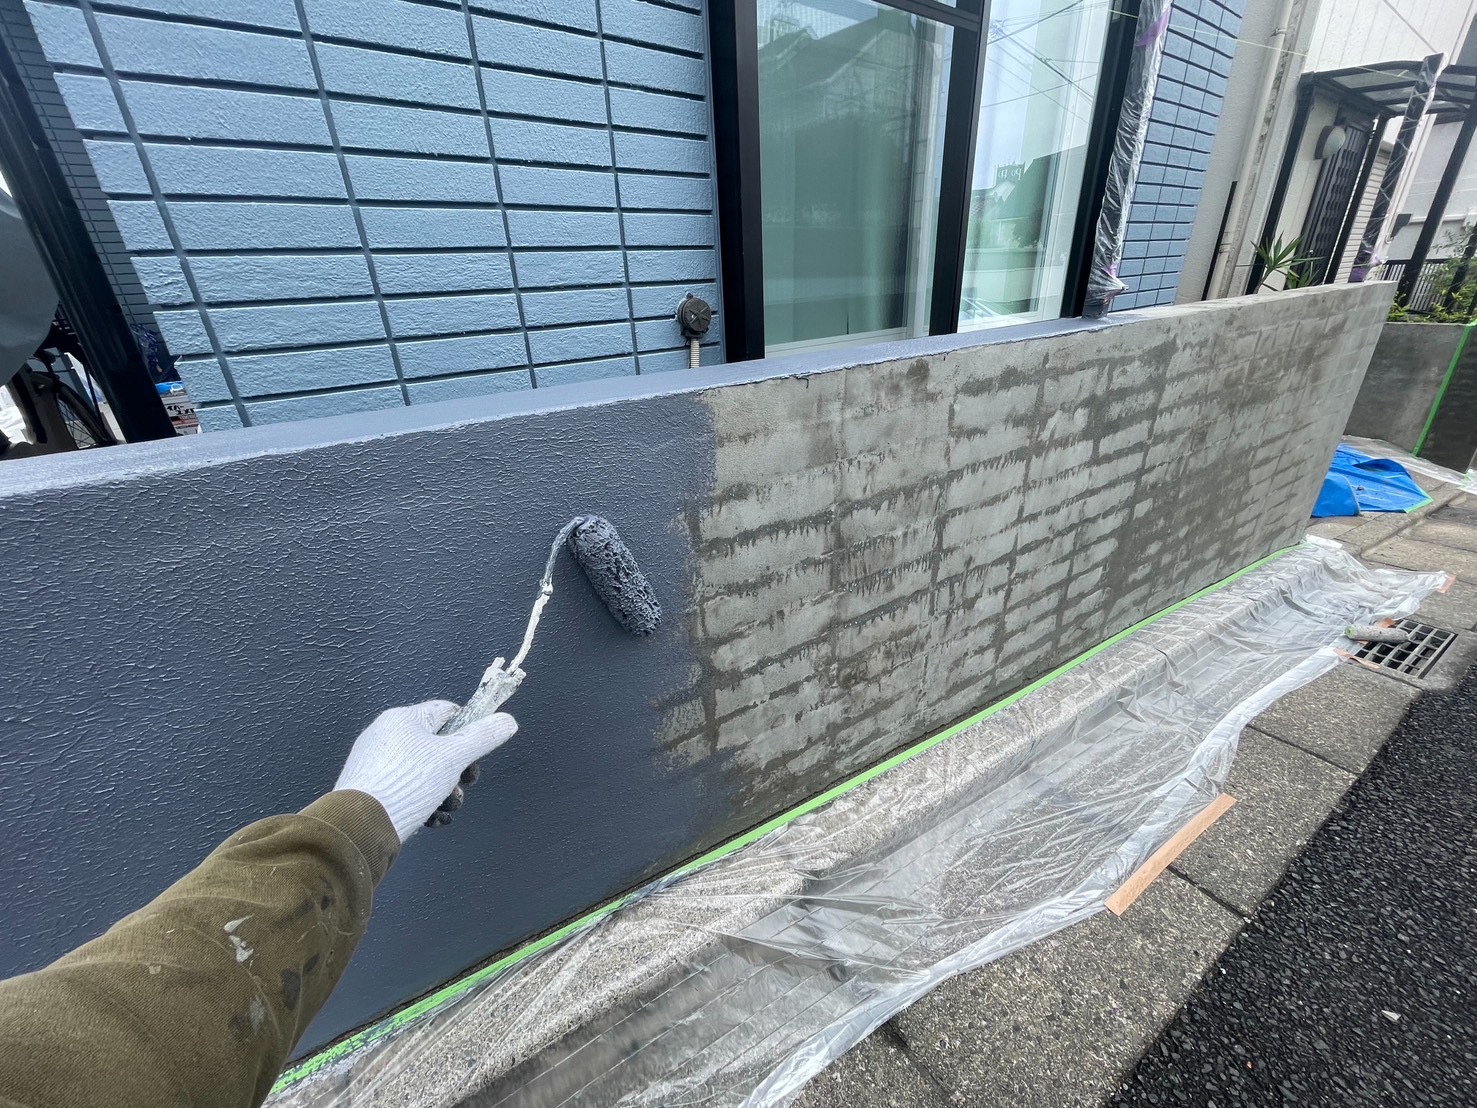
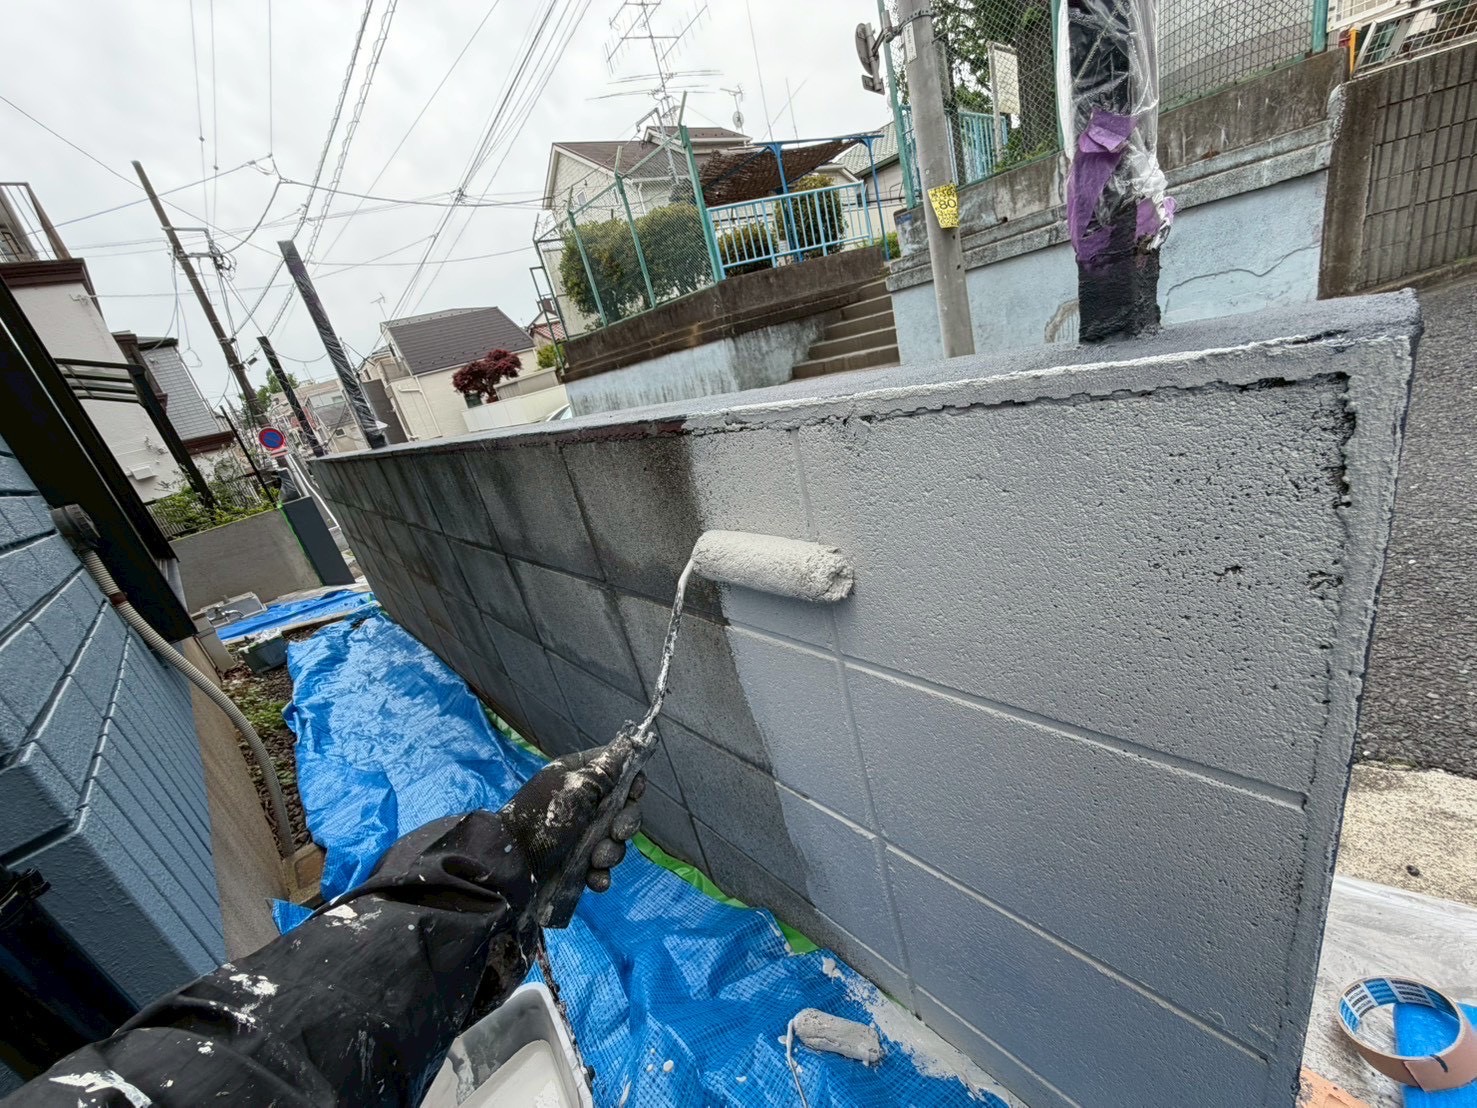
The paints used are:
Surface: Aica Kogyo / Joripad
Back: International Paint / IP Youheki Coat.
Using the same paint for the retaining wall as for the exterior walls can cause bubbling and peeling, so it is necessary to use specialized paints with excellent moisture permeability, such as Joripad and Youheki Coat!
This time, to reduce costs, we are using Youheki Coat only on the back side.
5. Top Coat
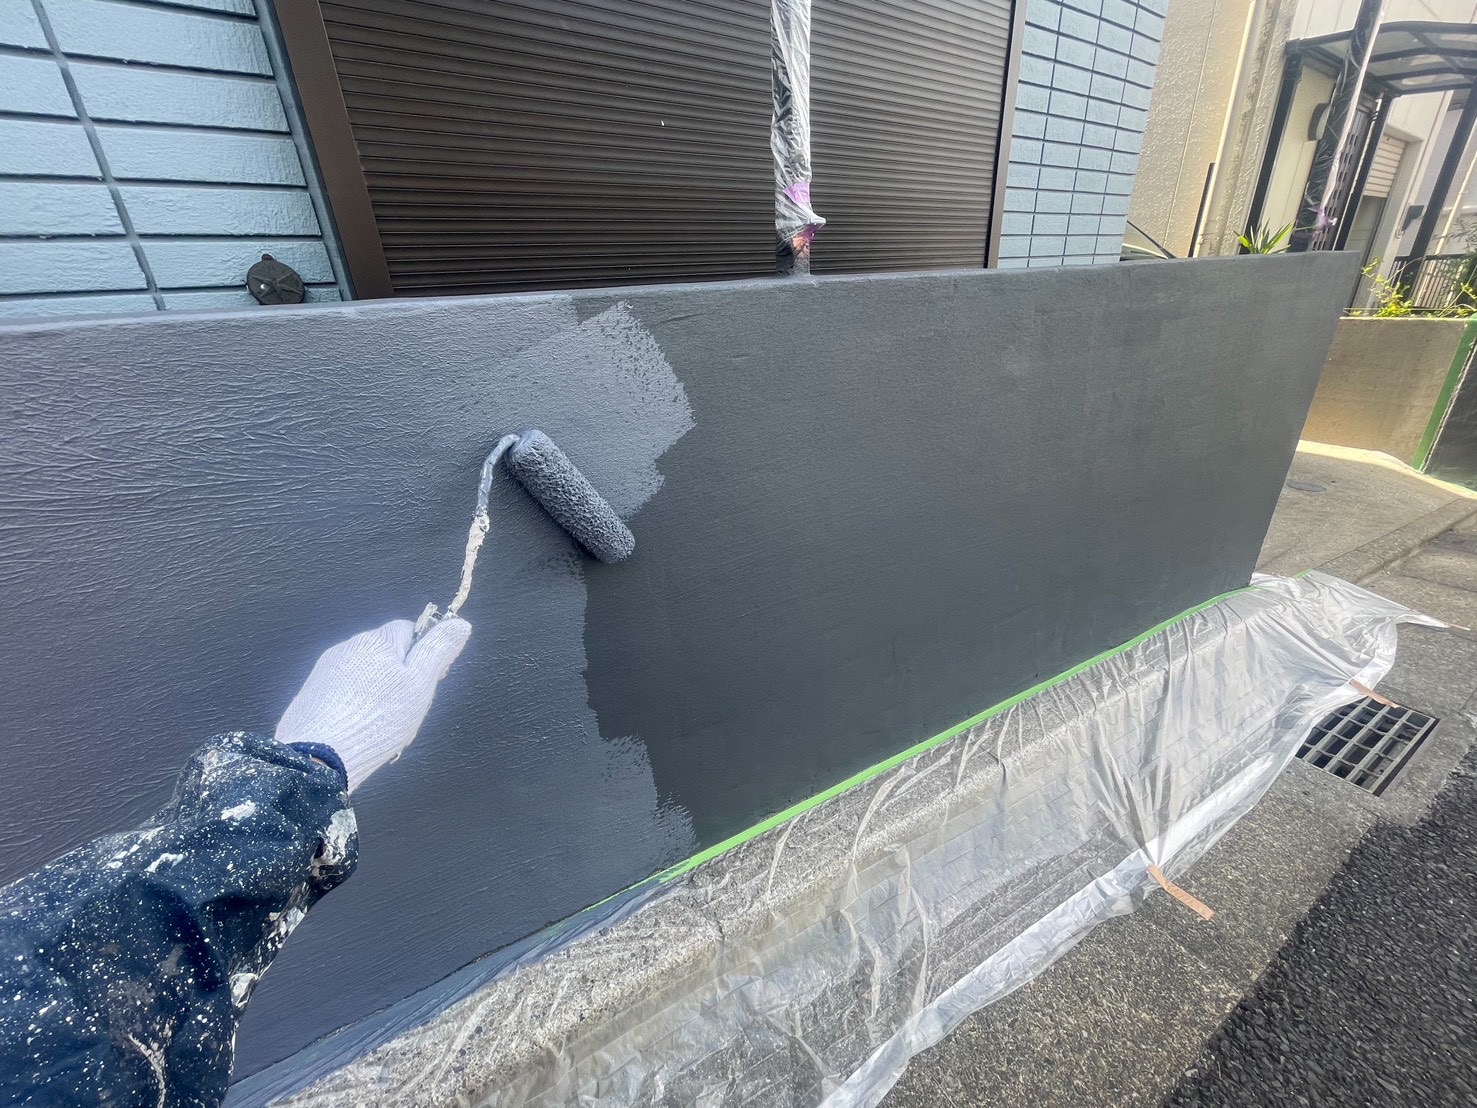
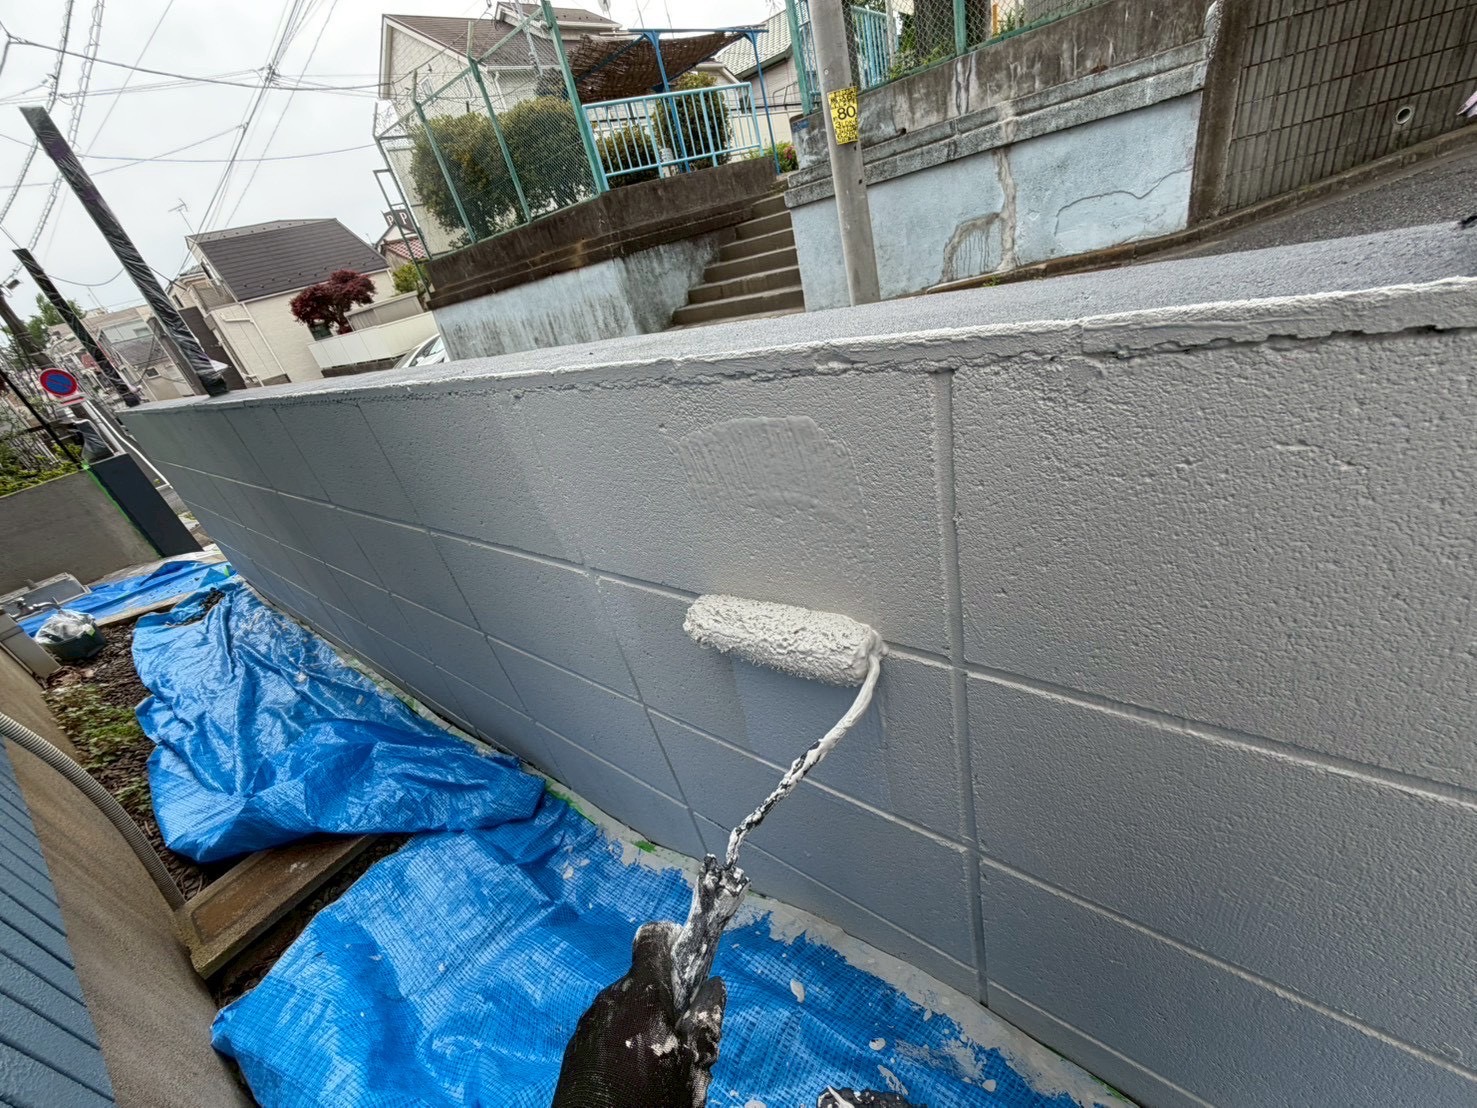
Please check out our other painting project achievements here!
For painting work in Ota-ku, Tokyo, trust Kakeru Koumuten!
Our company has extensive experience in painting renovations in Ota-ku, Tokyo. We are happy to assist with exterior wall painting, waterproofing work, and other painting projects, even if it’s just partial painting.
Whether you want to know, “I just want to get an estimate for exterior wall painting” or “I want to know about the right paint for my home,” please feel free to contact us with any questions or concerns!
We also have pricing plans for painting work listed below, so please take a look!
・Exterior wall painting and sealing work price list
・DIY Painting Plan | For those who want to try painting the roof and exterior walls themselves! We will only set up the scaffolding!
・Latest! Subsidies and grants in Yokohama City, Kanagawa Prefecture | About the reduction system
Conclusion
Estimates and inspections are, of course, free! If you have any issues with your roof, rain gutters, exterior walls, or exterior structures, please consult with Kakeru Koumuten Co., Ltd. inAoba-ku, Yokohama!
Kakeru Koumuten Co., Ltd. is a company strong in exterior renovations. From temporary scaffolding work to roof work and exterior painting workcompletely in-house construction! When it comes to exterior renovation work, we are confident that we will not be outdone by other companies in terms of “cost, quality, and good planning.”
We are confident in our exterior renovations, so we welcome competitive estimates! We also offer comprehensive construction guarantees and aftercare maintenance, and we have received positive feedback for our cost performance and appropriate proposals that align with our customers’ future life plans!
“I’m glad I asked them!” We take every request seriously to ensure you feel this way.
We look forward to your inquiries. Thank you very much.
Helpful information about exterior renovations can be found here!
・[Ota Ward, Tokyo] | Roof Renovation | Skylight Work Completed with Super Galtect! Roof Replacement Involving Removal
・[Ota Ward, Tokyo] | Exterior Wall Cleaning at a Senior Facility Without the Need for Scaffolding!
・[Ota Ward, Tokyo] | Painting Work and Floor Waxing in the Common Areas of an Apartment Completed!
・For Exterior Renovation in Ota Ward, Tokyo, Trust Kakeru Koumuten Co., Ltd.!
・For Roof Renovation in Ota Ward, Tokyo, Trust Kakeru Koumuten Co., Ltd.!
・For Rain Gutter Repair and Cleaning in Ota Ward, Tokyo, Trust Kakeru Koumuten Co., Ltd.!
・For Solar Panel Installation in Ota Ward, Tokyo, Trust Kakeru Koumuten Co., Ltd.!
・For Exterior Wall Cleaning in Ota Ward, Tokyo, Trust Kakeru Koumuten Co., Ltd.!
・For Waterproofing Work in Ota Ward, Tokyo, Trust Kakeru Koumuten Co., Ltd.!
・For Leak Repair in Ota Ward, Tokyo, Trust Kakeru Koumuten Co., Ltd.!
・Aftercare by Kakeru Koumuten Co., Ltd.
・Construction Menu and Price List of Kakeru Koumuten Co., Ltd.
・Staff Blog and Announcements from Kakeru Koumuten Co., Ltd.
We welcome consultations via LINE as well◎

We are also updating our Instagram regularly◎ Please follow us, thank you◎
contact Kakeru Koumuten Co., Ltd.
Kakeru Koumuten is a young company whose team is, on average, in their late twenties, but our skills are second to none.
Our greatest strength is that we handle scaffolding, roofing and painting entirely in-house. In an industry where these tasks are usually divided among contractors, our complete service simplifies project management and helps keep costs down. Above all, if a problem arises, we respond promptly.
We proudly describe ourselves as the youngest and most helpful renovation company in Kanagawa!