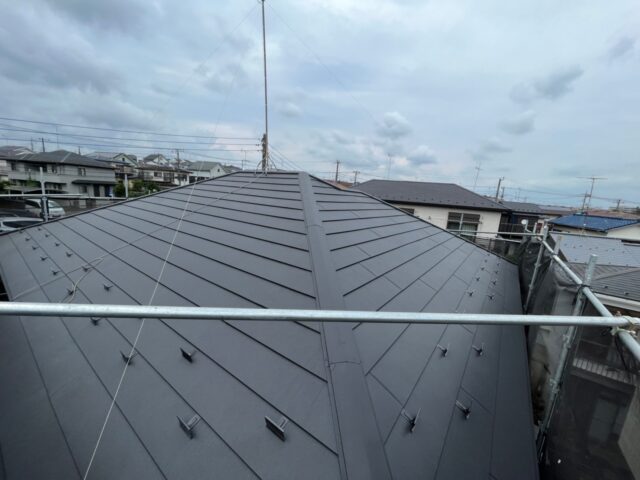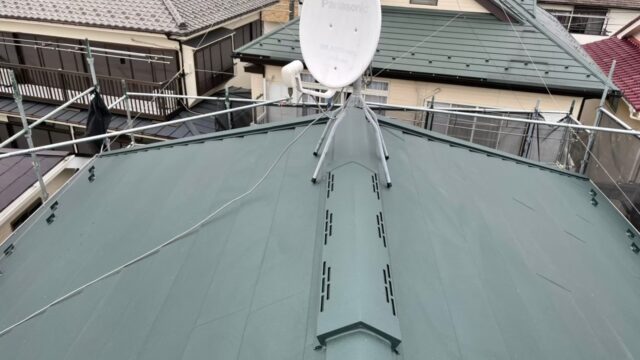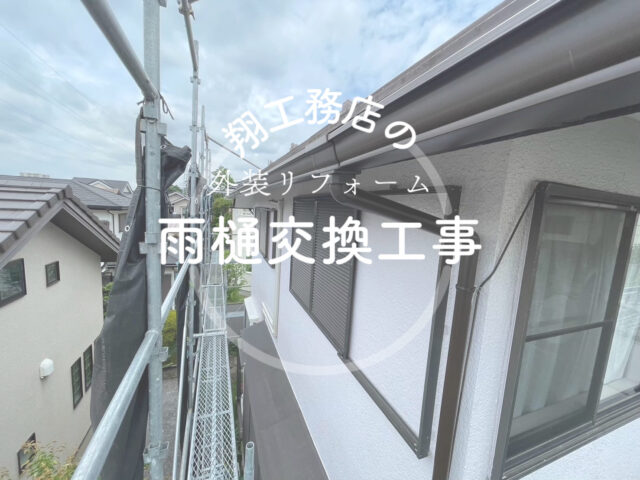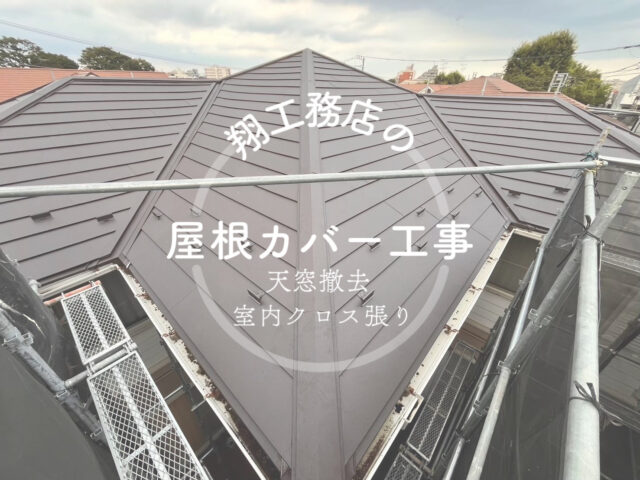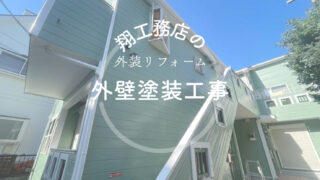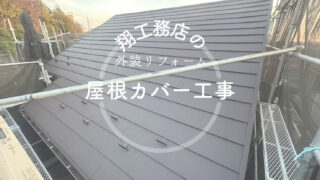
【Midori-ku, Yokohama】|Two-tone exterior wall|We have completed an exterior renovation with roof, wall, and exterior painting!
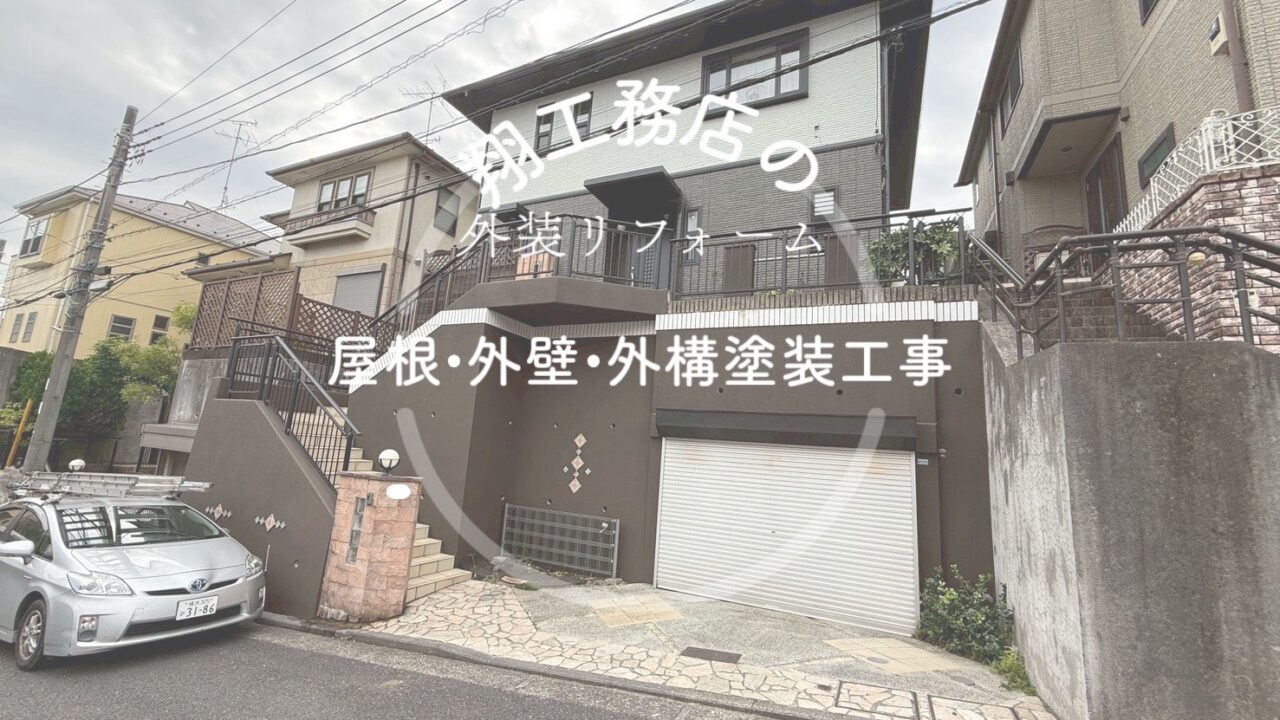
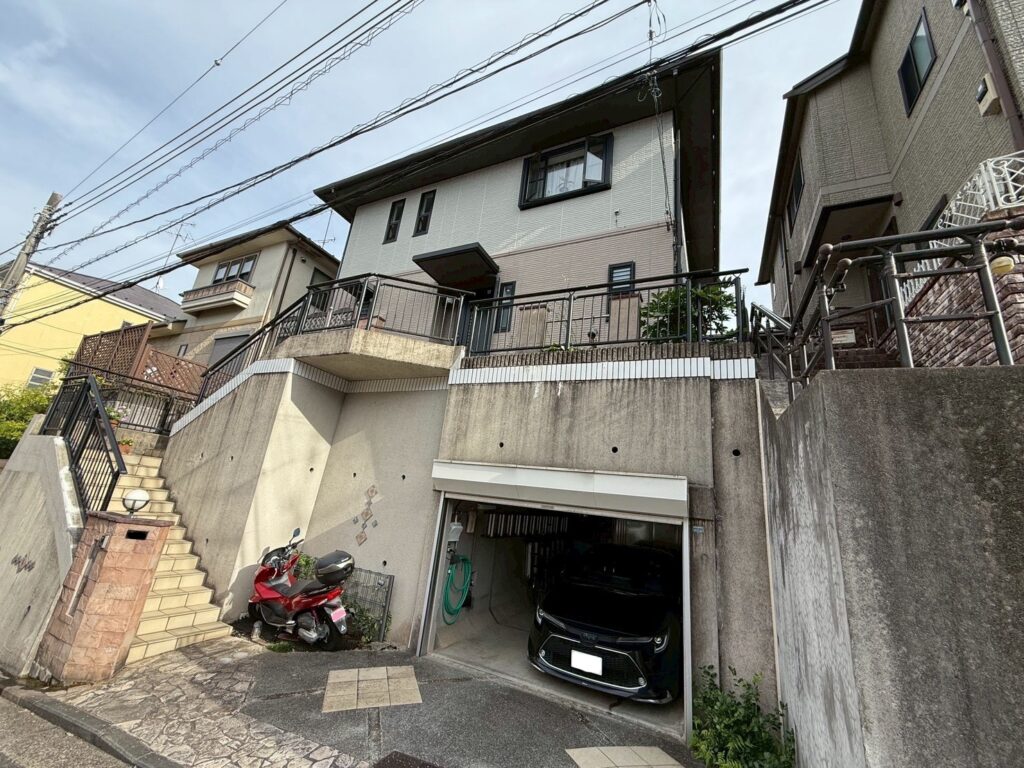
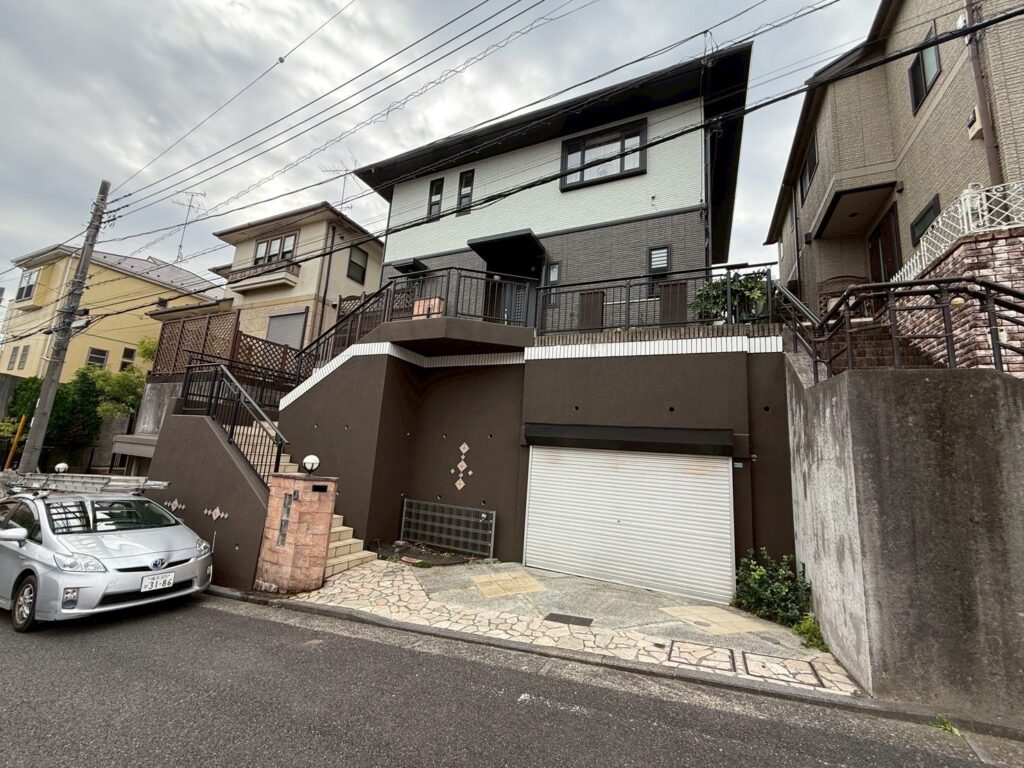

Construction Data for Midori-ku, Yokohama
| Construction Location |
| Aoba-ku, Yokohama |
| Construction Details |
| Temporary Scaffolding Installation Roof Painting Work Exterior Wall Painting Work Sealing Work Exterior Painting |
| Background to the Construction |
| We received an inquiry from a customer living in Aoba-ku, Yokohama. “I am considering painting the roof, exterior walls, and concrete, so I would like to get a quote.” |
| Materials Used |
| 〇Roof Painting Primer: Astec Paint/HB Primer JY-IR Intermediate and Top Coat: Astec Paint/Inorganic Hybrid Coat JY 〇Exterior Wall Painting |
| Price Range |
| 1,000,000 yen – 1,100,000 yen |
| Construction Period |
| Approximately 4 weeks |
| Completion Month |
| October 2025 |
Roof Painting Construction Procedure
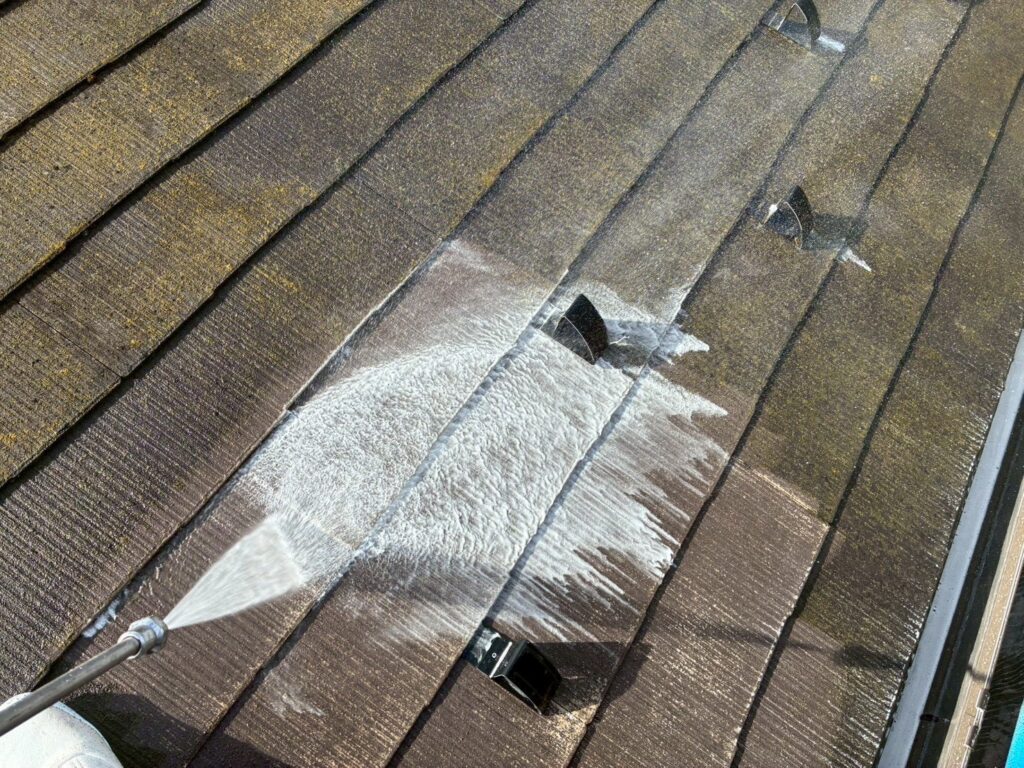
1. Cleaning and Surface Preparation

2. Protection of Various Parts
This is an important task.
3. Primer Application
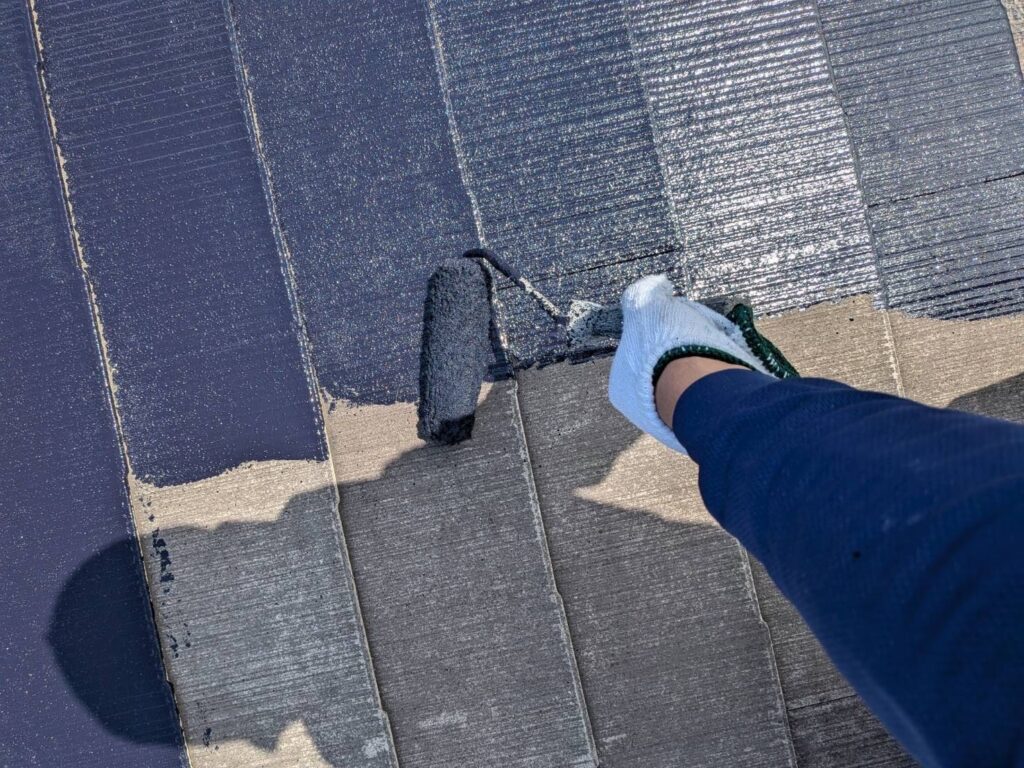
The paint used for the primer this time is Astec Paint’s HB Primer JY-IR.
4. Installation of Taspacer
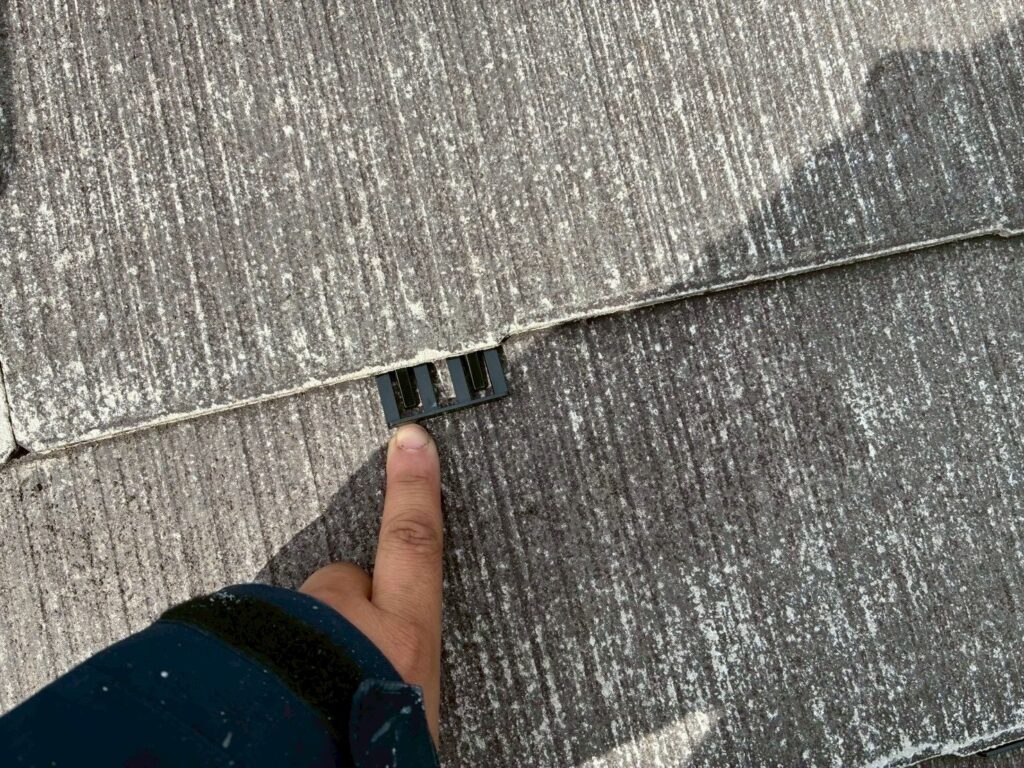
5. Intermediate Coating
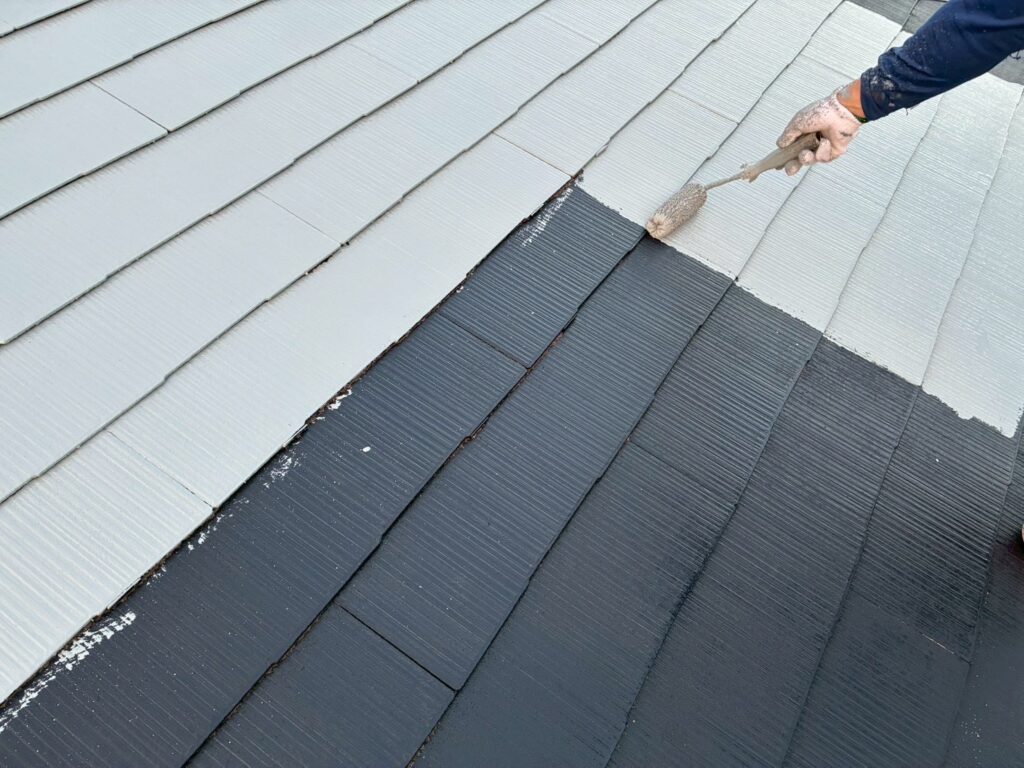
The paint used for the intermediate coating this time is Astec Paint’s Inorganic Hybrid Coat JY.
6. Top Coating
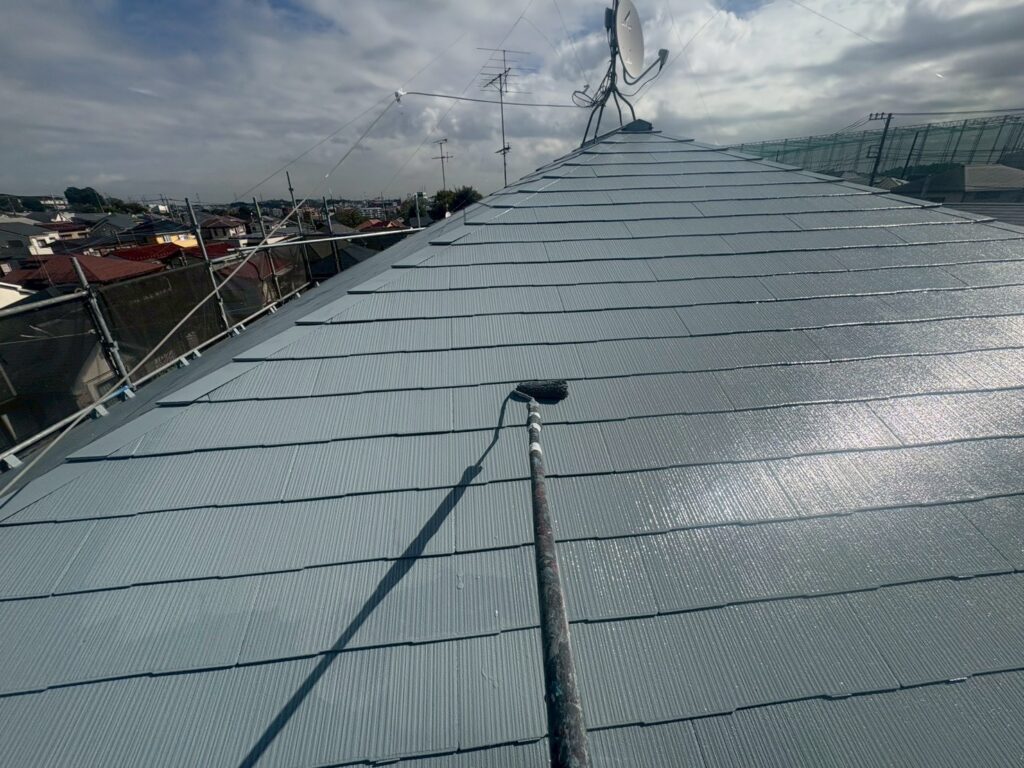
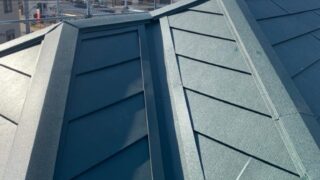
The paint used for the top coating this time is the same Astec Paint’s Inorganic Hybrid Coat JY as the intermediate coating.
7. Completion
Please check out our other painting project results here!
Exterior Wall Painting Construction Procedure
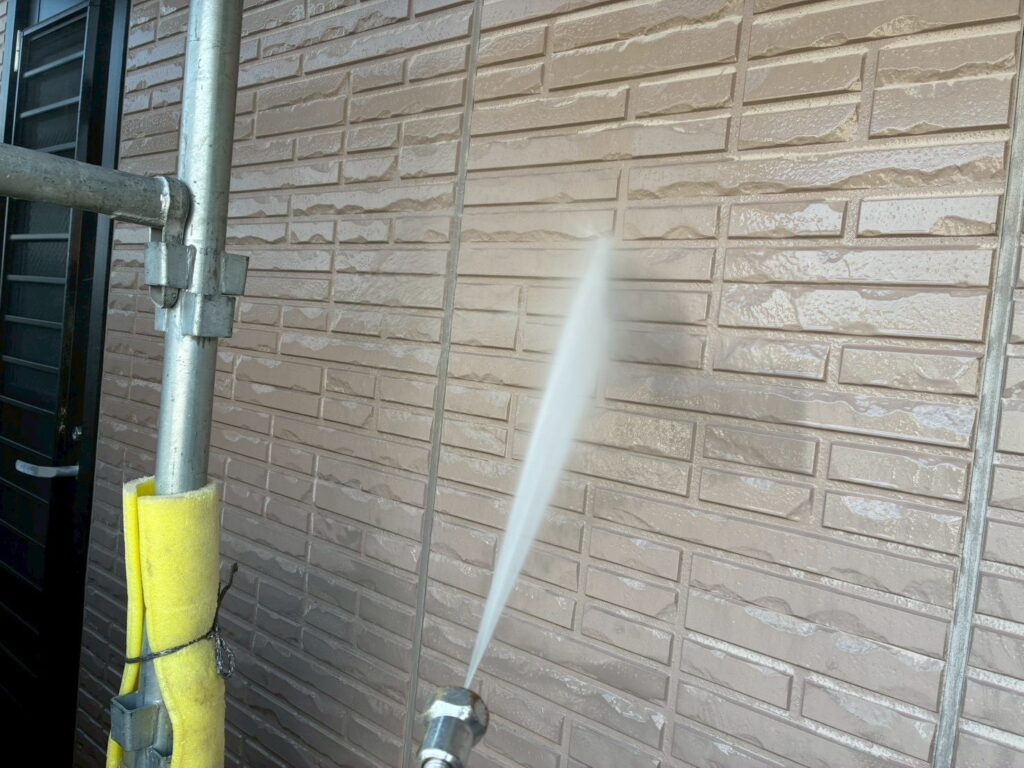
1. High-Pressure Washing
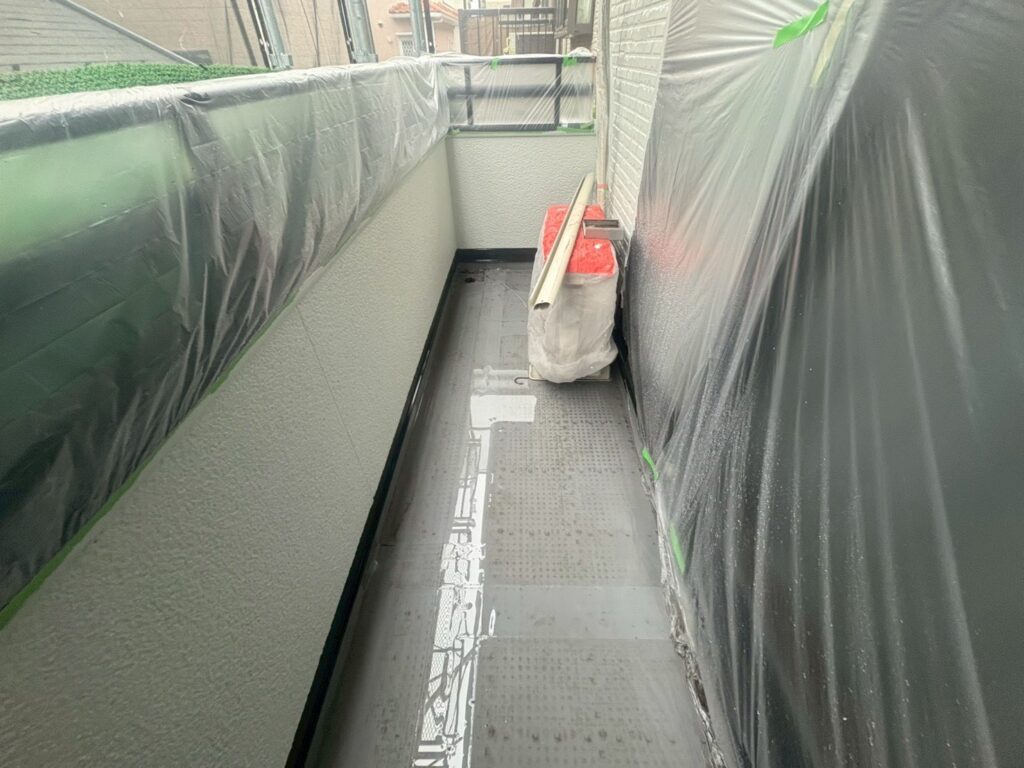
2. Protection of Areas
3. Primer Application
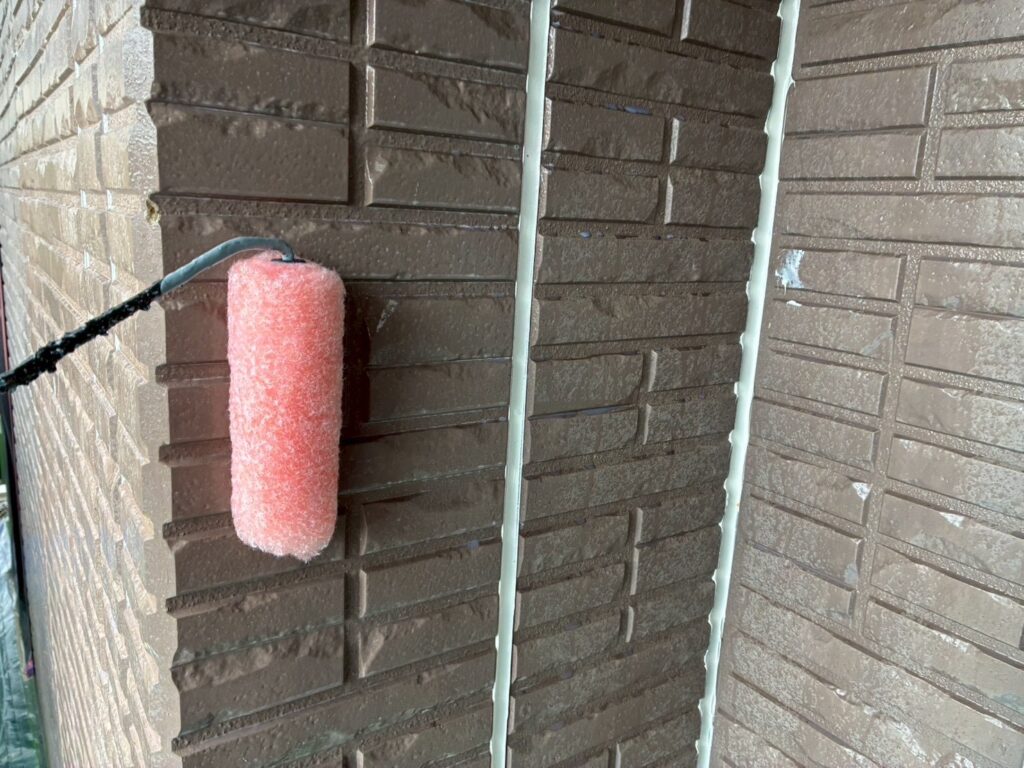
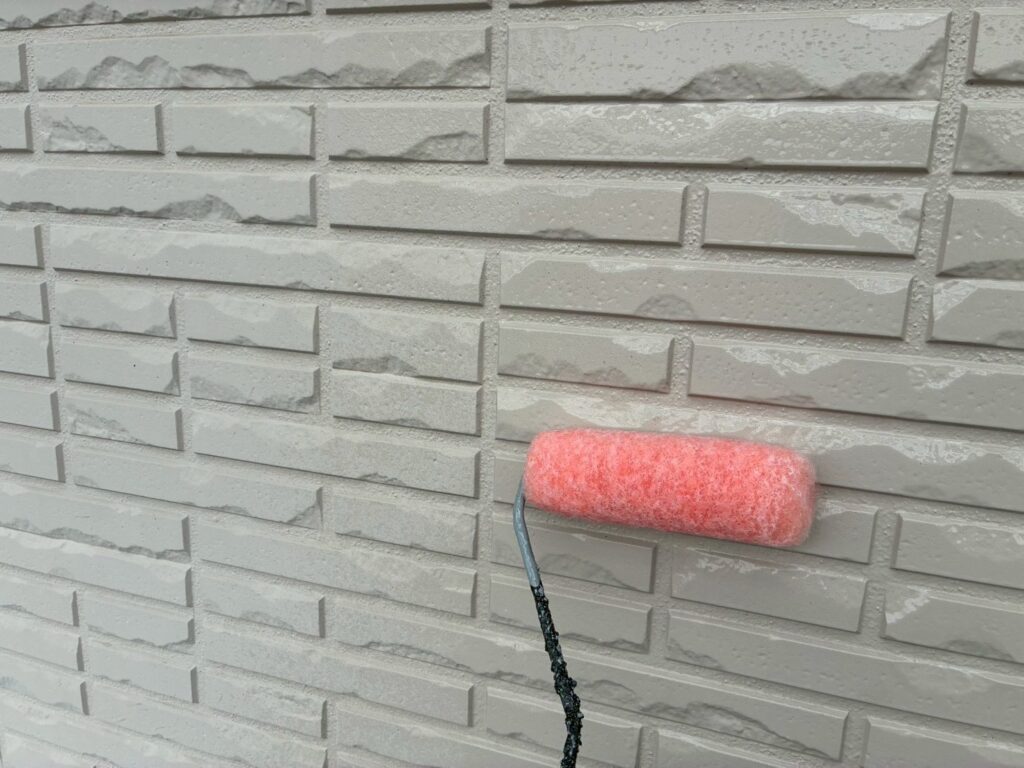
The paint used this time is the Diahwide Sealer from Seika Japan.
4. Middle Coat Application
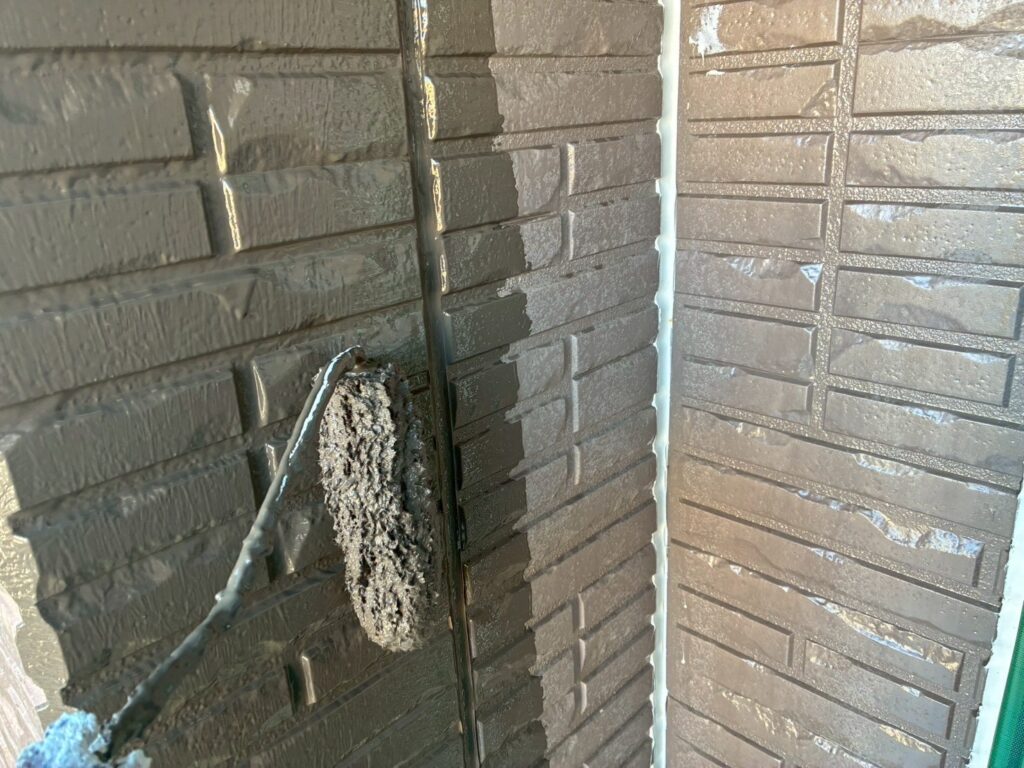
The paint used this time is the Dya Super Seranflex from Seika Japan.
5. Top Coating
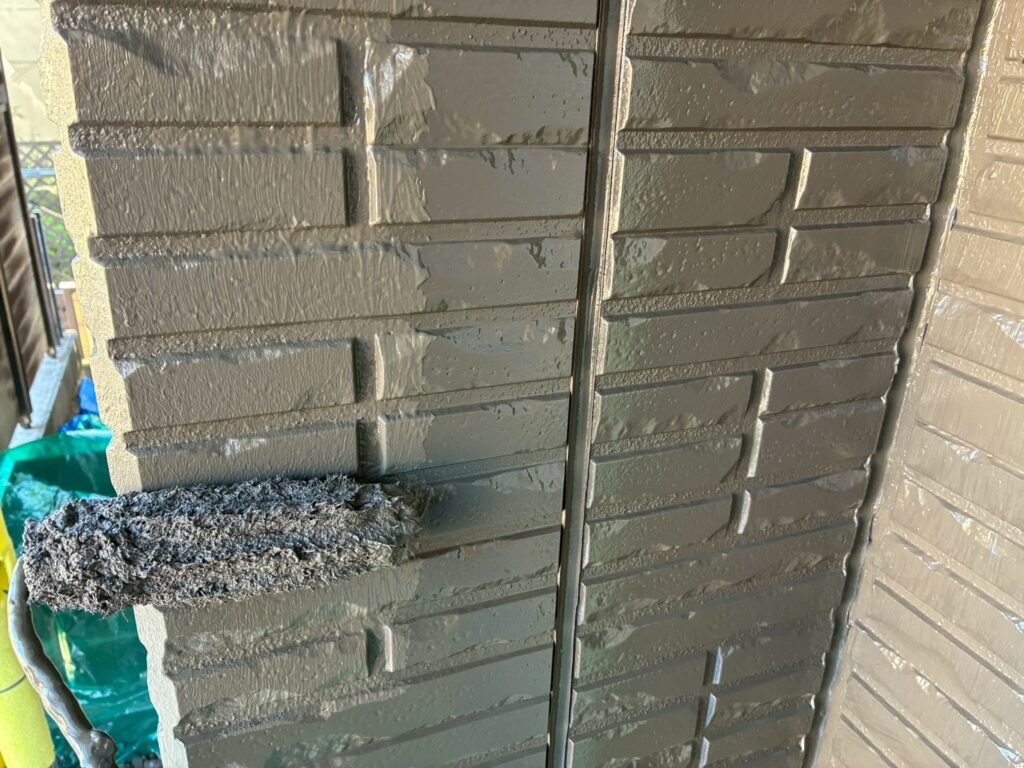
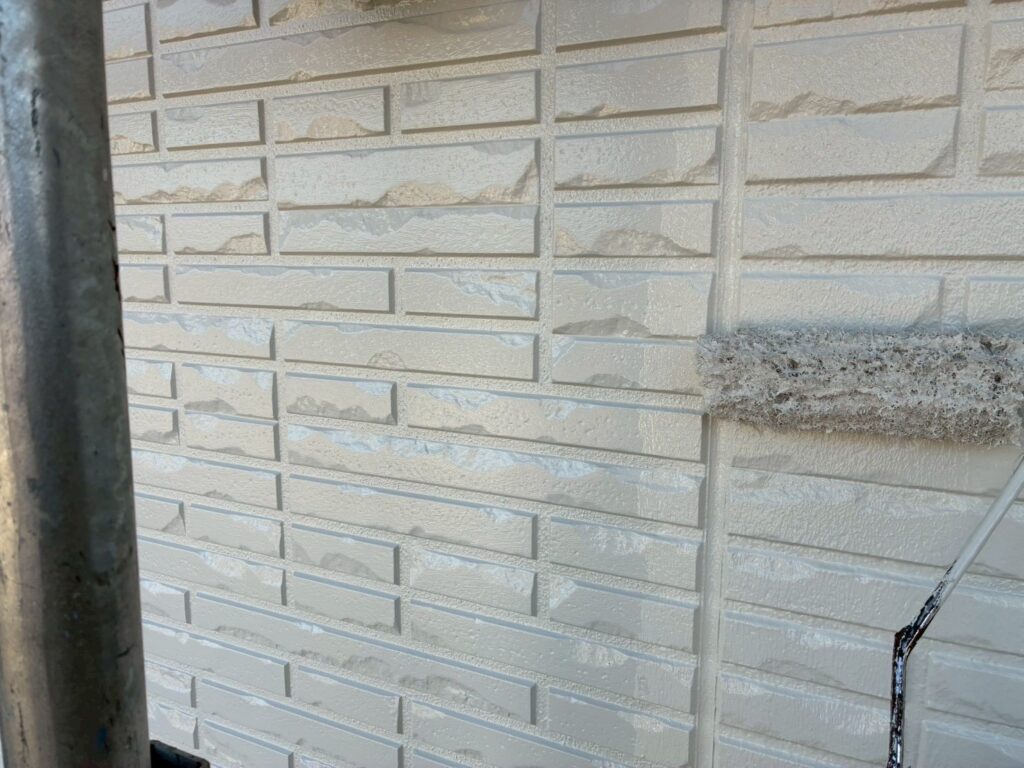
The paint used this time is also the Dya Super Seranflex from Seika Japan, just like the middle coating.
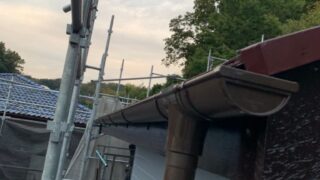
5. Additional Coatings (Rain Gutter, Fascia, Eaves Ceiling, Water Cut, Shutter Box)
Eaves Ceiling
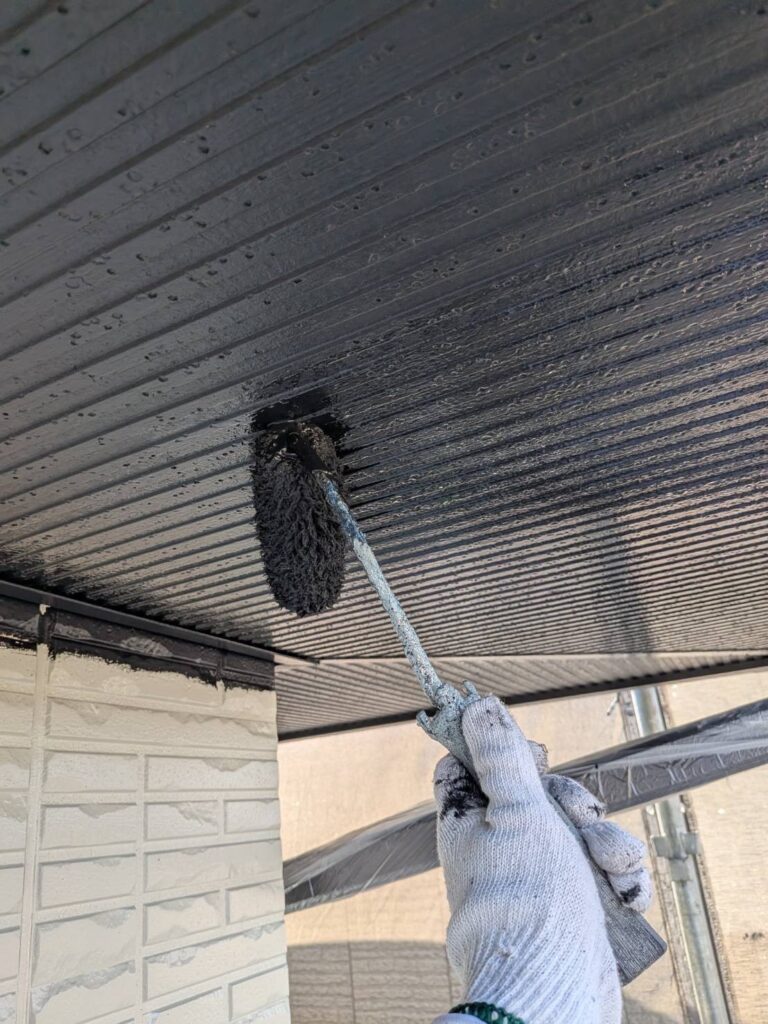
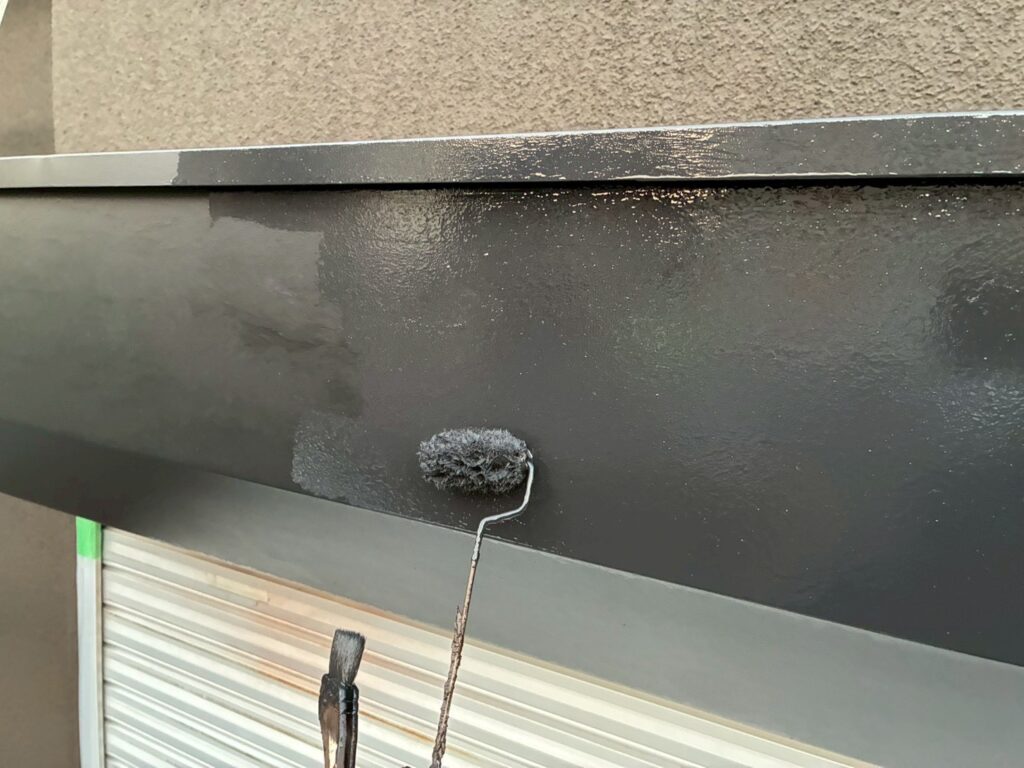
Shutter Box
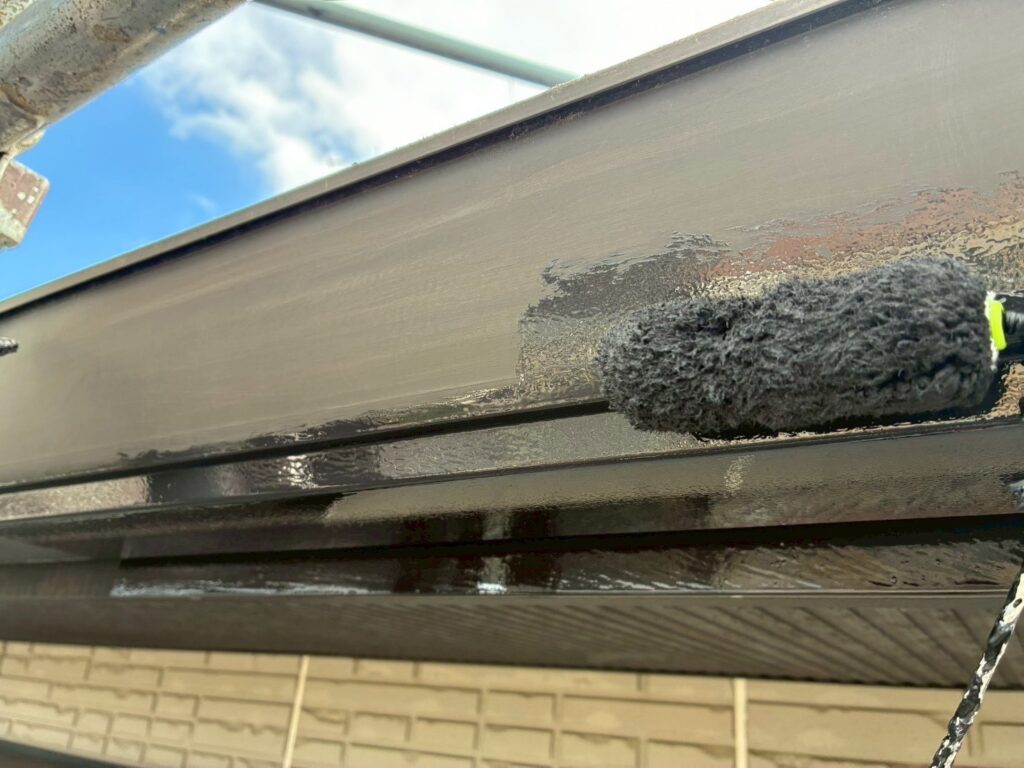
Rain Gutter
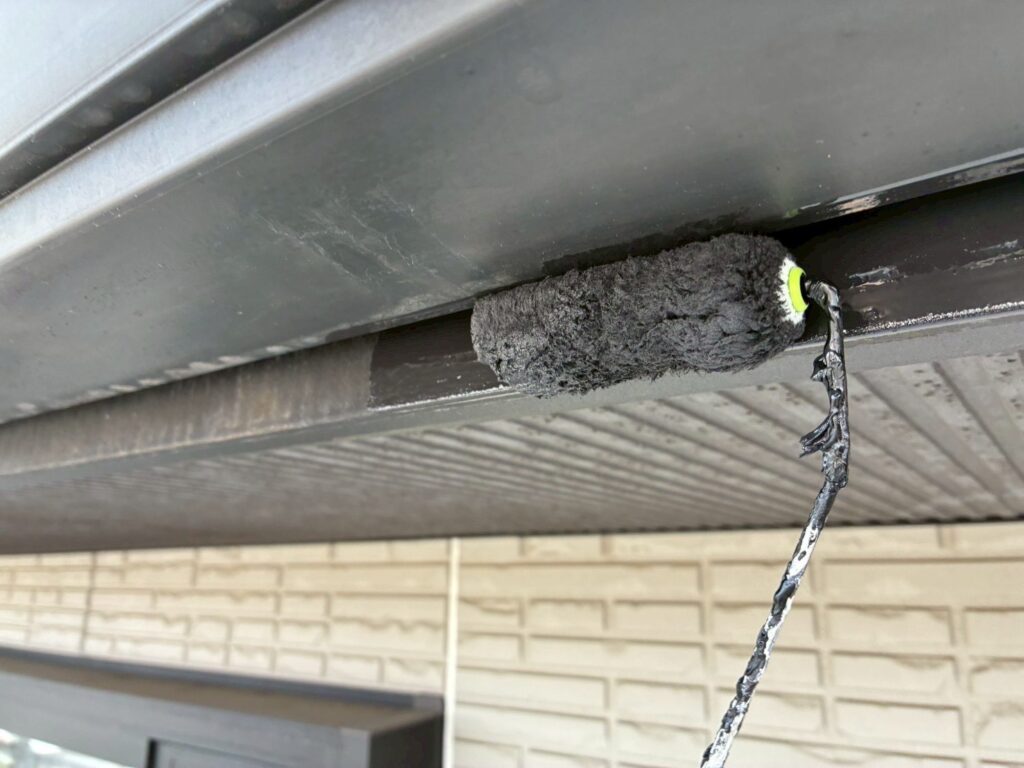
Fascia
Water Drainage
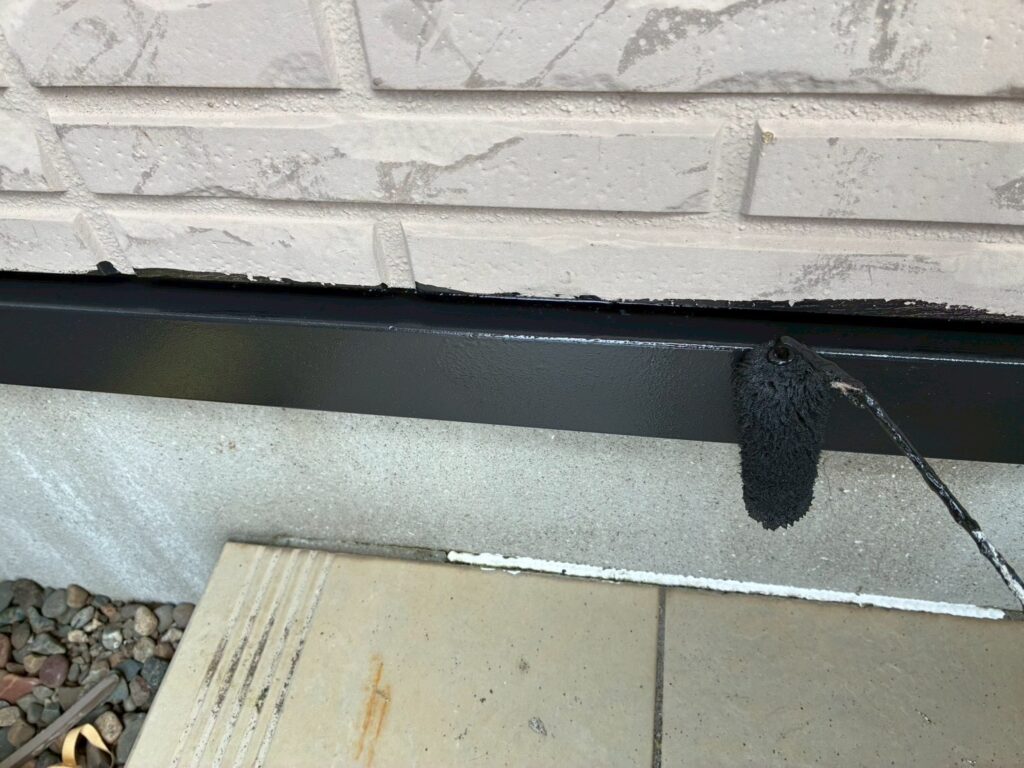
We will thoroughly paint every detail that can be painted! [/chat]
Exterior Painting Work Procedure
1. High-Pressure Washing
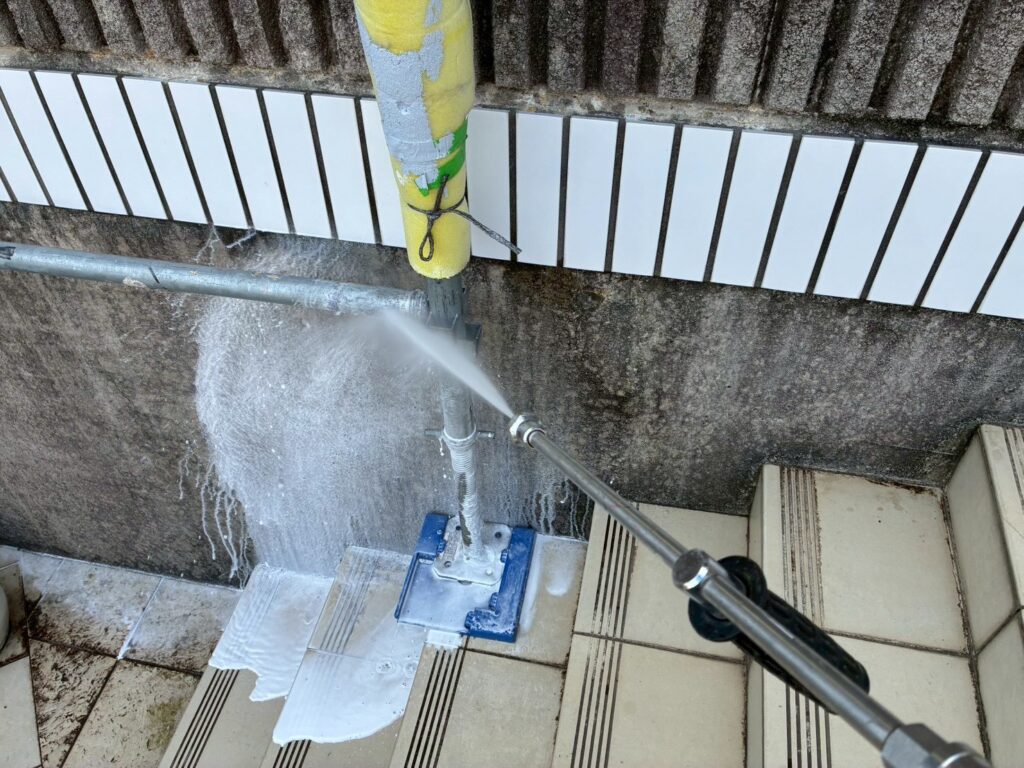
Before applying the paint, we will definitely use high-pressure washing to thoroughly remove dirt and moss! We will also strip away any peeling paint! Neglecting this step can lead to the peeling of the freshly applied paint. We will wash not only the exterior but also the ground surfaces as well. [/chat]
2. Repairing Each Section
3. Primer Coat
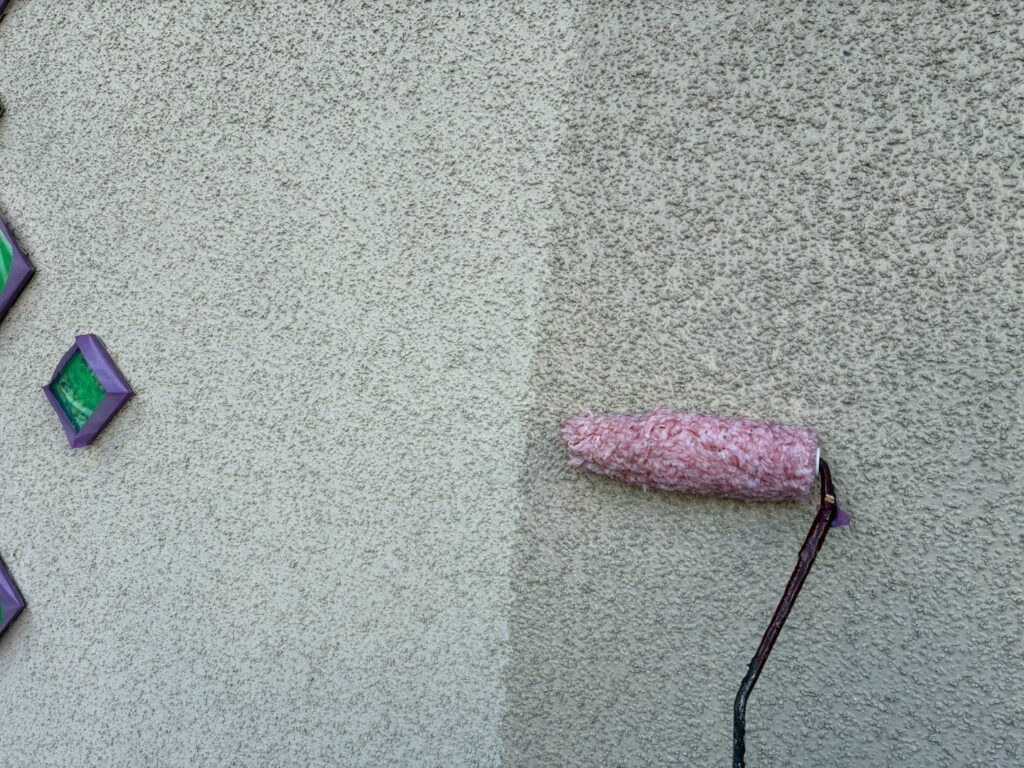
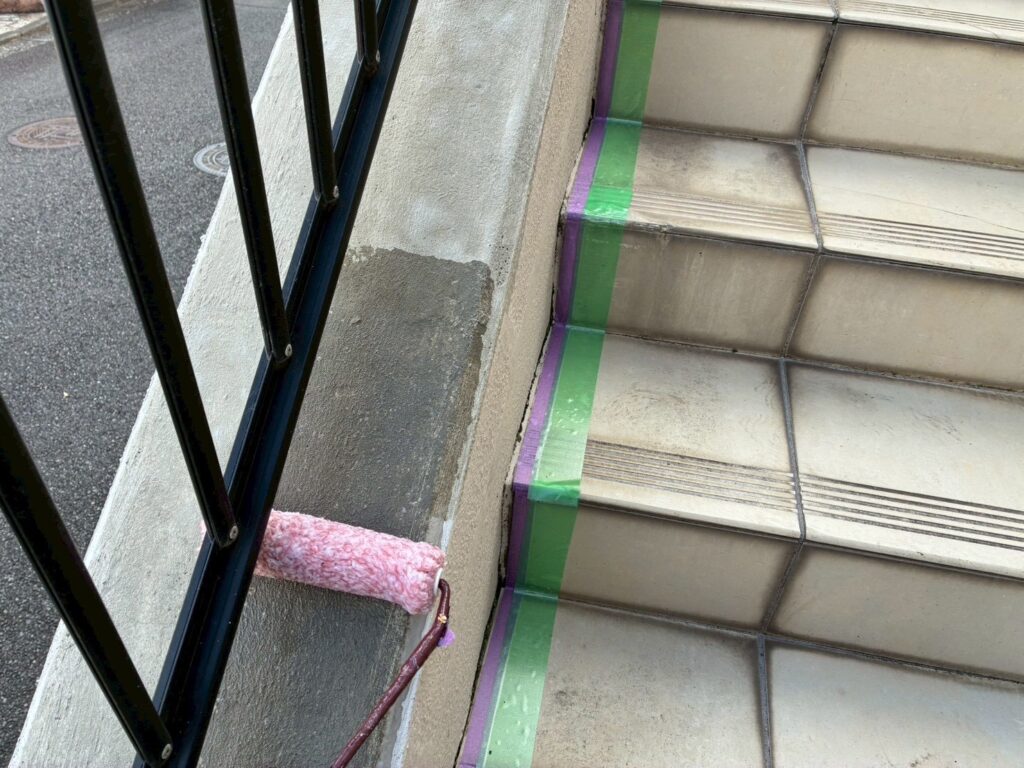
This is the first painting task after completing high-pressure washing and surface preparation, using a paint that adheres well to the surface to ensure the middle coat and final top coat applied later stick properly.
[/chat]
4. Middle Coat
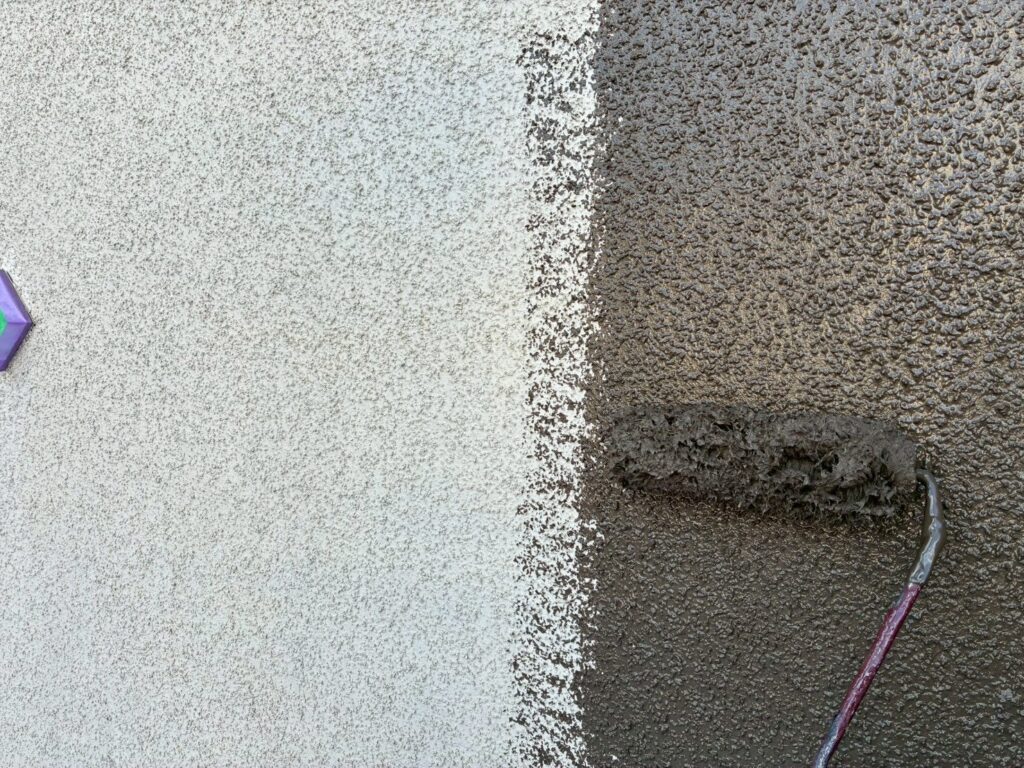
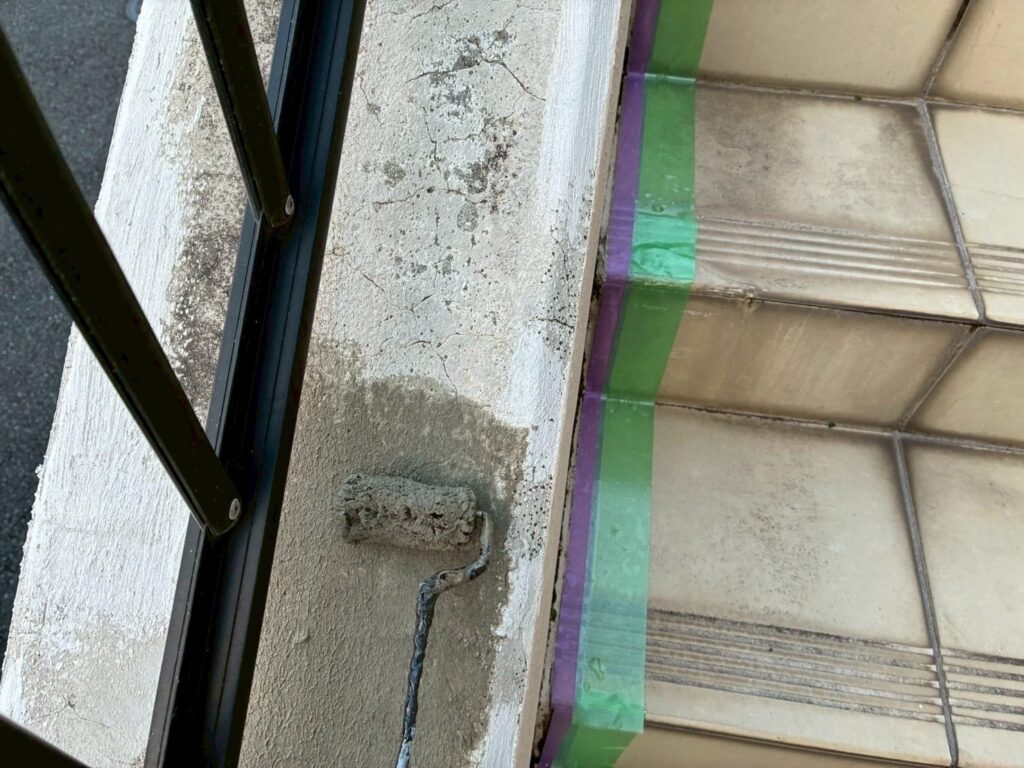
The paint used is International Paint / IP Youheki Coat.
5. Top Coating
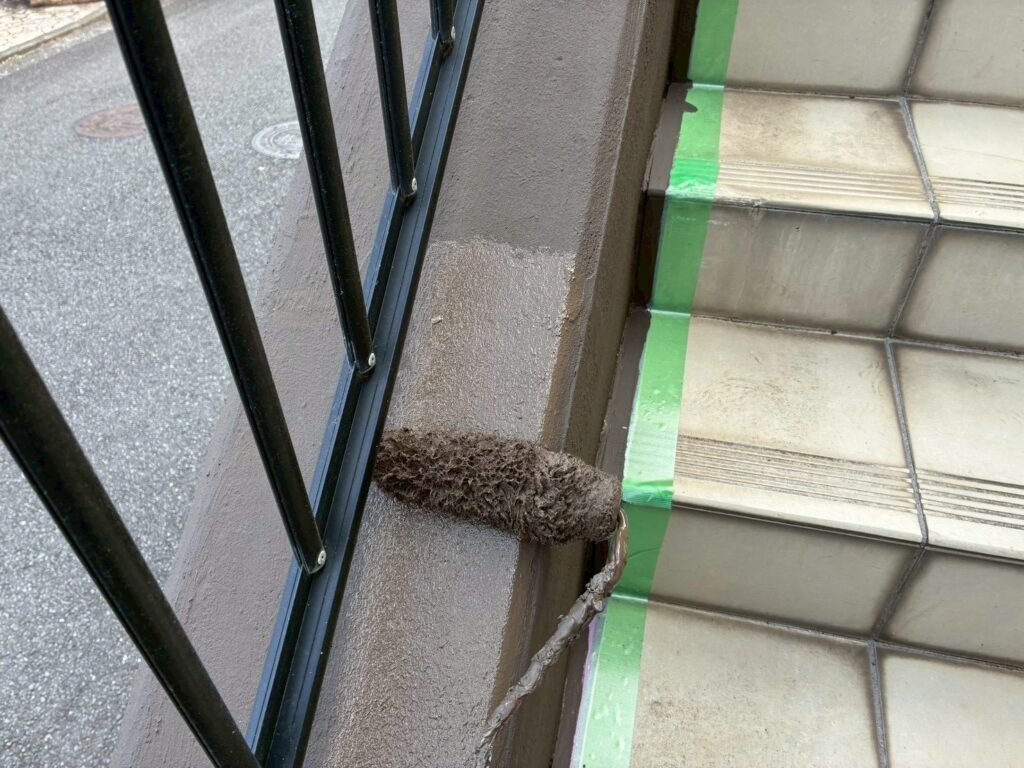
Joint Replacement Work Procedure
1. Removal of Existing Sealing Material
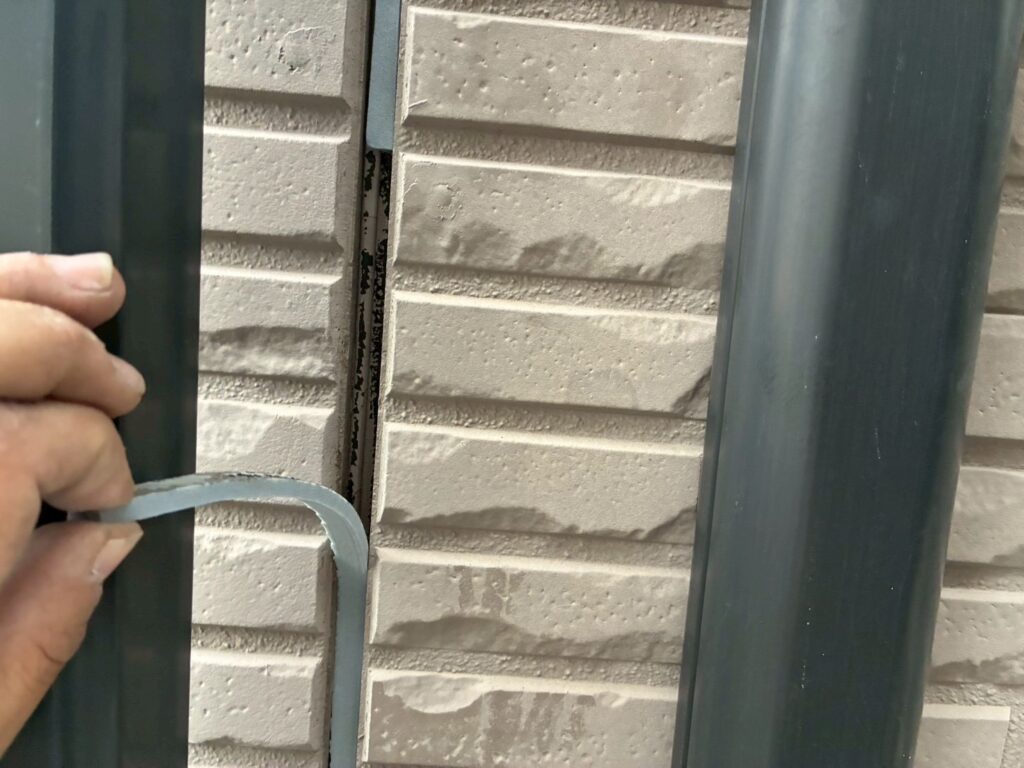
This is referred to as sealing, caulking, or jointing. It is a critical area that can easily lead to water leaks and cause cracking or lifting of siding. Cracks and peeling are signs of deterioration!
2. Protection (Masking Tape Application)
3. Application of Primer
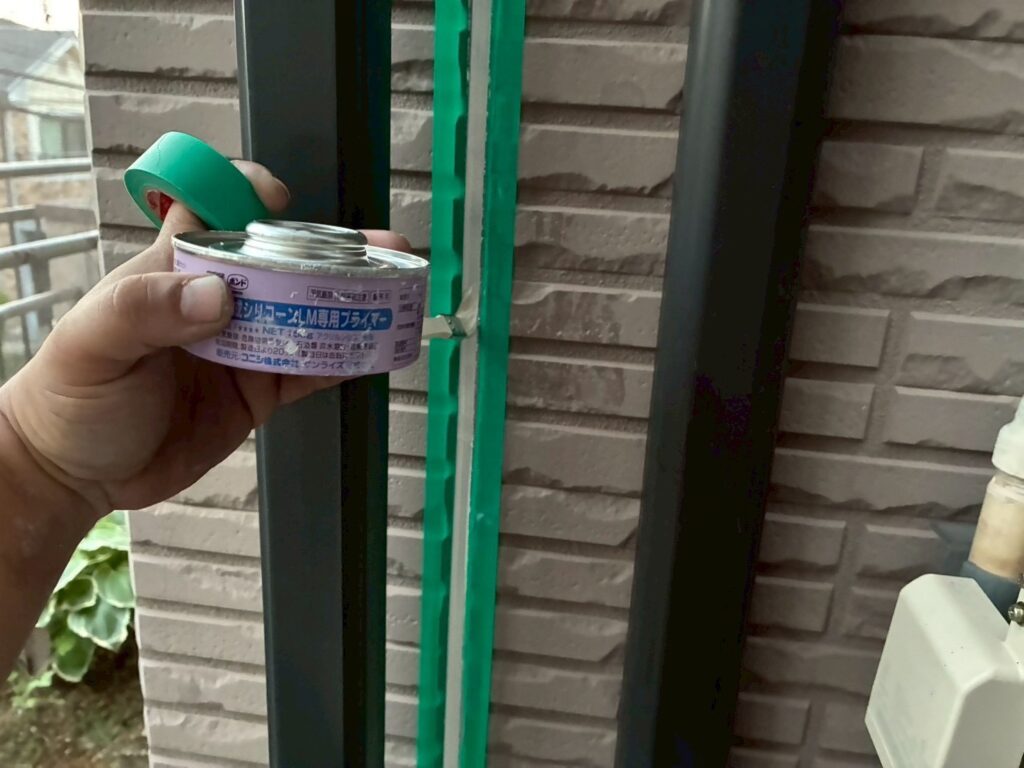
4. Filling of Sealant Material
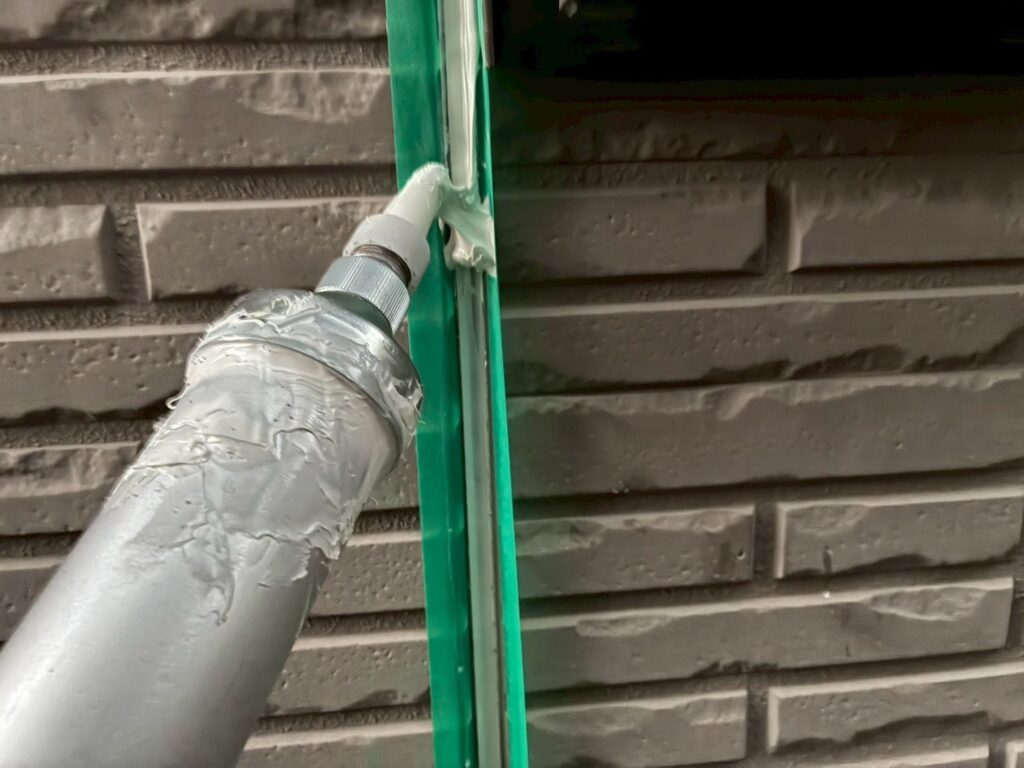
The caulking material used for this work is Sunrise/SR Seal H100. It has a durability of about 30 years and is ultra-durable, ultra-low pollution, flexible, and resistant to dirt.
5. Finishing with a Trowel
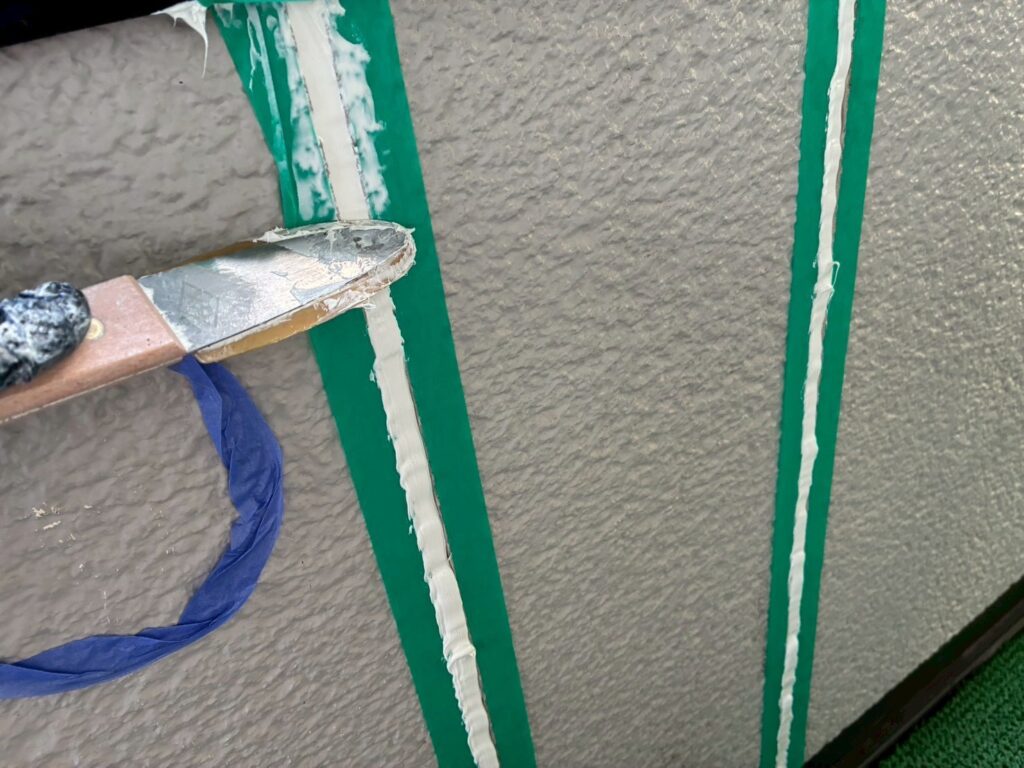
6. Removal of Masking Tape
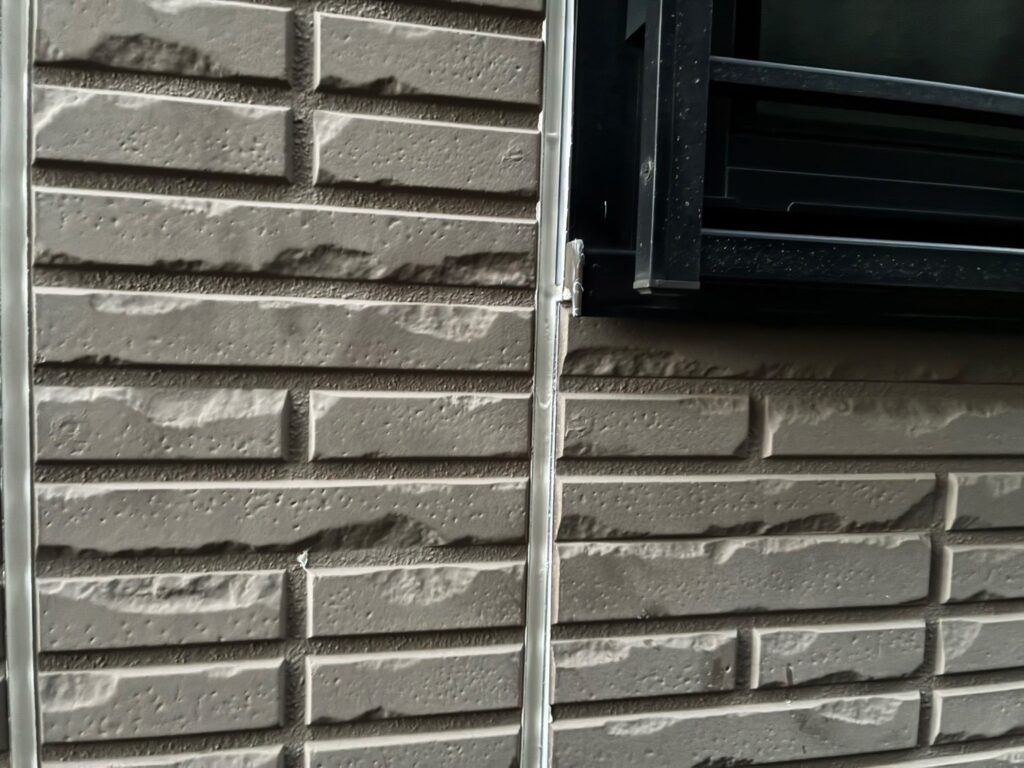
That concludes the process.
For roofing and exterior wall painting in Midori-ku, Yokohama, trust Kakeru Koumuten Co., Ltd.!
Estimates and inspections are, of course, free! If you have any concerns regarding roofs, rain gutters, exterior walls, or exteriors, please consult Kakeru Koumuten Co., Ltd.!
We carry out everything from temporary scaffolding work to roofing and exterior painting entirely in-house. We are confident that our costs, quality, and organization are unmatched compared to other companies in exterior work!
We welcome competitive estimates with confidence!
You will be glad you chose us! We take every request seriously to ensure you feel that way.
Our company is based in Aoba-ku, Yokohama, and we have extensive experience in roofing and exterior painting projects in Midori-ku, Yokohama.
Additionally, we are happy to assist with partial roof repairs, including roof overlay work, roof replacement, and leak repairs.
“I’m worried about cracks in the carport..” “I’m concerned about the appearance of the roof” “I want to know about roofing materials” If you have any questions or concerns, please feel free to contact us!
Community-Focused Service
As an exterior renovation company in Aoba-ku, Yokohama, we have handled many roof renovations in Midori-ku and have a deep understanding of the needs of local customers.
“I want it to last a long time with just one renovation”
“I want to keep costs as low as possible”
“I want to improve insulation because the indoors are hot”
We provide optimal solutions for specific requests like these.
Being nearby, we can respond quickly to roof and exterior repairs due to sudden leaks or natural disasters like strong winds in Midori-ku!
List of Areas in Midori-ku, Yokohama
Aoto-cho, Midori-ku / Ibukino, Midori-ku / Kamoi-cho, Midori-ku / Kitahassaku-cho, Midori-ku / Kirigaoka, Midori-ku / Koyama-cho, Midori-ku / Takeyama, Midori-ku / Daimura-cho, Midori-ku / Terayama-cho, Midori-ku / Tokaiichiba-cho, Midori-ku / Nagatsuda-cho, Midori-ku / Niihari-cho, Midori-ku / Nishihassaku-cho, Midori-ku / Higashihongo-cho, Midori-ku / Miho-cho, Midori-ku / Nagatsuda, Midori-ku / Kamoi, Midori-ku / Higashihongo, Midori-ku / Hakusan, Midori-ku / Morinodai, Midori-ku / Kamiyama, Midori-ku / Nagatsuda Minamidai, Midori-ku / Nakayama, Midori-ku
Helpful information about exterior renovations can be found here!
・[Aoba-ku, Yokohama] | Roof Renovation | We performed the removal and installation of solar panels and roof overlay construction!
・[Aoba-ku, Yokohama] | Roof Repair | We conducted roof overlay method and water heater removal!
・[Aoba-ku, Yokohama] | Exterior Renovation | We renovated from soil to concrete flooring!
・For exterior renovations in Aoba-ku, Yokohama, trust Kakeru Koumuten Co., Ltd.!
・For roof renovations in Aoba-ku, Yokohama, trust Kakeru Koumuten Co., Ltd.!
・For rain gutter repairs and cleaning in Aoba-ku, Yokohama, trust Kakeru Koumuten Co., Ltd.!
・For solar panel installation work in Aoba-ku, Yokohama, trust Kakeru Koumuten Co., Ltd.!
・For exterior wall cover work in Aoba-ku, Yokohama, trust Kakeru Koumuten Co., Ltd.!
・For waterproofing work in Aoba-ku, Yokohama, trust Kakeru Koumuten Co., Ltd.!
・For exterior wall cleaning in Aoba-ku, Yokohama, trust Kakeru Koumuten Co., Ltd.!
・For leak repairs in Aoba-ku, Yokohama, trust Kakeru Koumuten Co., Ltd.!
・After maintenance by Kakeru Koumuten Co., Ltd.
・Construction menu and price list of Kakeru Koumuten Co., Ltd.
・Kakeru Koumuten Co., Ltd. Staff Blog & Announcements
We welcome inquiries via LINE as well◎

We are also updating our Instagram regularly◎ Please follow us◎
contact Kakeru Koumuten Co., Ltd.
Kakeru Koumuten is a young company whose team is, on average, in their late twenties, but our skills are second to none.
Our greatest strength is that we handle scaffolding, roofing and painting entirely in-house. In an industry where these tasks are usually divided among contractors, our complete service simplifies project management and helps keep costs down. Above all, if a problem arises, we respond promptly.
We proudly describe ourselves as the youngest and most helpful renovation company in Kanagawa!